There should be one and only one QAWeb Relay in the network but if for some reason you have the issue with multiple Relays on your network or your QAWeb Agent does not connect automatically to the existing Relay, then you will need to connect the Agent manually to the Relay.
Automatic connection of QAWeb Agent to QAWeb Relay
Normally the network in most hospitals allows UDP broadcast messages. Otherwise, QAWeb Agent will not be able to register automatically after installation.
- In normal circumstances, there should be one and only one QAWeb Relay in the network. QAWeb Agent is sending a broadcast message to port 18562 and if UDP broadcasting is allowed on the network, the QAWeb Agent will then continue working with the QAWeb Relay that replies as first.
- If there was more than one QAWeb Relay on the same network and you have removed all the Relays but one, the QAWeb Agent that used to connect to a removed Relay should automatically switch to the one and only remaining Relay.
- It can happen that the QAWeb Agent registration request doesn't reach the QAWeb Relay or suddenly the connection to the Relay gets lost because the workstation is unable to find a QAWeb Relay in the facility network. If no QAWeb Relays are replying on the network, then the QAWeb Agent continuously works in standalone mode. Please check KB11478 for recommendations and troubleshooting steps in this case.
Manual connection of QAWeb Agent to QAWeb Relay
If you have multiple QAWeb Relays on the network and you are not able to detect them as explained in the KB11402, you will have to track them down manually and check Agent per Agent manually via its GUI, to find out if it points to the one and only remaining relay, and if not, point it manually to the one and only remaining Relay as seen below:
1. First, open the ''Facility Information'' overview on the QAWeb Server and check Relay information, where you can see the Relay workstation name and Relay IP.
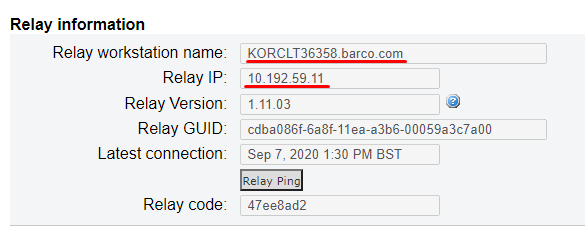
2. Now you will have to check Agent per Agent, via its GUI, to which Relay are they connecting. You can see that by clicking on Status after you start the Agent. You will be able to locate the IP or the hostname as seen below.

3. When you find the workstation, where Agent is connecting to a different Relay then the one seen on the ''Facility Information'' overview on the QAWeb Server, locate this workstation/server and completely uninstall the Relay software from it.

4. Start the QAWeb Agent on the workstation where you have located the additional Relay on the network as mentioned in step 3 and click on ''Status''. You should be able to see that the Agent is inactive and the IP or hostname of the removed Relay together with Relay GUID to which the Agent was connected to before.

5. Click on the ''Restore or check connection'' to manually connect the Agent to the correct Relay. The Relay IP or Hostname information that should be entered can be consulted on the facility webpage on Medical QAWeb Server (See Facility Information --> Relay Information) as explained under step 1. After clicking on ''Restore or check connection'' you will get the login screen, where you should log-in as advanced user ---> password is ''advanced''.
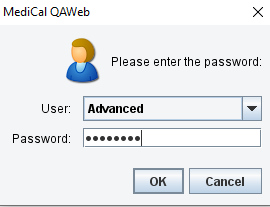
After logging in you should see the following message:
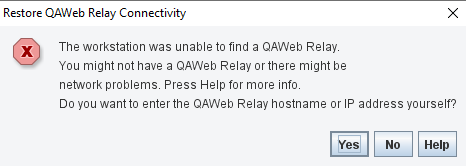
After clicking on yes the Agent will try a new attempt to connect to the QAWeb Relay. In case of a failed attempt to connect to the Relay, Agent will now allow you to manually enter the IP Address or Hostname of the Relay.
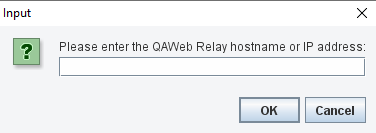
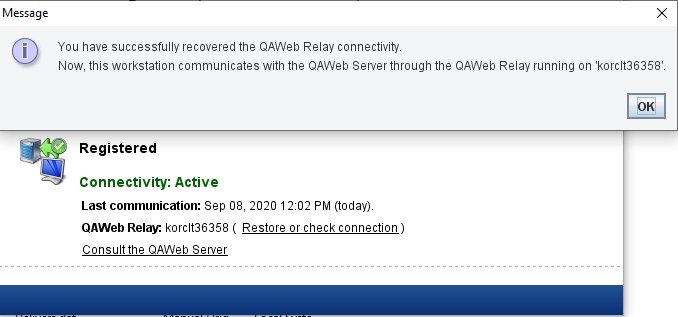
You should now be able to successfully connect to the desired Relay.
6. You should now perform steps 3, 4, and 5 for all the Agents on the same network as explained in step 2.
...if QAWeb Agent is unable to find a QAWeb Relay
...please check the following KB11478 on how to solve this.


