Overview
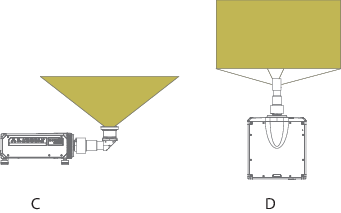
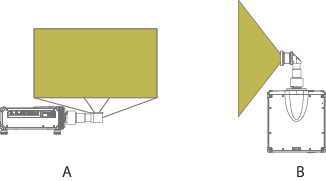
The following positions for the lens are possible: Facing UP, and facing RIGHT.
For F90: facing up and to the right
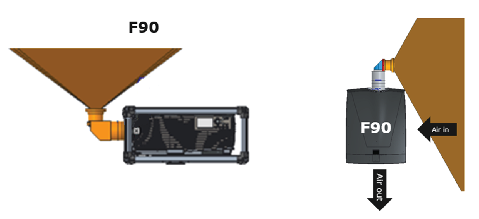
Image 8–1 Do not use for projection to the right when mounted in a frame.
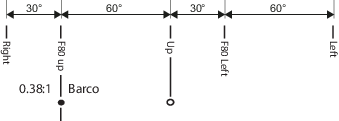

The following positions for the lens are possible: Facing UP, and facing RIGHT.
For F90: facing up and to the right
Do not use for projection to the right when mounted in a frame.
Allen key 2 mm with long shaft (delivered with the kit)
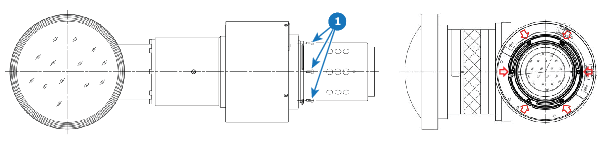
Place the lens on a table. Turn out the 6 screws (1). Use an Allen key with a long shaft so that you do not damage the screw head. These screws will not be reused.

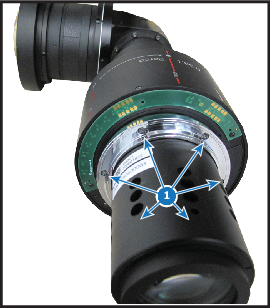
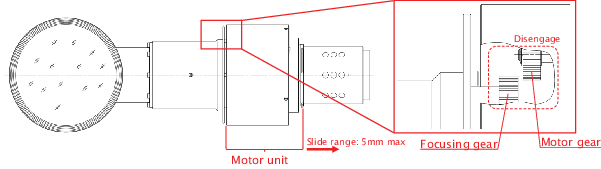
Slide the motor housing a few mm to the backside of the lens (2) to disengage focusing gear and motor gear.
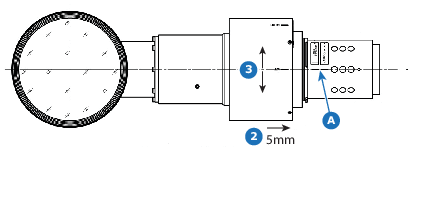
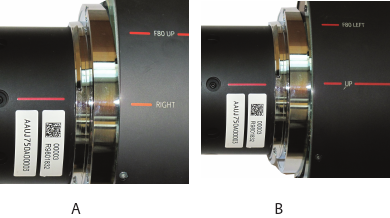
Rotate the motor housing until the chosen marker on the housing corresponds with the reference marking on the lens body (steps of 30°). See if the mounting holes matches the holes in the lens body.
E.g. for an FS40 projector, you want to project to the left, then turn the motor housing until the left marking on the motor housing corresponds with the reference marking on the lens housing.
Turn in 6 new Allen screws with glue (screws are delivered with the kit). These screws can be multiple times reused. The turned out old screws can be thrown away.
Use again a tool with a long shaft (Allen key 2 mm, delivered with the kit).
The lens is ready to be mounted on the projector.
Projection to the side for any projector:
Up projection for any projector: