How to repack your Coronis Uniti system
Insert the connector cover in the small buffer.
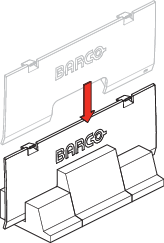
Image 6–1 Lock the height mechanism at the lowest display position by inserting the hook pin in the back of the stand.

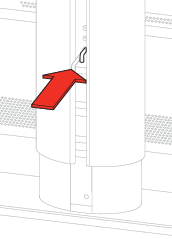
Image 6–2 Remove the tilt lock pin from the back of the display, if this was not yet done during installation.

Image 6–3 Tilt the display in the most upwards position.
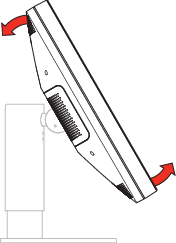
Image 6–4 Slide the small buffer between the display and the stand.
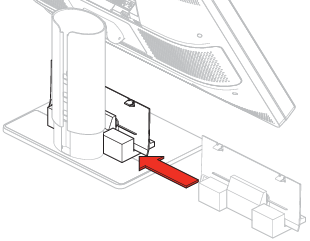
Image 6–5 Tilt the display back, to the most downward position.
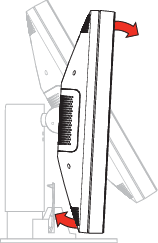
Image 6–6 Lock the tilt mechanism by inserting the tilt lock pin in the lock hole at the back of the display.
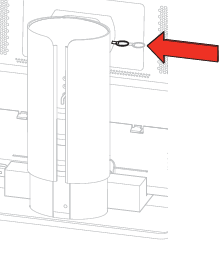
Image 6–7 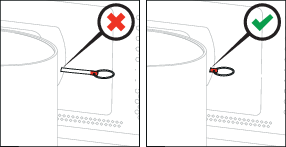
Image 6–8 Place the display in the bottom box so that it fits in the buffers.
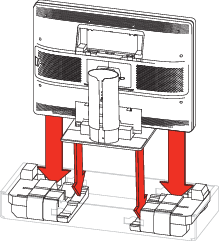
Image 6–9 Insert the 2 cardboard compartments in the bottom buffers.
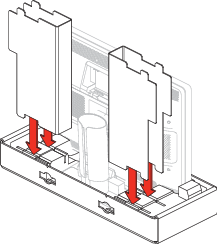
Image 6–10 Position the 2 top buffers on the display and cardboard compartments.
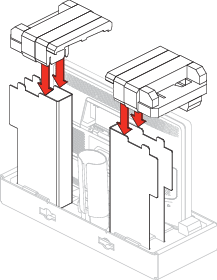
Image 6–11 Slide the accessory box and the display controller box in the cardboard compartments.
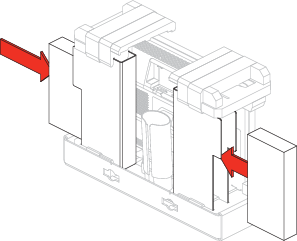
Image 6–12 Put the touchpad box in the dedicated cutout.
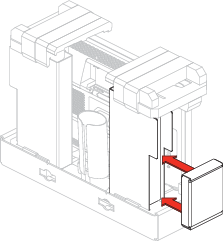
Image 6–13 Slide the top box over the display, in the bottom box.
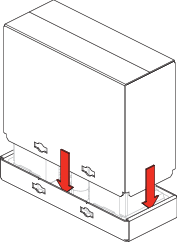
Image 6–14 Insert the 4 locks in the provided cutouts of the box.
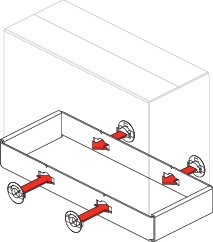
Image 6–15 Turn each lock a quarter turn to the right.
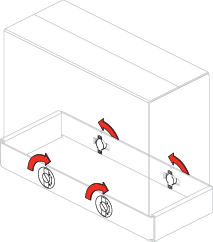
Image 6–16 The Coronis Uniti system is ready to be shipped.
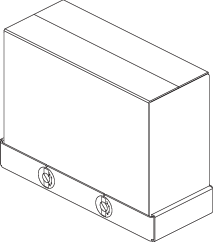
Image 6–17