6.22 Security, HTTP Encryption

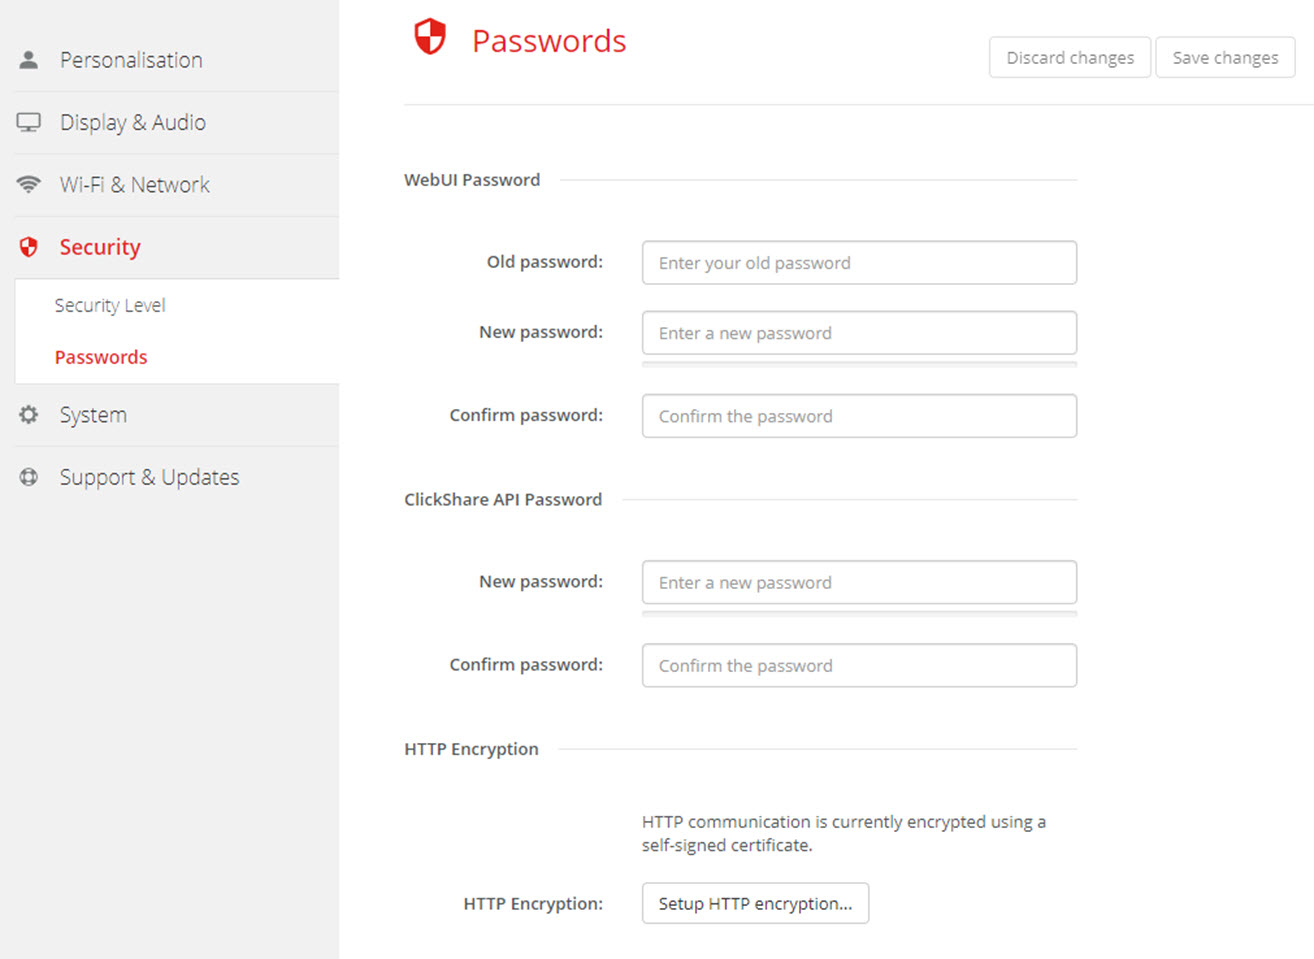
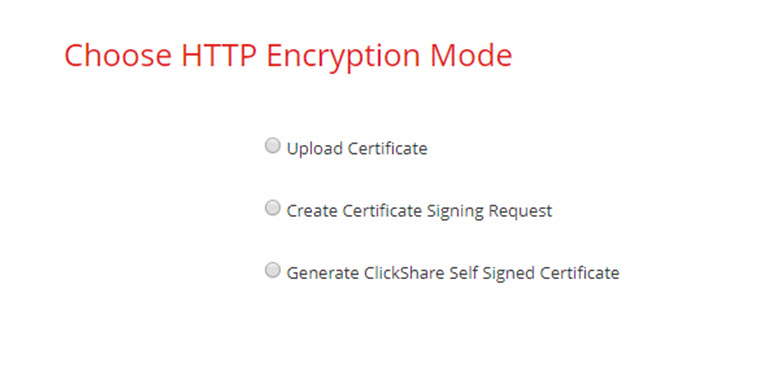
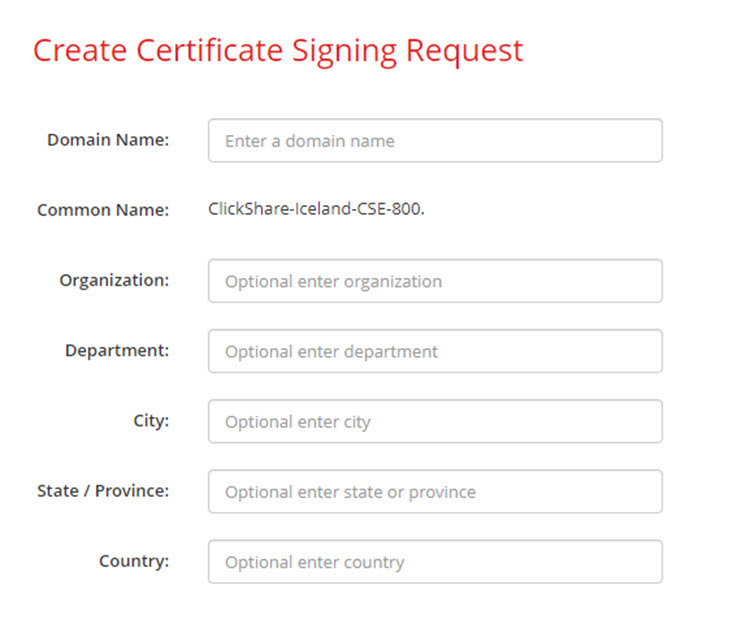
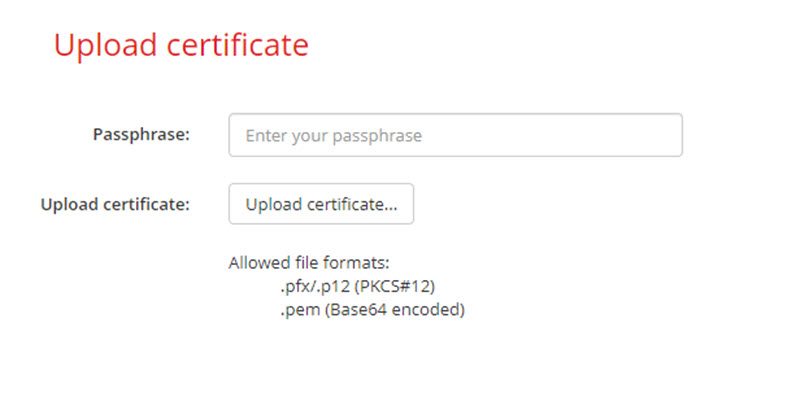
About HTTP encryption

Custom certificates for HTTPS can be uploaded to the ClickShare Base Unit. Custom certificates can as such replace the default self-signed ClickShare certificates for better compliance with company policies and have the advantage that privacy errors when browsing to the ClickShare Configurator can be avoided.

How to create a custom certificate
  1. Log in to the Configurator.
  2. Click SecurityPasswords and scroll to HTTP Encryption.
  3. Click Setup HTTP encryption... .

    Image 6–34 HTTP Encryption
  4. Choose the HTTP Encryption Mode. Check the corresponding radio button.

    Image 6–35 HTTP encryption mode

    The following modes are possible:

    • Upload Certificates
    • Create Certificate Signing Request
    • Generate ClickShare Self Signed Certificate
  5. To create a certificate signing request, check the corresponding radio button and click Next (right arrow).
  6. Enter the necessary details to create a Certificate Signing Request.

    Image 6–36 Certificate signing request

    The following items are possible:

    • Domain name.
    • Organization.
    • Department.
    • City.
    • State / Province
    • Country
  7. Click Next (right arrow)

    A CRS is created and can be downloaded.

  8. Click Download CSR.
Upload a certificate
  1. Click SecurityPasswords and scroll to HTTP Encryption.
  2. Click Setup HTTP encryption... .
  3. Choose Upload Certificate.

    Image 6–37

    The Upload certificate window opens.

  4. Enter your passphrase and click Upload certificate... .

    A browse window opens.

  5. Browse to the certificate file and click Open.

    A certificate can have the following formats:

    • .pfx/.p12 (PKC#12)
    • .pem (Base64 encoded)
  6. Click Finish configuration.