14.5.7 Wireless access points selection and setup

Note: These menu items are only accessible when wireless network status is set to [on].
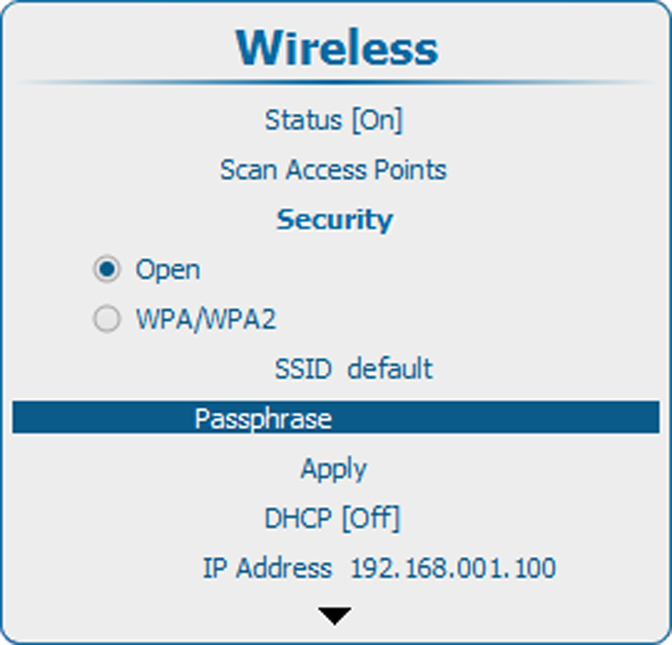
Scan for access points
  1. Select Scan access points and press ENTER to start the scan.

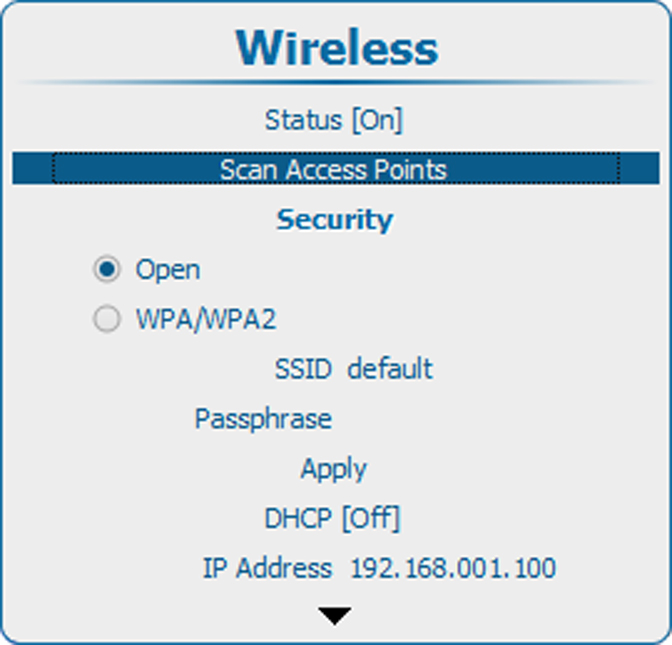
    Image 14–35 Scan access points
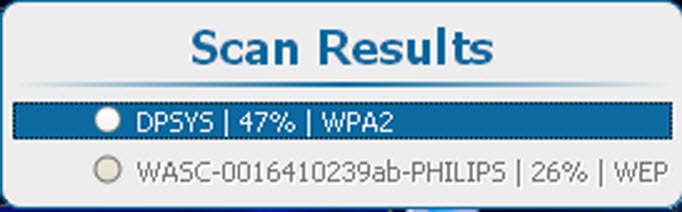
    Image 14–36 Scan access points, results
  2. Use the ▲ or ▼ key to select the desired access point and press ENTER to activate.

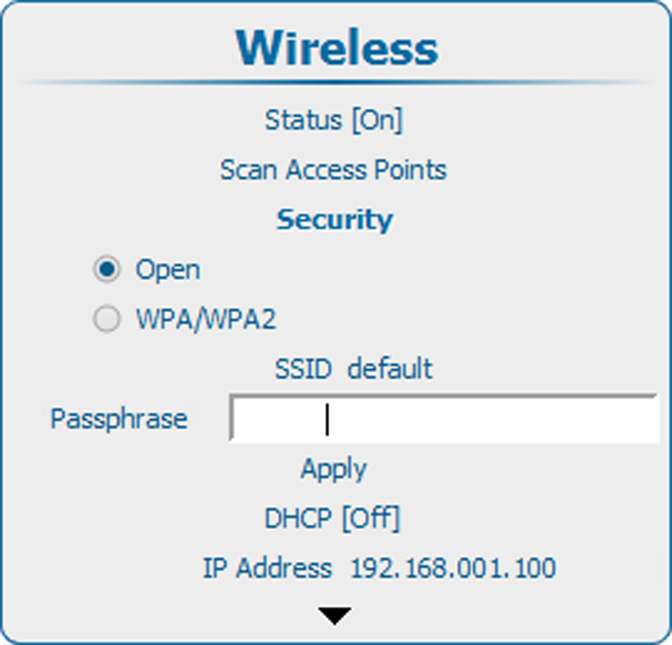
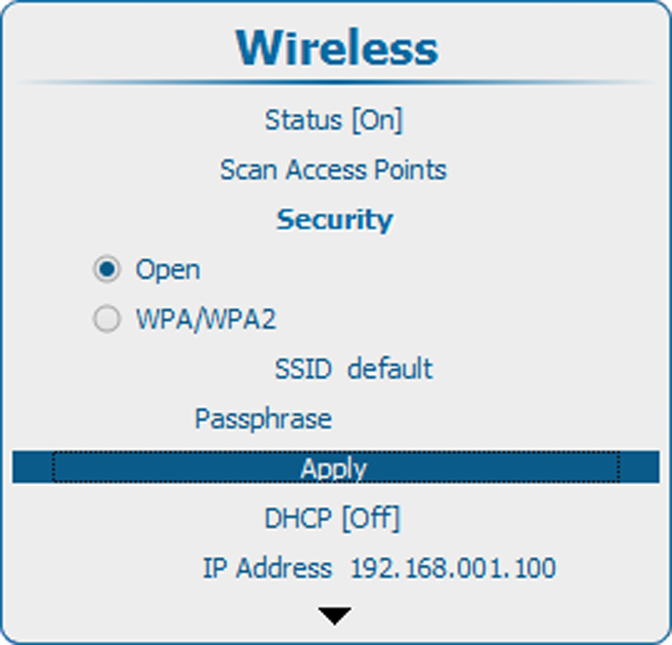
    The security type of the network is indicated with the radio button in front of Open or WPA/WPA2. The network name is also indicated next to SSID.

    Note : WEP is not supported.

Access to a wireless secured access point
  1. Use the ▲ or ▼ key to select Passphrase.

    For a secured network, a passphrase should be entered before getting access to the wireless network.

    Image 14–37 Passprhrase, selection
    Image 14–38 Passphrase, entry
    Image 14–39 Open network connection
  2. Press ENTER to activate the input field.
  3. Enter the passphrase. The input is case sensitive.

    Press ENTER to finish the input of the passphrase.

  4. Use the ▲ or ▼ key to select Apply and press ENTER to open the network connection.

    An IP address can now be obtained via DHCP or a fixed IP address can be setup.