10.3.7.2 Adjusting the input balance

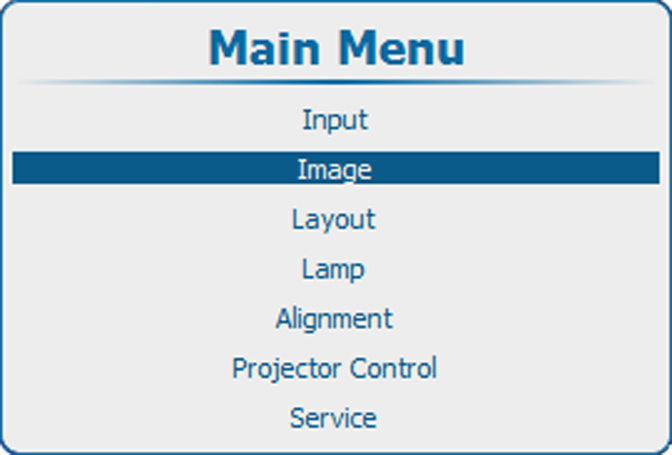
How can it be done ?

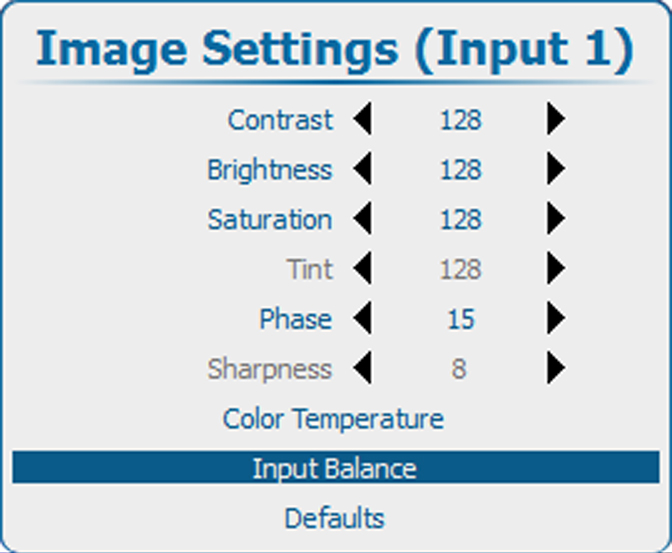
To balance the three color signals of a particular source there are conditions; in fact we must know the black and the white level of the source i.e. :

  1. The source in question must be able to generate a white signal, ideally a 100% white (background) full screen pattern
  2. The source in question must be able to generate a black signal, ideally a 100% black (background) full screen pattern
Image 10–32

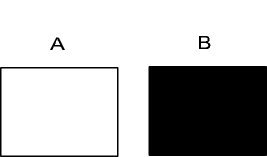
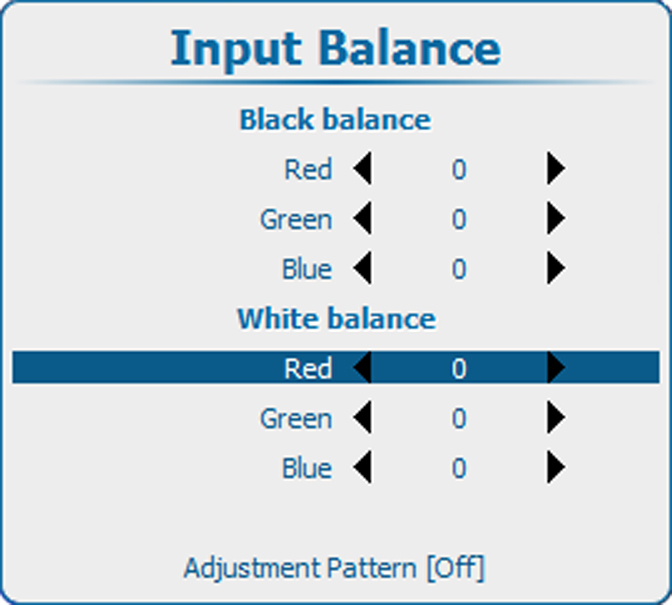
White balance : In the projector, we will set the contrast for each color until we get a 100% light output picture when projecting a 100% white image (image A)

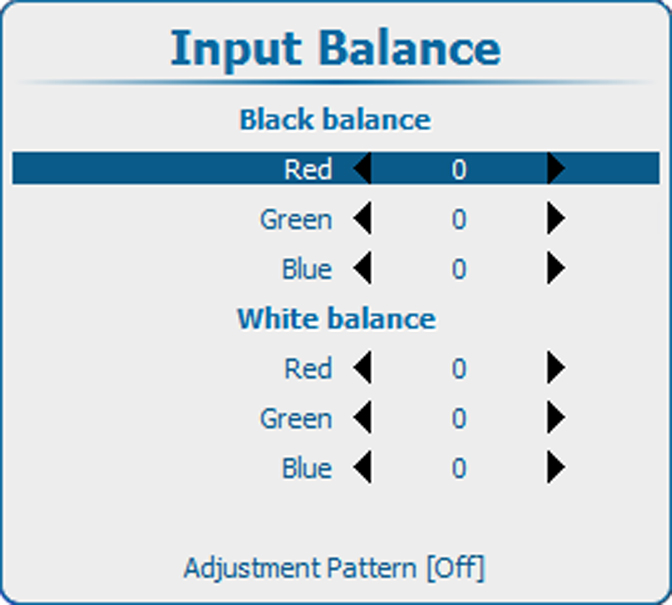
Black balance : In the projector, we will set the brightness for each color until we get a 0% light output picture when projecting a 100% black image (image B).

Note: The changeover from min to max is indicated by the apparition of bright spots also called “digital noise”
Note: An alternative to a full screen White/black pattern is the standard gray scale pattern, the white bar will be used for white balance and the black bar for black balance.
Image 10–33
How to adjust
  1. Press Menu to activate the menus and select ImageImage SettingsInput Balance.

    Image 10–35 Main menu, Image
    Image 10–36 Image adjustments
    Image 10–37 Image settings, input balance
    Image 10–38 Input balance, black
  2. Press ENTER to select.
  3. Do you want to use an internally generated test pattern ?

    • If yes, use the ▲ or ▼ key to select Adjustment Pattern and press ENTER to toggle between [on] and [off]
    • If no, adjust on the selected source.
  4. Use the ▲ or ▼ key to select Red below Black balance and press ENTER.
  5. Adjust the red black level on a minimal value
  6. Use the ▲ or ▼ key to select Black balance blue and adjust the blue black level on a minimal value.

    Note: This minimal value is not necessary , provided that the 2 other colors are not influencing too much the color to be adjusted, in fact the aim is to minimize the effect of the two other colors since there is a risk of reaching too soon the 50% transition due to the contribution of these two other colors signals.
  7. Use the ▲ or ▼ key to select Black balance green and adjust the Green black level until bright spots appear on the screen.
  8. Use the ▲ or ▼ key to select Black balance blue and adjust the Blue black level until bright spots appear on the screen.
  9. Use the ▲ or ▼ key to select Black balance red and adjust the Red black level until bright spots appear on the screen.

    The projected image should now be noisy full black

Note: If one uses a gray scale pattern, the bright spots should appear in the black bar.
Performing White input balance
  1. Connect the source you want to project.
  2. Press Menu to activate the menus and select ImageImage SettingsInput Balance.

    Image 10–39 Main menu, Image
    Image 10–40 Image adjustments
    Image 10–41 Image settings, input balance
    Image 10–42 Input balance, white balance
  3. Press ENTER to select.
  4. Do you want to use an internally generated test pattern ?

    • If yes, use the ▲ or ▼ key to select Adjustment Pattern and press ENTER to toggle between [on] and [off]
    • If no, select a white pattern (or gray scale as alternative).
  5. Use the ▲ or ▼ key to select White balance red.
  6. Adjust the red white level (gain) on a minimal value
  7. Use the ▲ or ▼ key to select White balance blue and adjust the blue white level (gain) on a minimal value.

    Note: This minimal value is not necessary , provided that the 2 other colors are not influencing too much the color to be adjusted, in fact the aim is to minimize the effect of the two other colors since there is a risk of reaching too soon the transition (bright spots) due to the contribution of these two other colors signals.
  8. Use the ▲ or ▼ key to select White balance green and adjust the Green white level (gain) until bright spots appear on the screen.
  9. Use the ▲ or ▼ key to select White balance blue adjust the Blue white level (gain) until bright spots appear on the screen.
  10. Use the ▲ or ▼ key to select White balance red adjust the Red white level (gain) until bright spots appear on the screen.

    The projected image should now be noisy neutral gray.

How to adjust for an YUV signal

Use a gray bar test pattern

  1. Turn the green black balance back to - 20.
  2. Adjust the Red black balance until red dots are visible in the black bar.
  3. Adjust the Blue black balance until blue dots are visible in the black bar.
  4. Adjust the Green black balance until first gray dots in the black bar (only in the black bar, the rest must be mid gray, except the white bar).
  5. If you see multiple or no white bars in stead of one, change white balance for green (higher or lower) until only one bar is visible.