How to set
Press Menu to activate the menus and select → → .
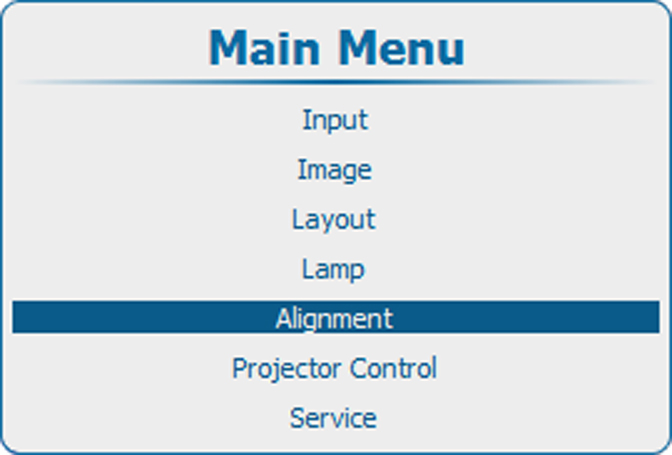
Image 13–136 Main menu, alignment 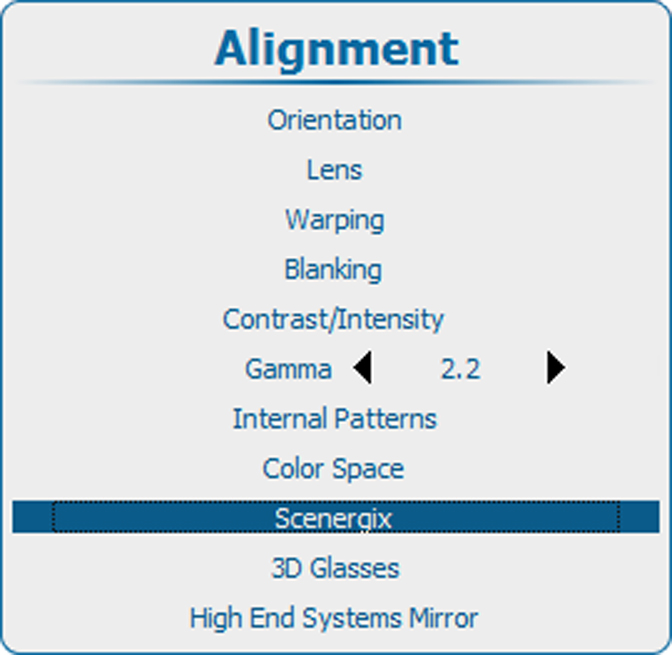
Image 13–137 Alignment, Scenergix 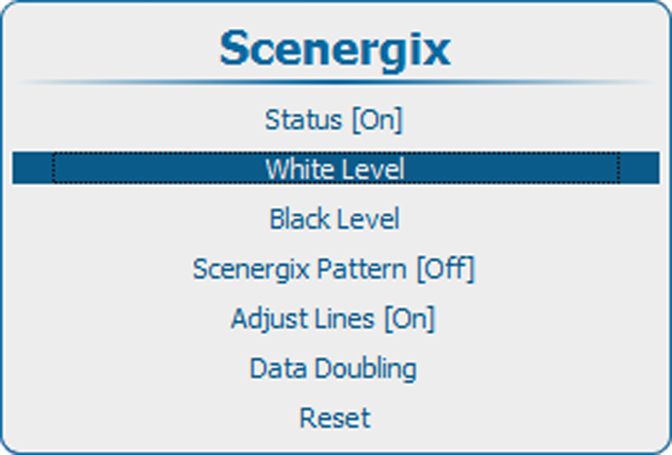
Image 13–138 Scenergix, white level Press ENTER to select the adjustments.
The White level position menu opens.
When Adjustment lines is , the different areas are displayed on the screen.
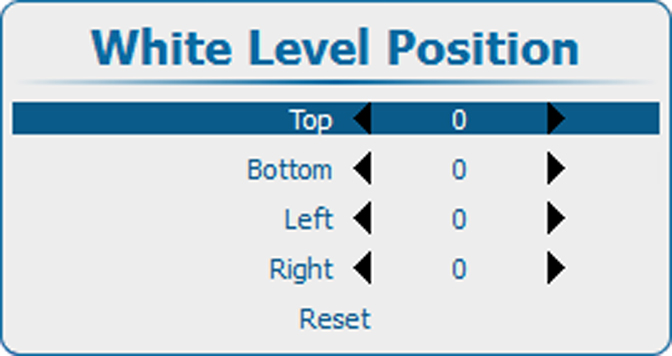
Image 13–139 White level position Use the ▲ or ▼ key to select one of the four size adjustments and press ENTER to select
Use the ◄ or ► key to change the border of the blending area to the desired position (value between 0 and 255)

Image 13–140 Width selections Set first the width for the first projector and repeat for the second one.
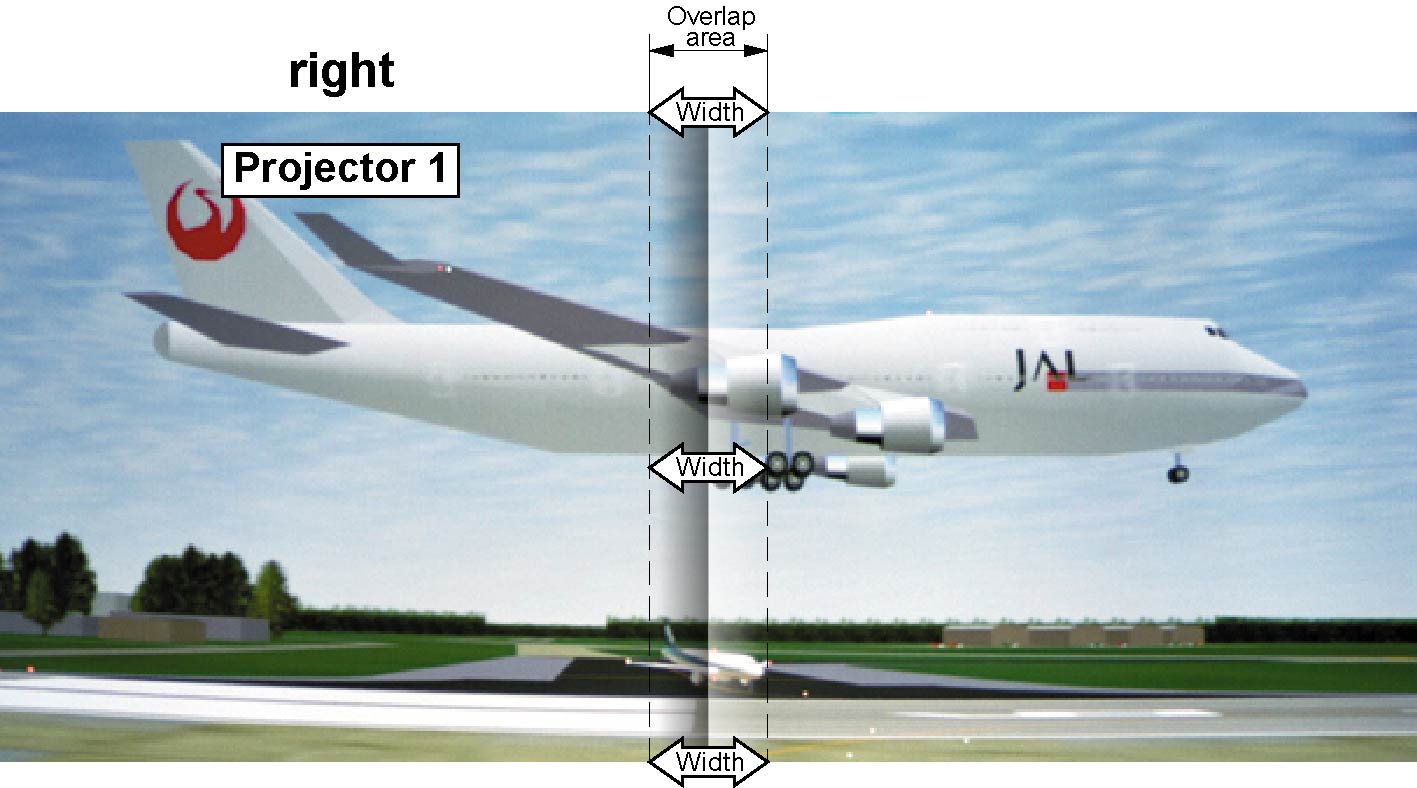
Image 13–141 Width set up for projector 1 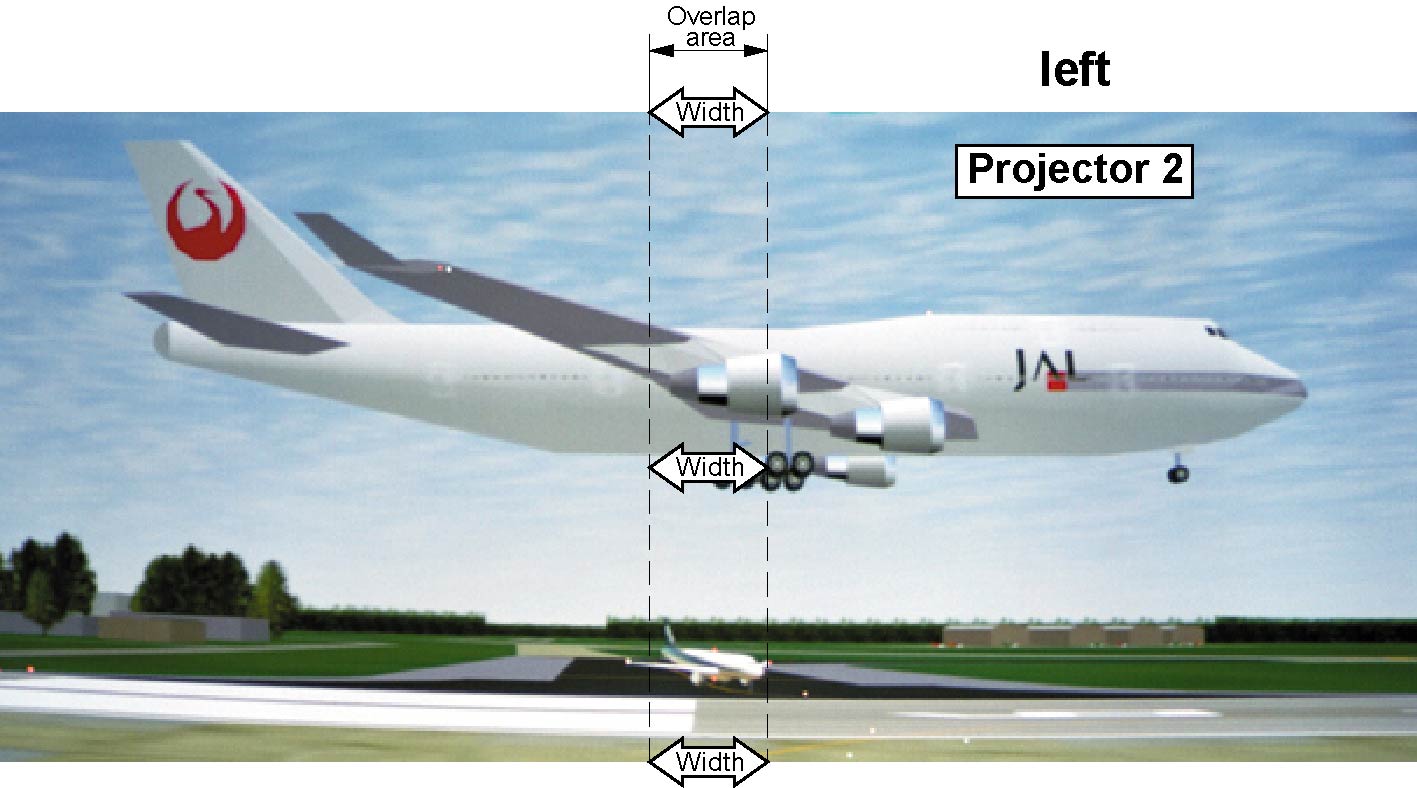
Image 13–142 Width set up for projector 2