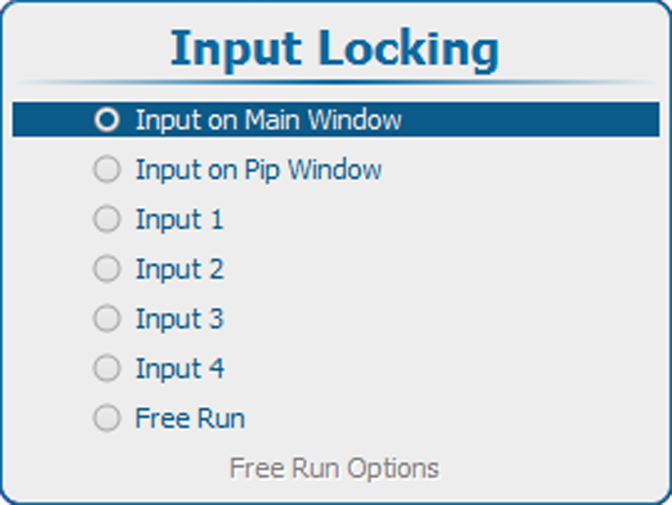
The output signal can be locked on an internal sync signal or on the sync signal of one of the input sources. Or it can follow the input of the Main window or Pip window. When locked to the corresponding input sync, the output will be shown without movement artifacts. With locking to a specific input, a set of projectors can be kept in sync, no matter what input image is shown.
Note: Input locking is grayed out when 3D is active. Input locking is set automatically to the 3D source.
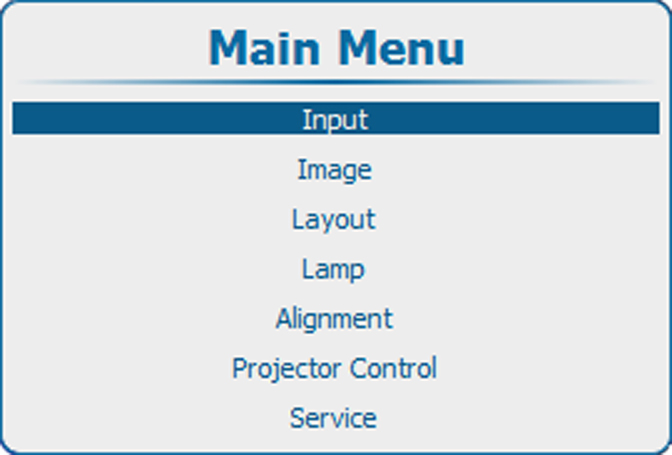
How to set up
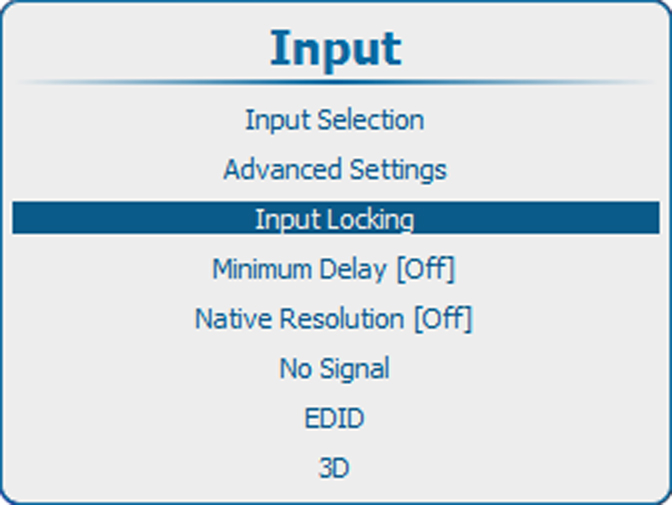
Press Menu to activate the menus and select Input → Input locking.
Press ENTER.
The Input locking window is displayed with the current selection.
Output is locked on the selected source of the main window
Input on PIP window
Output is locked on the selected source of the Pip window
Input 1
Output is locked on input 1
Input 2
Output is locked on input 2
Input 3
Output is locked on input 3
Input 4
Output is locked on input 4
Free run
Output is locked on an internal sync (60 Hz or manual setup)
Note: When Input locking is set to a specific input and there is no sync signal available, the locking will be switched to Free run without changing the user settings. Once the sync is available, it applies again the user settings.
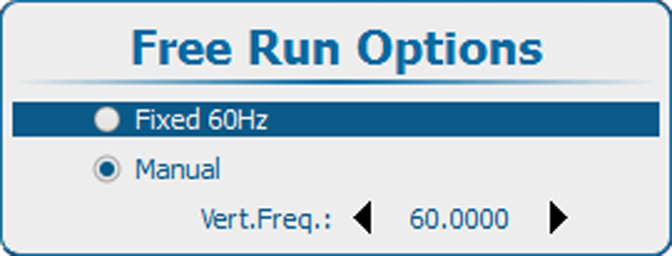
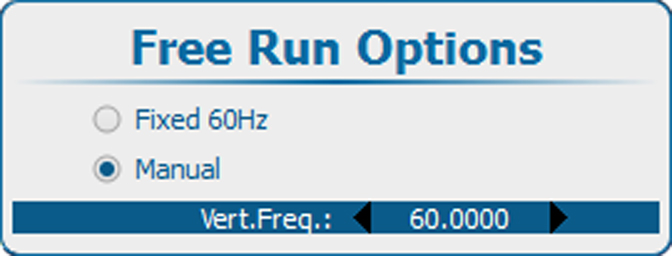
Options for Free Run
When free run is selected, radio button selected, then the Free Run Options become available.
Image 9–17Free run options
Use the ▲ or ▼ key to select Fixed 60 Hz or Manual and press ENTER to select.
Fixed 60 Hz:
locking is done on an internal sync of 60 Hz
Manual
locking is done on the indicated vertical frequency which can be changed by the user (between 24 Hz and 60 Hz).
To change the locking frequency for Manual, use the ▲ or ▼ key to select Vert freq and press ENTER to activate.