6.3 Power on projector

How to power on.
  1. Press the power switch at the back of the projector to switch on this projector.
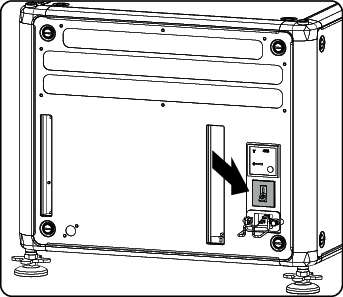
    Image 6–2 Main switch
    • When '0' is pressed, the projector is switched off.
    • When '1' is pressed, the projector is switched on.

    The projector starts up in standby. The menus are accessible via the local LCD panel.

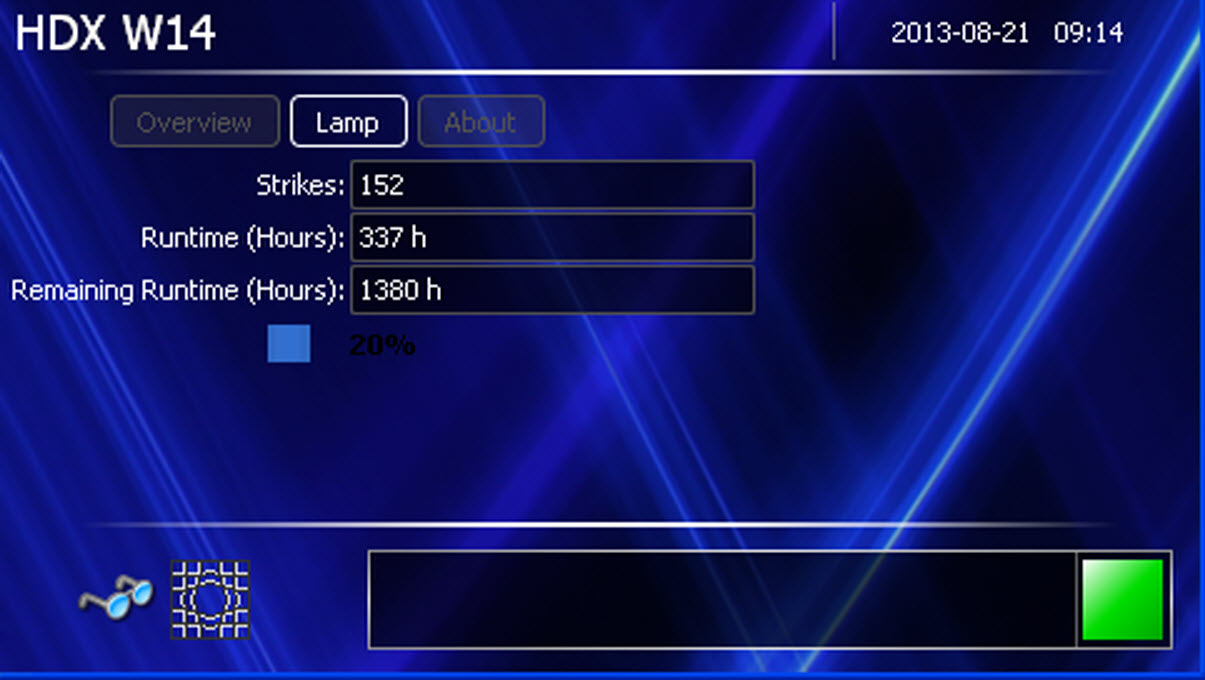
    The start up screen is displayed on the local LCD panel and when fully started up, it changes to the overview screen.

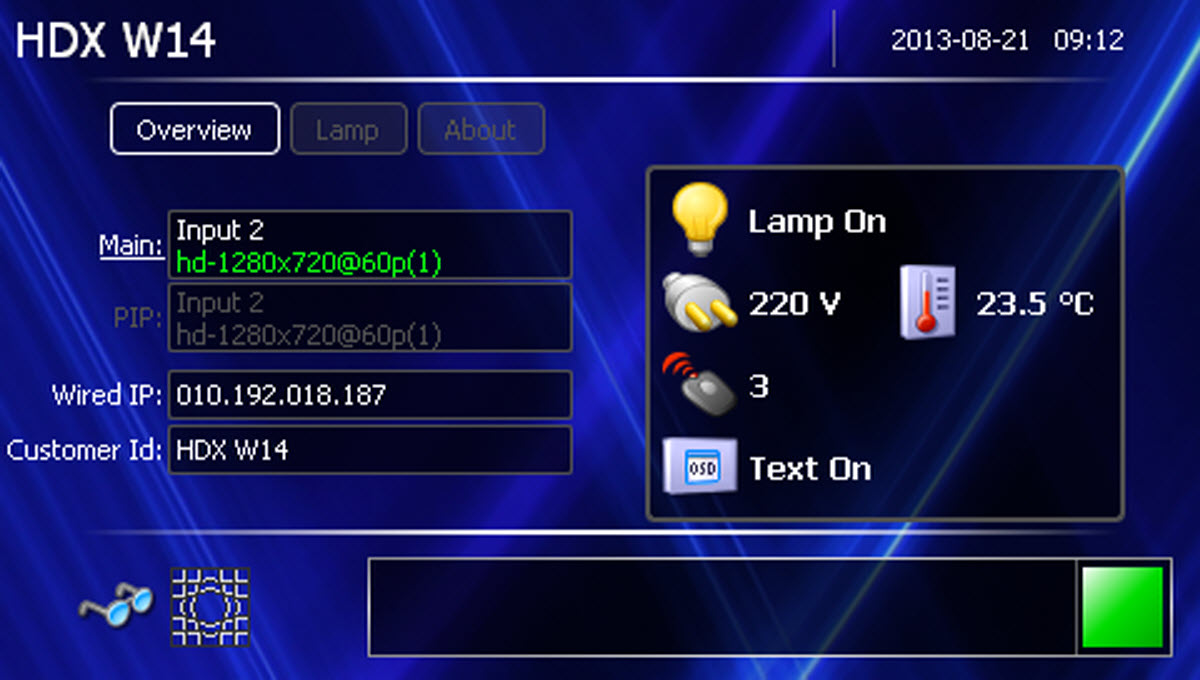
    Image 6–3 Start up screen, Main

    This screen indicates :

    • the selected Main input
    • the selected PIP input
    • the IP address
    • the Customer Id
    • the Lamp status
    • the Mains voltage
    • the current ambient temperature
    • the Text status (OSD)

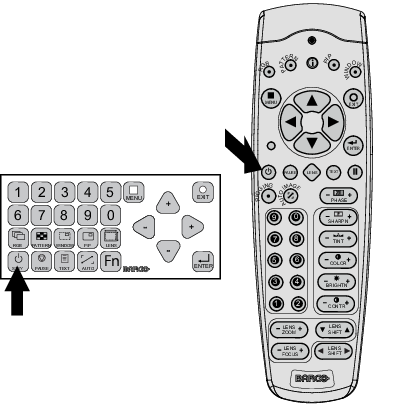
    To display an image, the standby key must be pressed once.

Note: The current mains input voltage is indicated on the voltmeter just above the power switch.
Note: The background image of the startup screen and info screens can be changed with Projector Toolset with an installed HDX plug-in.
Lamp overview

Once the projector is started, press Lamp to get an overview of the lamp parameters such as :

Image 6–4 Local screen, lamp
Software overview

Once the projector is started, press About to get an overview of the software versions such as :

Image 6–5 Local screen, about
Starting image projection via the standby key.
  1. Press Stand by key once on the local keypad or on the remote control.

    Image 6–6 Standby key indication

    The projector starts up on the last saved source. The LMP LED on the communication interface lights up.

    Some lamp and runtime warnings can be displayed when an image is displayed after a start up.