14.12.1 Add a task to the list

How to add
  1. Press Menu to activate the menus and select Projector ControlSchedulerAdd task.

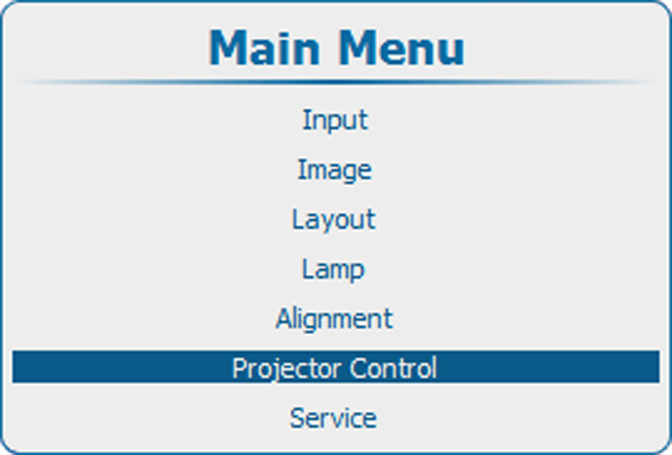
    Image 14–110 Main menu, projector control
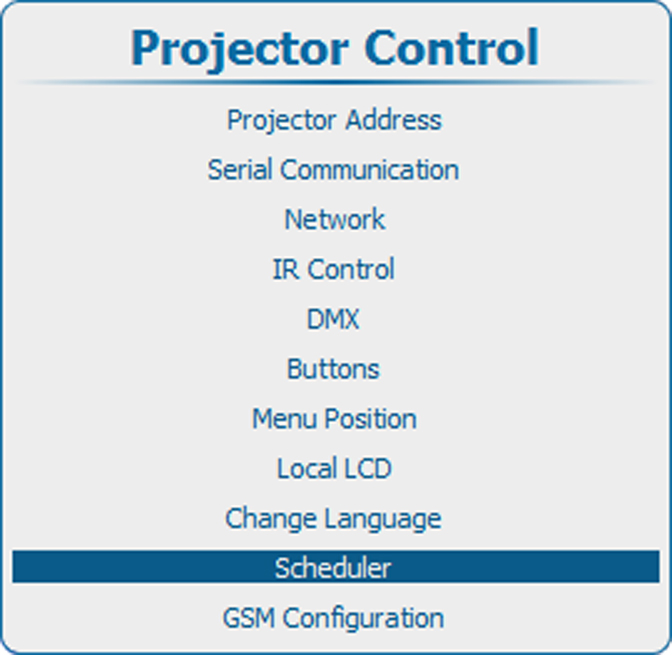
    Image 14–111 Projector control, scheduler
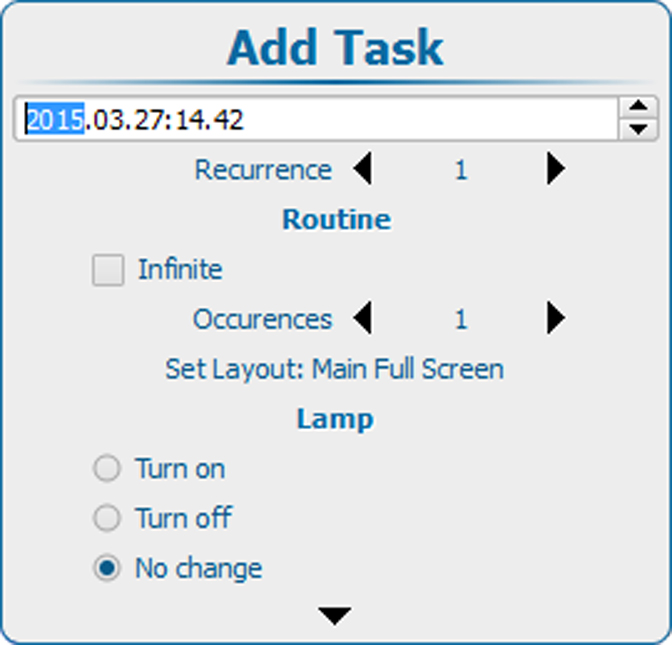
    Image 14–112 Scheduler, add task
  2. Press ENTER to open the task creation window. The start date window is selected.

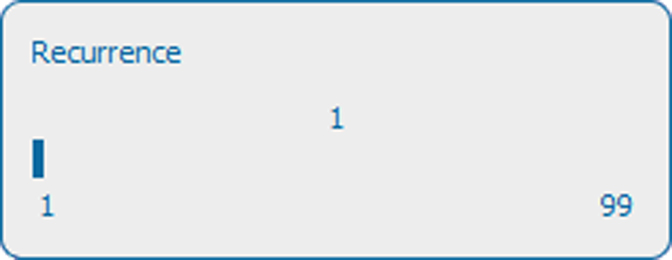
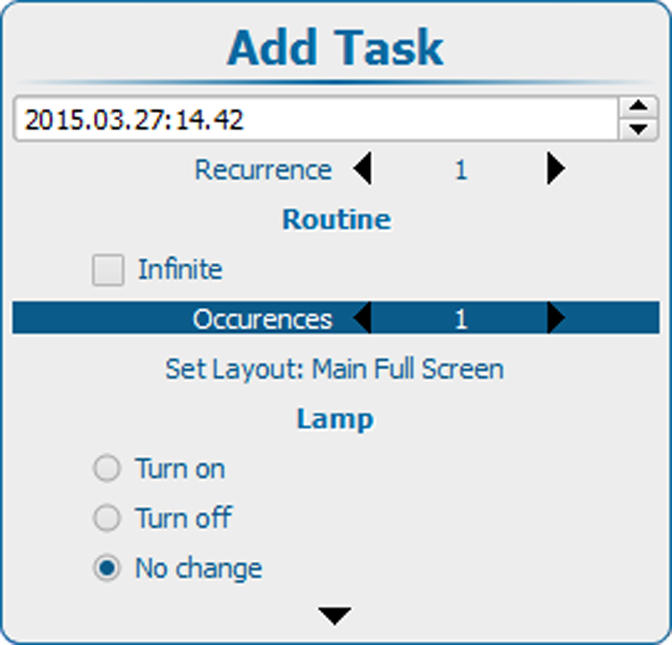
    Use the ▲ or ▼ key to jump to the next item in the setup.

    When all items are correctly filled out, select Apply and press ENTER to create the task.

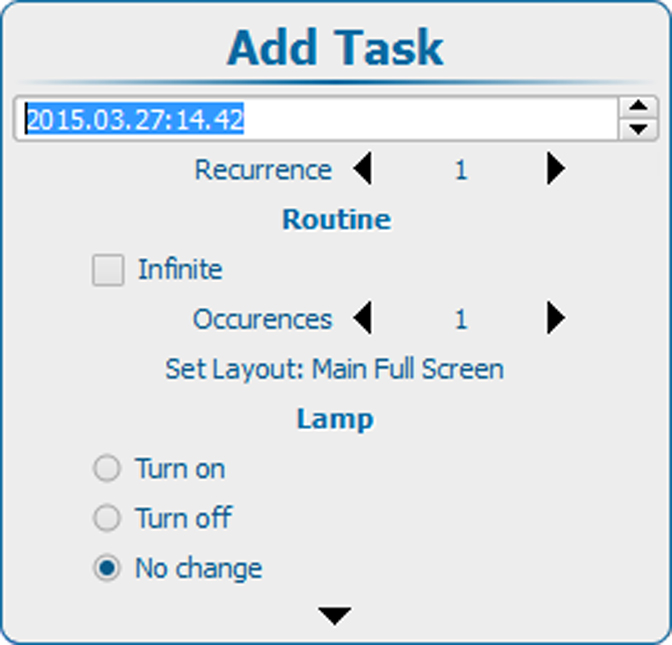
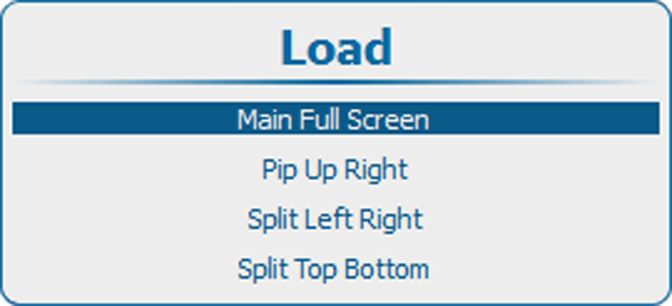
    Image 14–113 Add task, setup
Start date and time
  1. When selected, press ENTER to select the day.
  2. Use the ▲ or ▼ key to change the current setting.

    Use the or key to jump to the next part of the date and time setting.

    Image 14–114 Time setup
  3. Select Recurrence and press ENTER;

    Use the or key to change the recurrence.

    Image 14–115 Recurrence setup

    Recurrence : the time between two starts of the same task. The value can be changed between 1 and 99.

    1Starts every day
    2Starts every 2 days
    3Starts every 3 days
    ... 
    7Starts every week
Routine setup, infinite loop

To repeat the task with a given sequence again and again, check the check box in front of Infinite.

Routine setup, occurrences

For a limited number of loops, set up the occurrences:

  1. Select Occurrence and press ENTER.
  2. Use the or key to change the occurrence.

    Image 14–116 Occurrence setup

    Occurrence : the number of loops that will take place as set in the recurrence.

    E.g; an occurrence of 2 with a recurrence of 3 means that the schedule will be executed at the start date, start date + 3 and due to the occurrence (=2) also at start date + 6.

Layout selection
  1. Select Set layout and press ENTER.

    The Load layout menu opens with a list of the available layouts.

  2. Use the ▲ or ▼ key to select the desired layout and press ENTER to link the layout to the task.

    Image 14–117 Link layout
Lamp status
  1. Select the desired lamp status and press ENTER to select.

    The following lamp statuses are possible:

    • Turn on : lamp will be switched on when the task is started.
    • Turn off : lamp will be switched off when the task is started.
    • No change : no changes to the lamp status when the task is started. The lamp remains in its current status.
Task name
  1. Select Taskname and press ENTER to edit the current proposed name.
  2. Use the or key to select the desired character to change.

    Use the ▲ or ▼ key to change that character.

    Note: Extra characters can be added at the end of the current displayed characters.
Creating the task
  1. Select Apply and press ENTER to create the task.

    The task is added to the list of tasks.