What can be done ?
The activation code can be entered by the projector user. This code is validated and when valid the maximum light output is set accordingly.
The activation code can be entered by the projector user. This code is validated and when valid the maximum light output is set accordingly.
Press Menu to activate the menus and select .
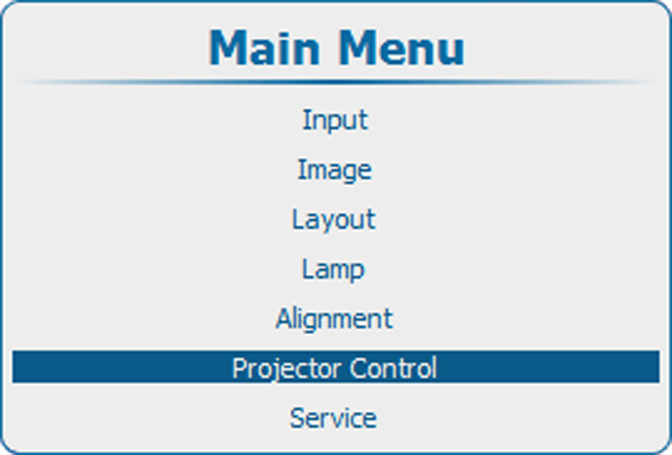
While is selected, enter the hidden code “8069”.
A Device configuration menu opens.

Enter the 4 digits of the activation code using the digit keys on the remote control or the local keypad.
If the code is correct, the message: “Device successful configured as <projector name>” is displayed and the projector is set to corresponding maximum light output.

If the code is incorrect, the message: “Invalid attempt!”, is displayed:

After 3 invalid attempts, the message: “Invalid attempt! Try again after 300 seconds” is displayed.