What can be done ?
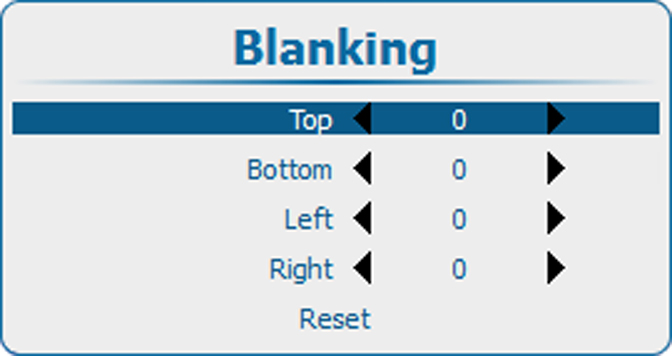
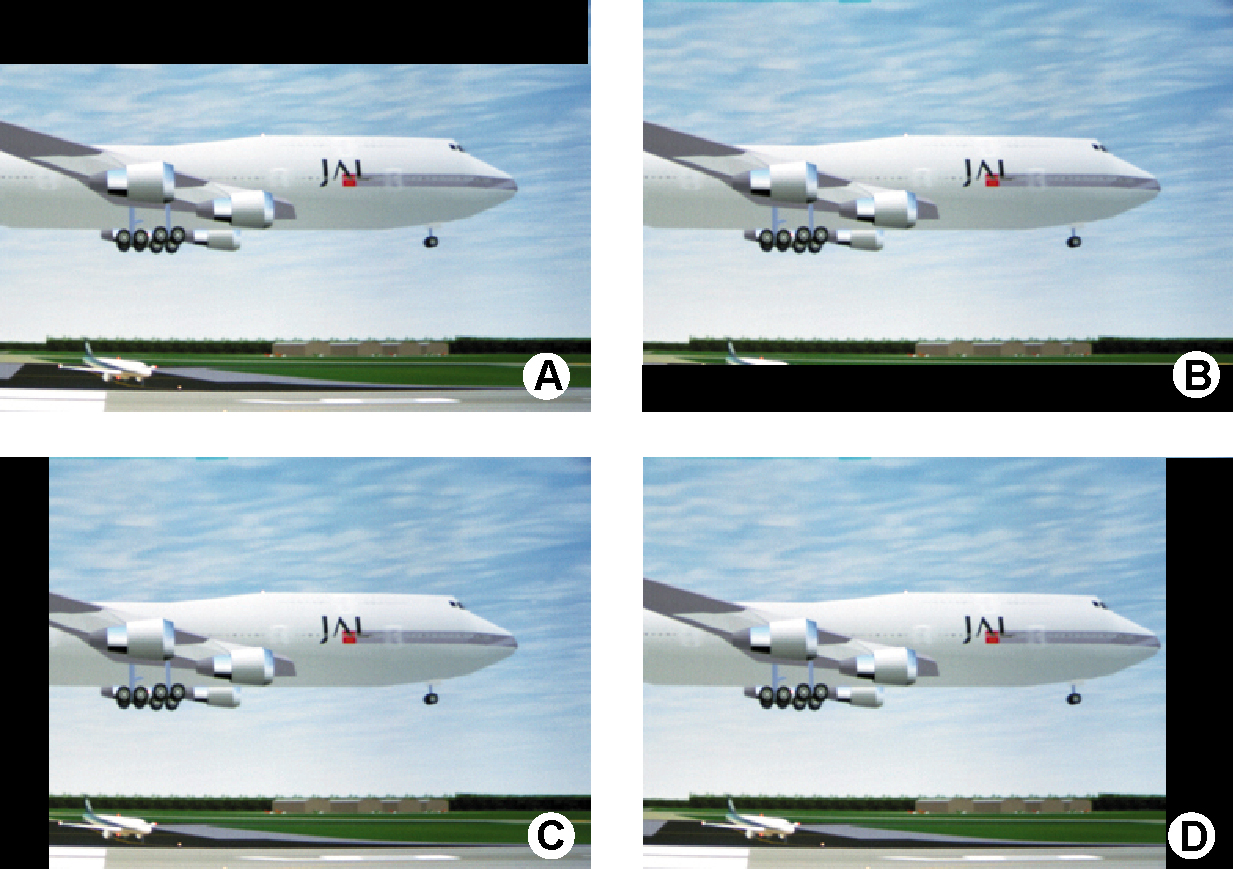
Blanking adjustments affect only the edges of the projected image and are used to frame the projected image on to the screen and to hide or black out unwanted information (or noise). A '0' on the bar scale indicates no blanking.
Blanking adjustments affect only the edges of the projected image and are used to frame the projected image on to the screen and to hide or black out unwanted information (or noise). A '0' on the bar scale indicates no blanking.
The reset function brings all blanking settings back to zero.
Press Menu to activate the menus and select → .
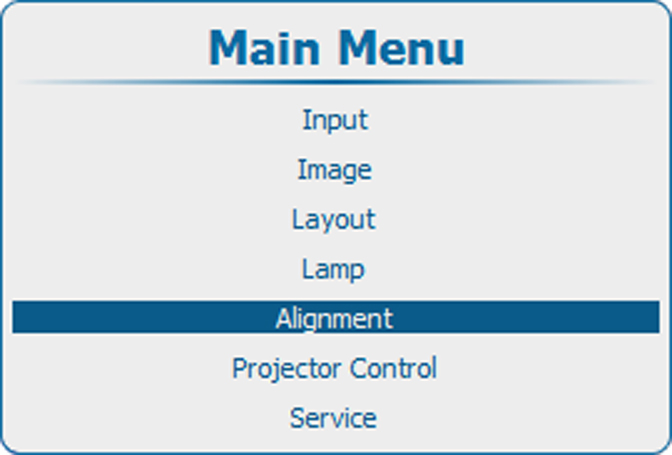
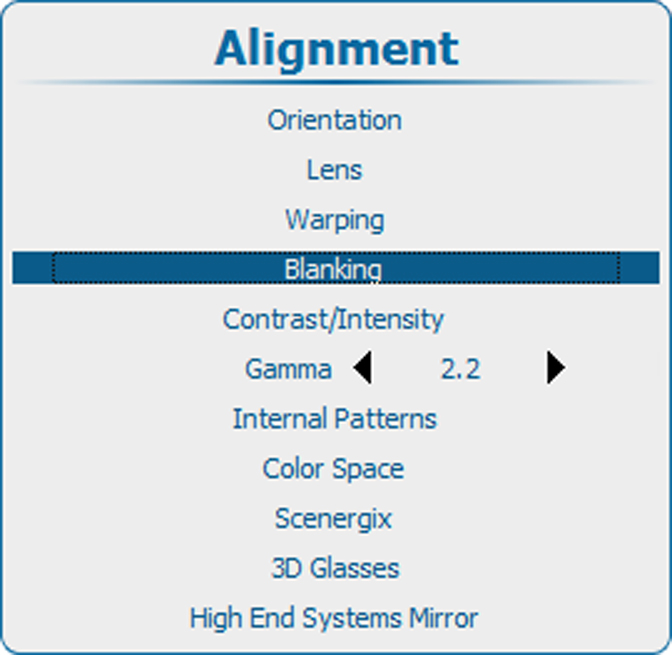
Press ENTER to select.
The blanking adjustment menu opens.