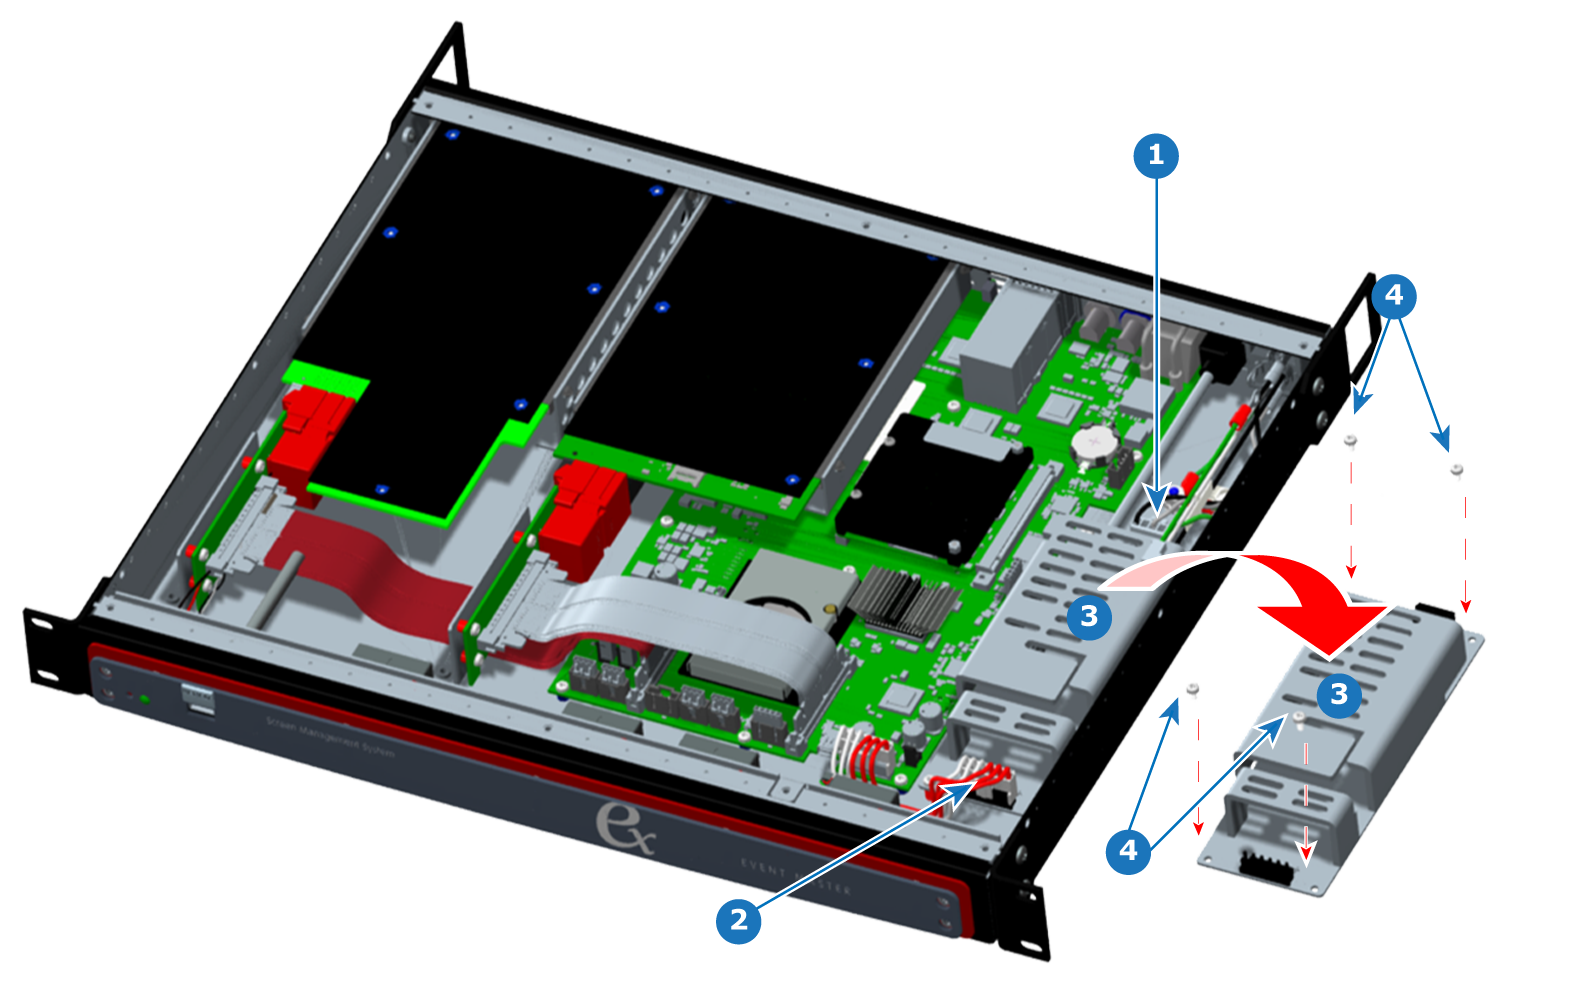
Disconnect the DC power cable from the rear of the power supply.
Disconnect the AC entry cable from the front of the power supply.
Remove the four 4-40 x25, SEMS screws that fasten the power supply to the chassis.
Remove the power supply from the chassis.
How to install the power supply
To install the power supply in the EX chassis, follow the steps of the removal procedure in reverse order.
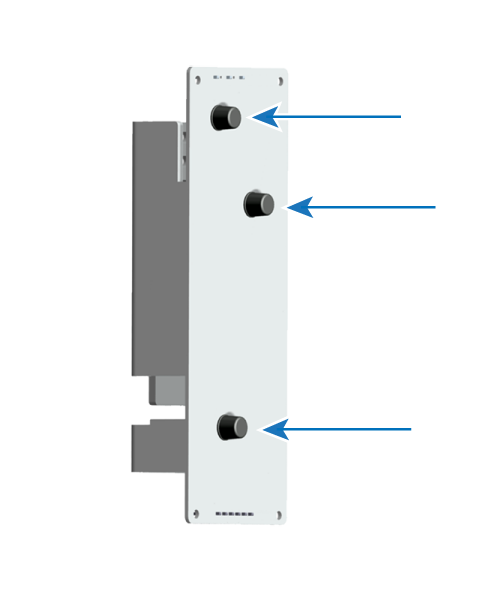
Note: Make sure that the three rubber bumpons are on the bottom of the power supply before installing the power supply in the chassis. See Image 16–10.