Overview
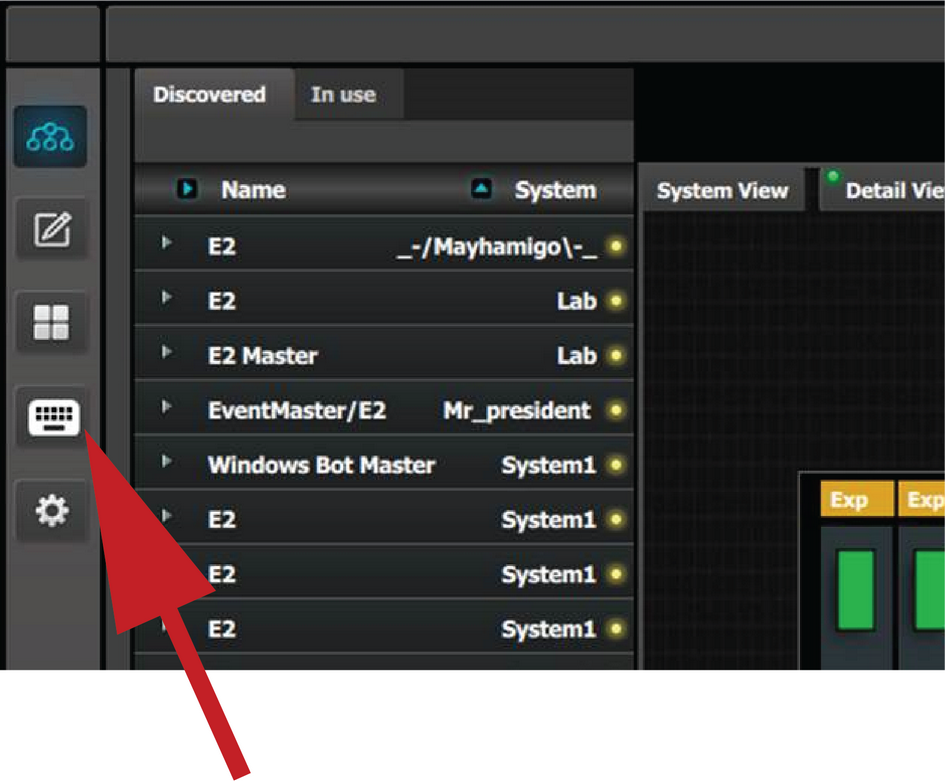
In the Event Master Toolset, click on the  icon to open the controller menu setup page.
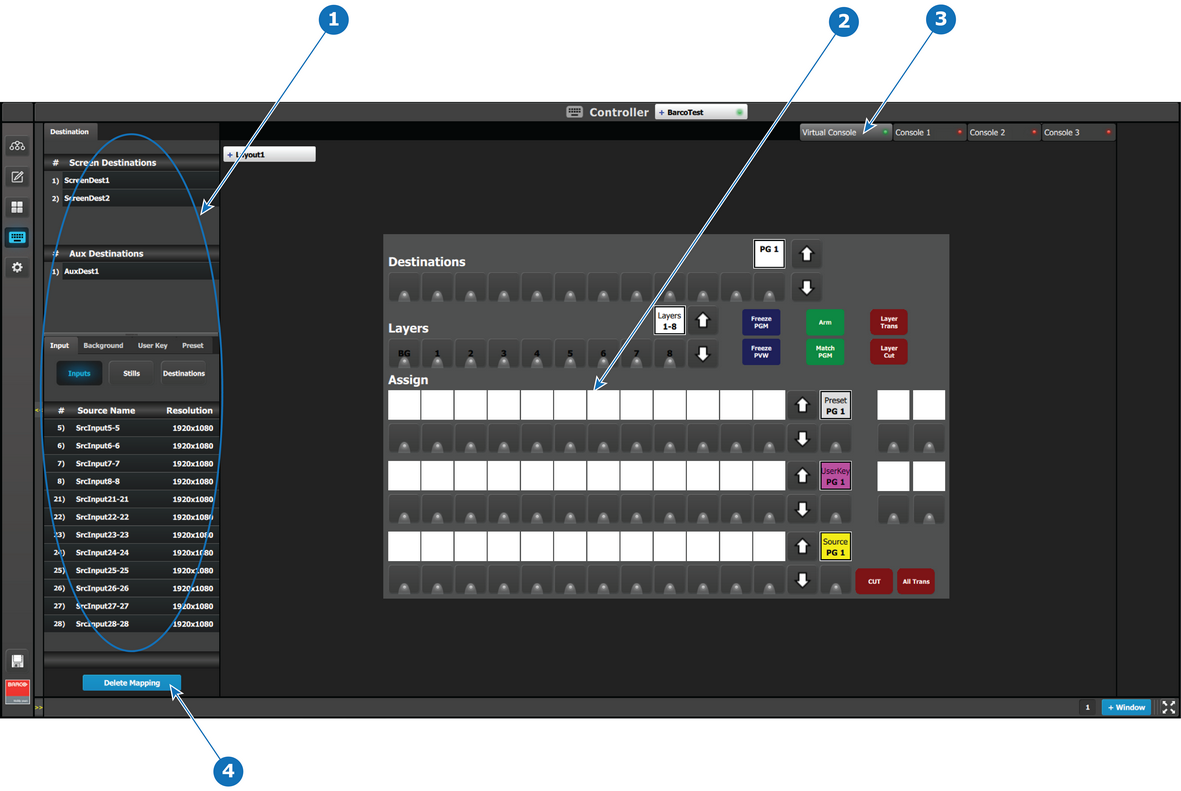
- 1
- Resources
- 2
- Virtual console
- 3
- Console Representation Selection
- 4
- Delete Mapping button

In the Event Master Toolset, click on the icon to open the controller menu setup page.
Drag and drop the resources from the left side onto the buttons corresponding to the ones on the console.
In case of incorrect button mapping(s), the Delete Mapping button in the lower part of the resource pane is available. When this button is clicked on it will turn in red. Select the button(s) the incorrect mapping of which is to be deleted, then click the red Delete Selected button.
At the top right of the screen are two tabs with LED indicators. A green LED means available, and a red LED means unavailable or not connected. The Virtual console is always available for use in Event Master Toolset. When an EC-30/EC-50 is connected or if an EC-200/EC-210 is used the Console 1 tab is also available.
Button assignments made on the Virtual Console tab follow suit onto the Console 1 tab, and vice versa, for each of the four layouts. The Virtual Console can display a layout separately from the Console 1 page, allowing the Virtual Console to be used as a "soft" extension of the physical console.