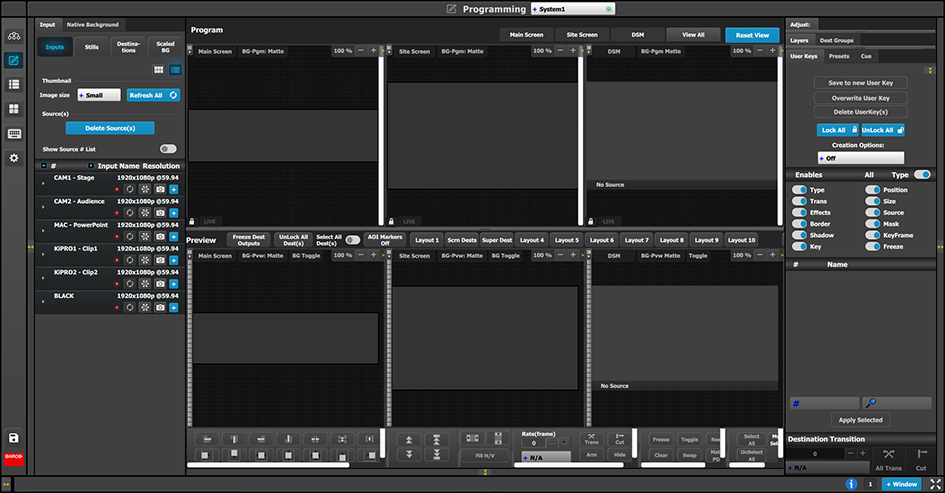
The programing Menu is accessed by clicking on the Programming icon on the left hand side of the screen. The area in the middle will display a composite of the two screen destinations and the Aux destination created in the previous section.
We will assign layers and backgrounds into the screens, adjust sizing and positioning parameters, and finally, drop sources into the layers.
Image 9–12
Note: P1: You can skip this step if you don’t want thumbnail images to represent the background. In this case, the background in the destinations area will be black and noted only by the assigned name.
P1: Select thumbnails for Background.
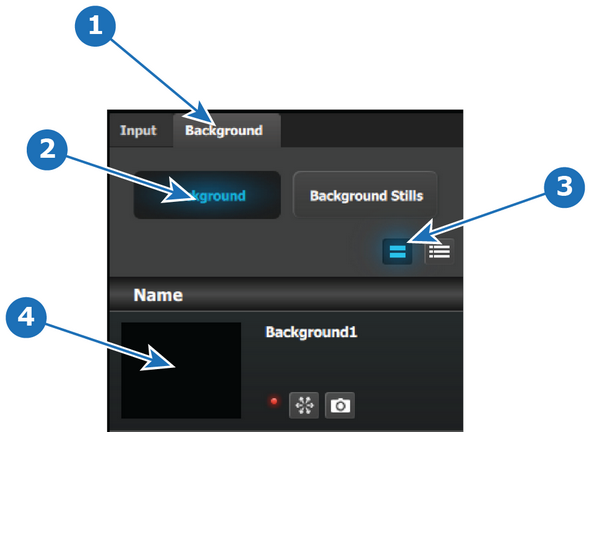
From the left hand side, click on the Native Background tab.
In the Native Background menu, click on the Background button.
Click on the thumbnail button.
Image 9–13
Click the black rectangle.
A dialog box will open for you to navigate the computer to locate the desired picture file to used as a thumbnail image.
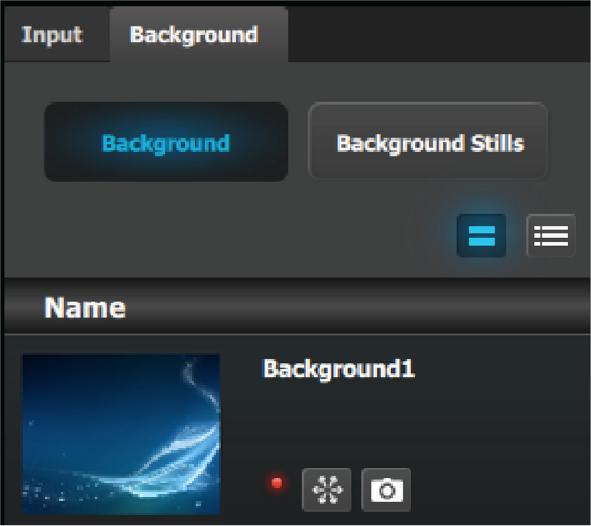
After a pic is selected, the image will fill the black rectangle as shown below.
Image 9–14
Note: P2: You can skip this step if you don’t want thumbnail images to represent the inputs/sources. In this case, the layers in the destinations area will be black and noted only by the assigned source name.
P2: Select thumbnails for Inputs
From the left hand side, click on the Input tab.
In the Input menu, click on the Inputs button
Click on the thumbnail view icon.
Click in the black box and navigate the computer to find and select the desired pic.
After a pic is selected, the image will fill the black square.
Repeat this sequence until a pic is selected for each input.
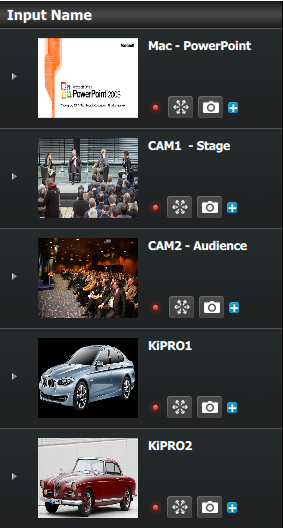
When these steps are completed, the section will appear similar to the following image.
Image 9–15
P3: Created Additional Sources from Inputs
Note: As noted previously, a source is generated automatically for each input. For this application, only one source will be used for each input, so no additional sources need to be created. Therefore, in this example this step will be skipped.
P4: Drop Backgrounds into Screen Destinations
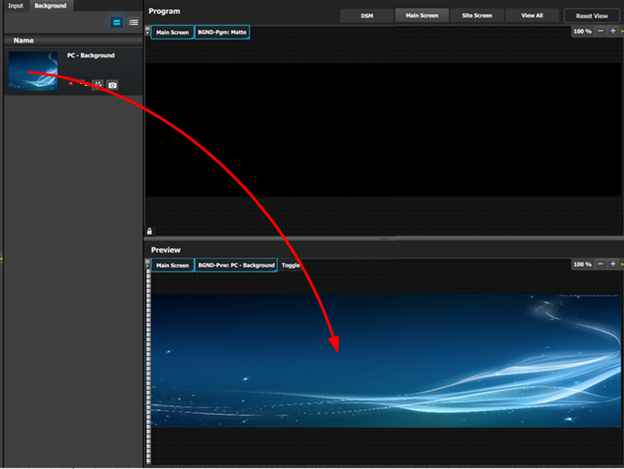
On top click on the Main Screen tab to only view the Main Screen.
Select the Background tab from the top left side and drop it into the preview layer.
Image 9–16
P5: Drop Layers into Screen Destinations & Sources into layers
In this step we will add layers into each Destination, assign sources to layers and adjust their size and position parameters.
Part1: Site Screen
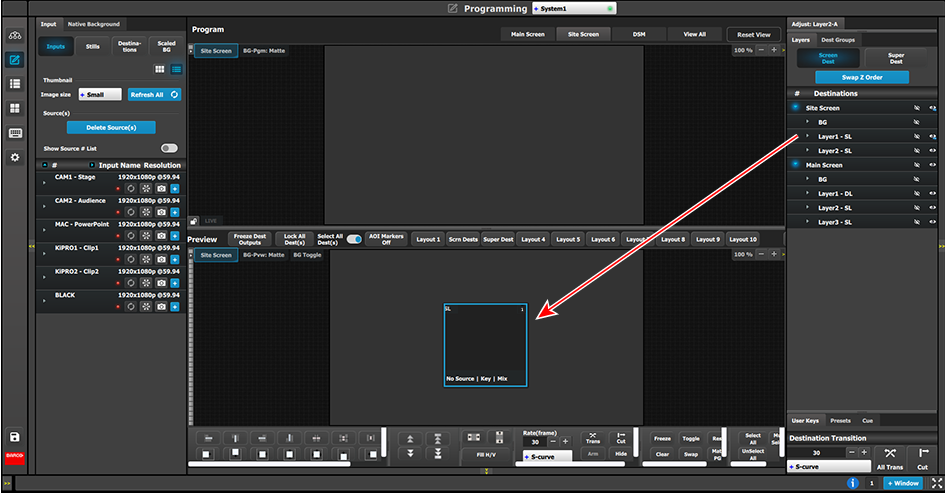
On top, click on the Site Screen tab to only view the Site Screen.
On the right hand side of the screen click on the Layers tab and then click on the arrow next to the Destination name to reveal all the layers and background that were assigned to the destination.
Drag Layer1 into the preview screen. A black, square box, surrounded by a blue “selected” border will appear.
Image 9–17
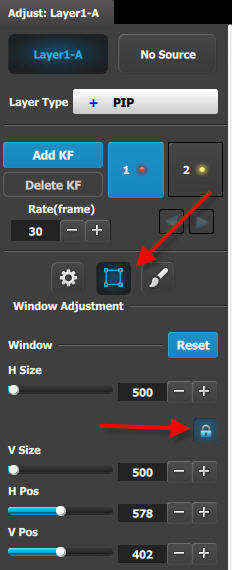
Click on the Adjust tab at the top of the adjustment pane (on the right-hand side of the screen).
Select the Window Adjustment Icon and then unlock the aspect ratio lock by clicking in the lock icon.
Image 9–18
Adjust the sizing parameters as follows:
H Size: 1920
V size: 1080
H Pos: 0
V Pos: 0
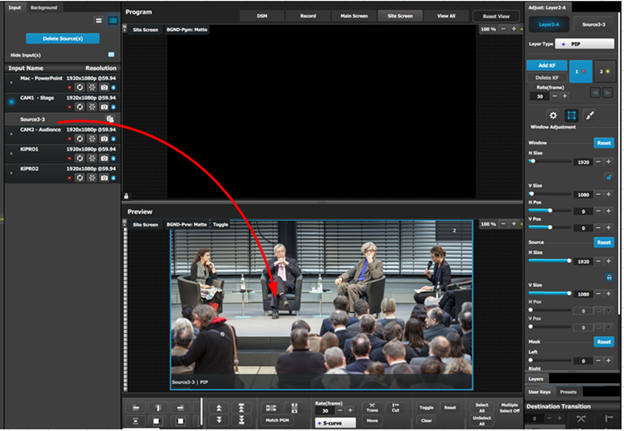
From the left hand side, click on the Input tab.
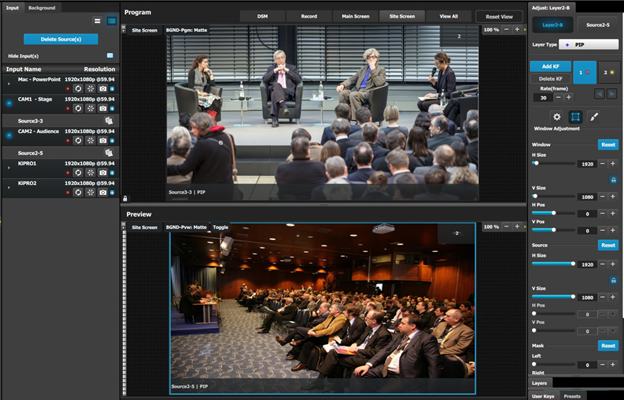
Click the source under CAM1 and drop it into the layer.
Image 9–19
Transition the layer to program.
Drop the source for CAM 2 to the preview layer.
Image 9–20
Part2: Main Screen
On top click on the Main Screen tab to only view the Main Screen.
Under the Layers tab, click on the arrow next to “Main Screen”.
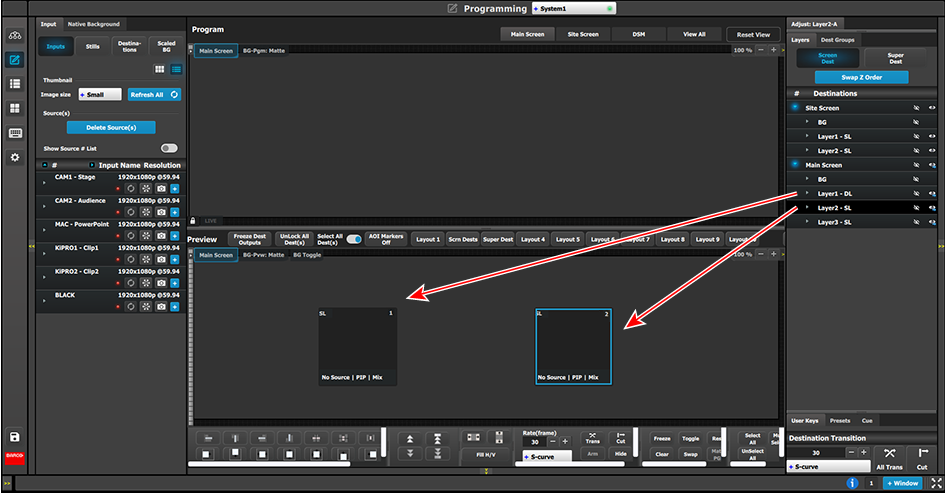
Drag Layer1 and Layers 2 anywhere into the preview screen. Two black, square boxes will appear.
Image 9–21
Click on the Adjust tab on the top and select the “Window Adjustment” Icon.
Unlock the aspect ratio lock by clicking in the lock icon.
Click each layer separately and adjust their sizing parameters as follows. Note: You need to unlock the aspect ratio for each layer.
Layer1
H Size: 1720
V size: 970
H Pos: 100
V Pos: 50
Layer2
H Size: 1720
V size: 970
H Pos: 1920
V Pos: 50
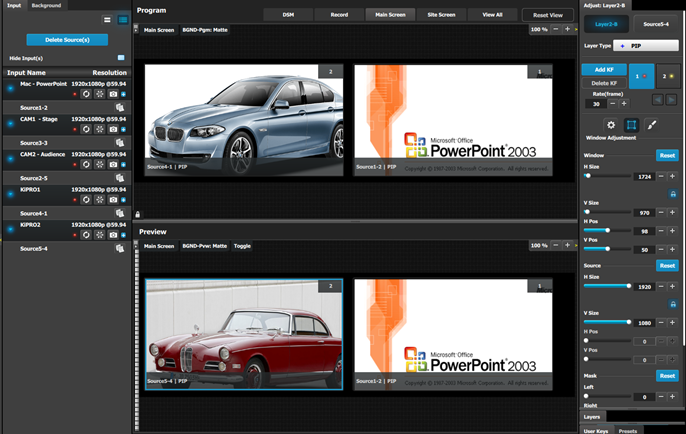
Click the sources under KiPRO1 and Mac-Power Point and drop them into the respective layers.
Select both layers on the Preview.
Transition the layers to program.
Drop the KiPRO2 source to the layer on the left.
Image 9–22
P6: Drop Sources into Aux Screens (DSM Output)
On top click on the DSM tab.
Drag the CAM 1 input1 into the preview screen.
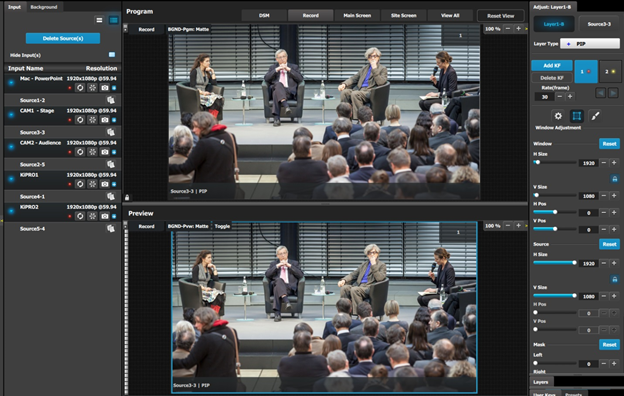
Image 9–23
Note: P7: In this application we will not save any user keys. All layers attributes will be saved.
P7: Create user Keys and Presets
Select the Site screen destination and the layer in preview.
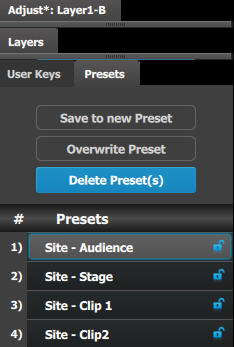
Under the Preset tab click in the “Save to new Preset” button.
Edit the name to reflect the source that is on Preview.
Repeat the previous steps to save 3 more presets, so we have a preset for both video clips and both cameras.
Image 9–24
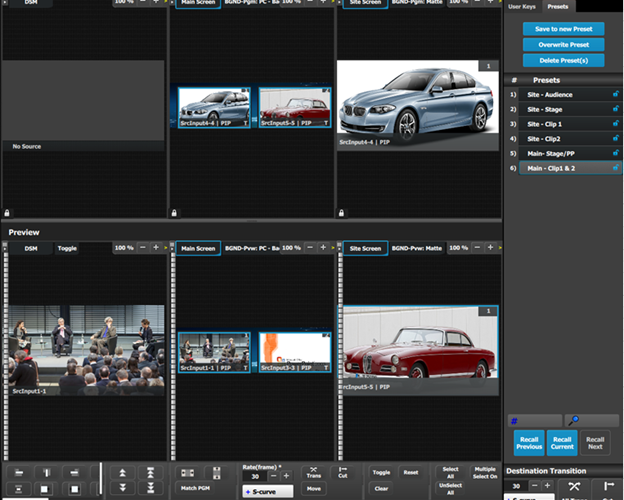
Select the Main screen and select the sources into the two PIPs are the event requirements described in the introduction of the application note.
Save each look into a preset and give it an appropriate name.
Result
Now you are ready to execute the presets and transition on the desire preview look into Program. Remember to select the corresponding destinations when you use the All Trans button.