6.19 Configuration Menu > Adjustment > External Devices Configuration

General

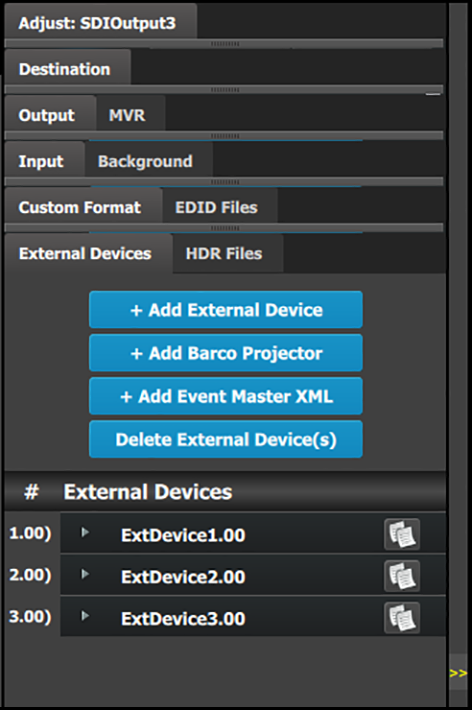
In the External Devices configuration menu users can add external devices to a configuration and assign commands to those external devices.

External Devices tab

This menu provides:

  • An + Add External Device button to manually add, one at a time, up to 12 external devices.
  • An +Add Barco Projector button to add a Pulse projector with four default commands (shutter open/close and Light source On/Off).
  • An +Add Event Master XML button.
  • A Delete External Device(s) button to delete selected external devices.
  • A list of all of the external devices that have been added to the configuration.

    The system provides a syntax number to the left of each added external device. The names of the external devices can be changed, as the names of inputs, outputs, destinations, etc. can be changed.

To adjust the attributes of an external device, select the device from the list and click on the adjustment tab. For example, select ExtDevice1.00 and click on the Adjust: ExtDevice1.00 tab.
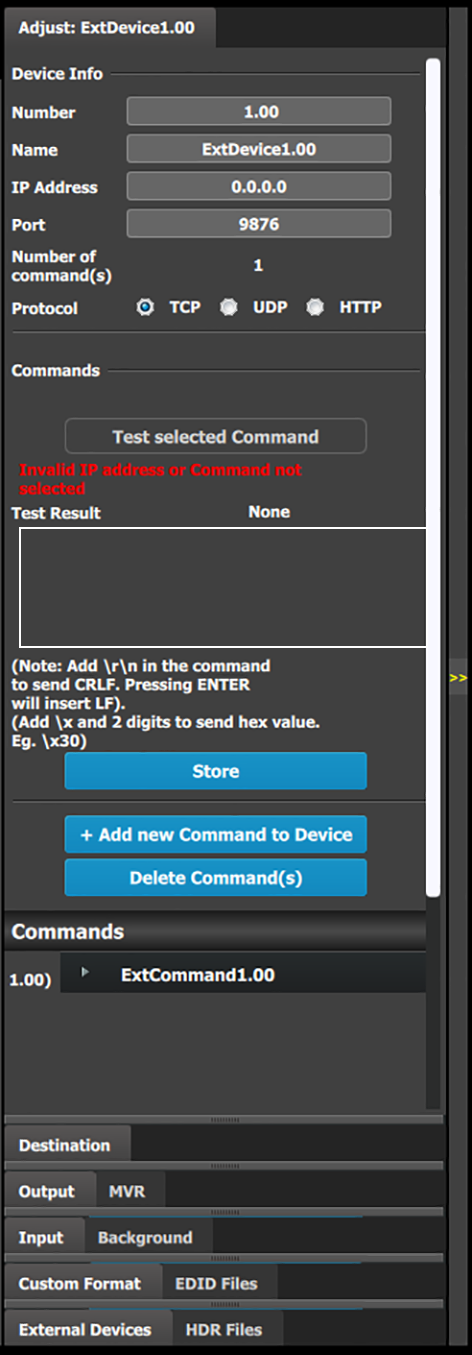
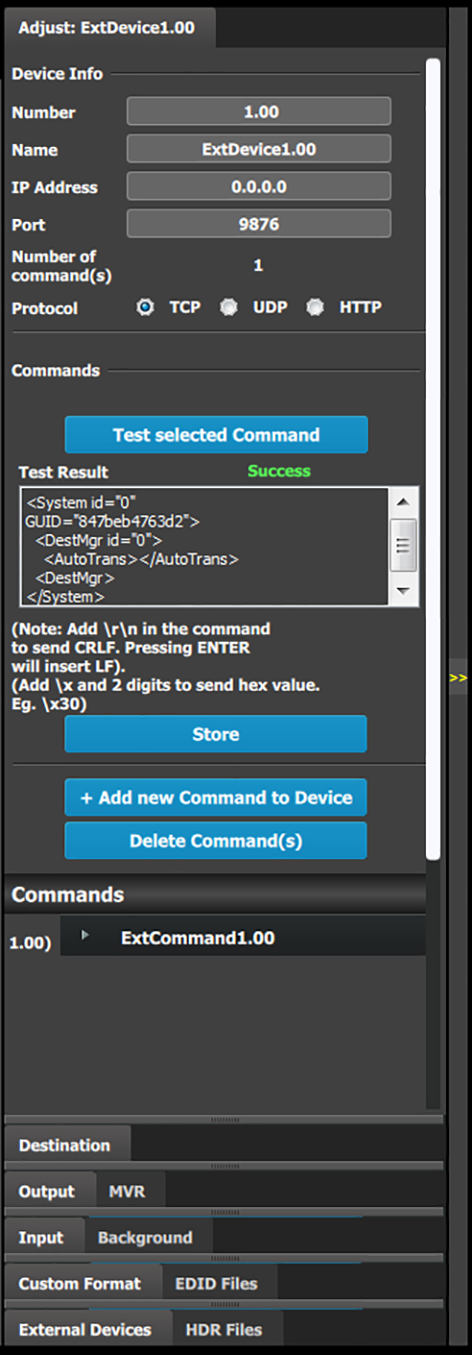
External Devices Adjust tab

This menu provides:

  • Number: A number assigned to the external device.
  • Name: The name of the external device.
  • IP Address: The IP address of the external device.

    The IP address must be entered manually.

  • Port: The port assigned to the external device.
  • Number of command(s): The number of commands assigned to the external device.
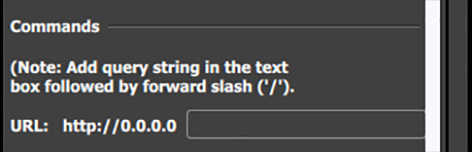
  • Protocol: The Internet protocol: TCP (Transmission Control Protocol), UDP (User Datagram Protocol), or HTTP (HyperText Transfer Protocol). If HTTP is selected, the system displays two further buttons: Get and Post.

    Provide the URL for HTTP Get or Post in the edit box below the protocol buttons.

  • Test Selected Command: A button that tests network communications between the EMP and the external device.

    Until a Command is selected, the system displays the message,”Invalid IP address or Command not selected.”

  • Test Result: The Test Result reads:

    • Failure: before the command is tested and if the command fails the test.
    • In Progress: while the command is being tested.
    • Success: if the network communication is successful. If successful, the command will have triggered the external device to perform the requested action.
  • Store: Stores the tested command to the selected external device.
  • + Add new Command to Device: A button that adds commands to the external device.
  • Delete Command(s): A button that deletes selected commands from the external device.
  • Commands: A list of commands assigned to an external device.
Add, Test, and Store commands

On the External Devices Adjust tab the user may add, test, and store commands for external devices.

  1. Click on the +Add new Command to Device button to add a command to the selected external device.
  2. Enter the command in the command window.

    The user may type or paste a copied command into the empty window.

  3. Click on the Test Selected Command button.

    The Test Result reads:

    • Failure: before the command is tested and if the command fails the test.
    • In Progress: while the command is being tested.
    • Success: if the network communication passes the test.
  4. Correct the command if it fails the test.
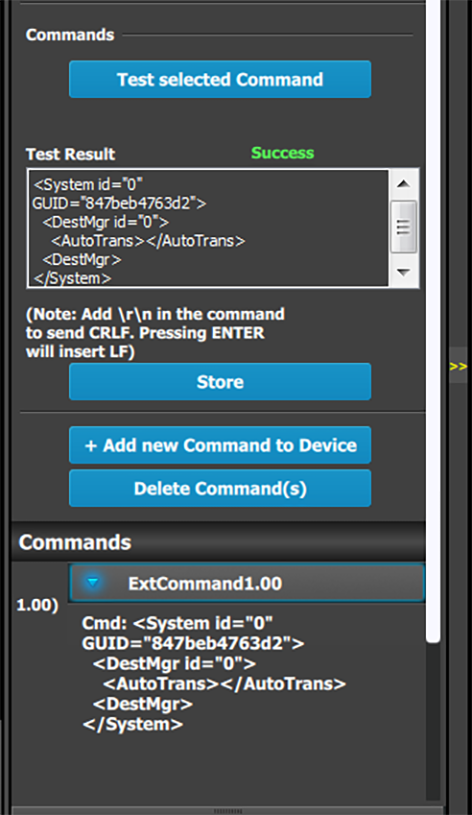
  5. Click on the Store button, once the command has passed the test, to store the command to the selected external device.

Once a command has been added, tested, and stored, the text of the command appears under the command in the Commands list.