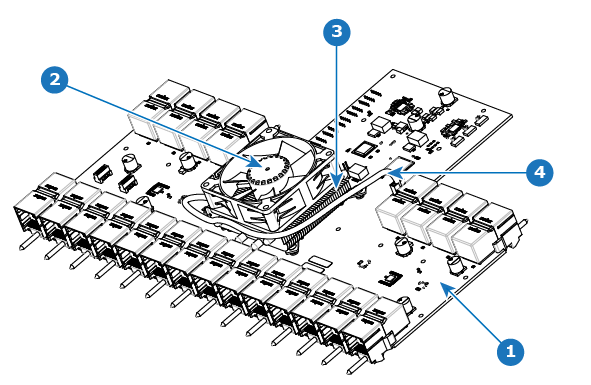
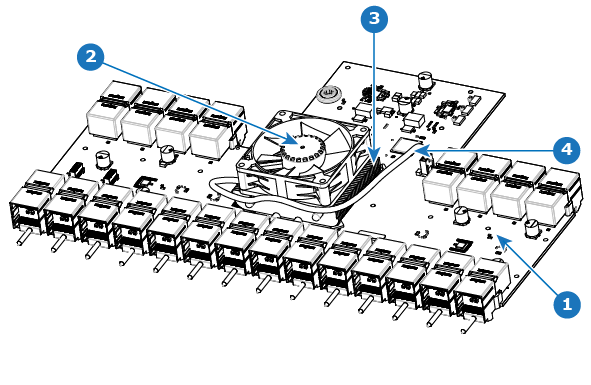
OverviewImage 14–114 shows the E2 Gen 1 motherboard with fan. Image 14–115 shows the E2 Gen 2 motherboard with fan.Image 14–114 E2 Gen 1 motherboard with fan1Motherboard2Fan3Heatsink4Fan power cableImage 14–115 E2 Gen 2 motherboard with fan1Motherboard2Fan3Heatsink4Fan power cable
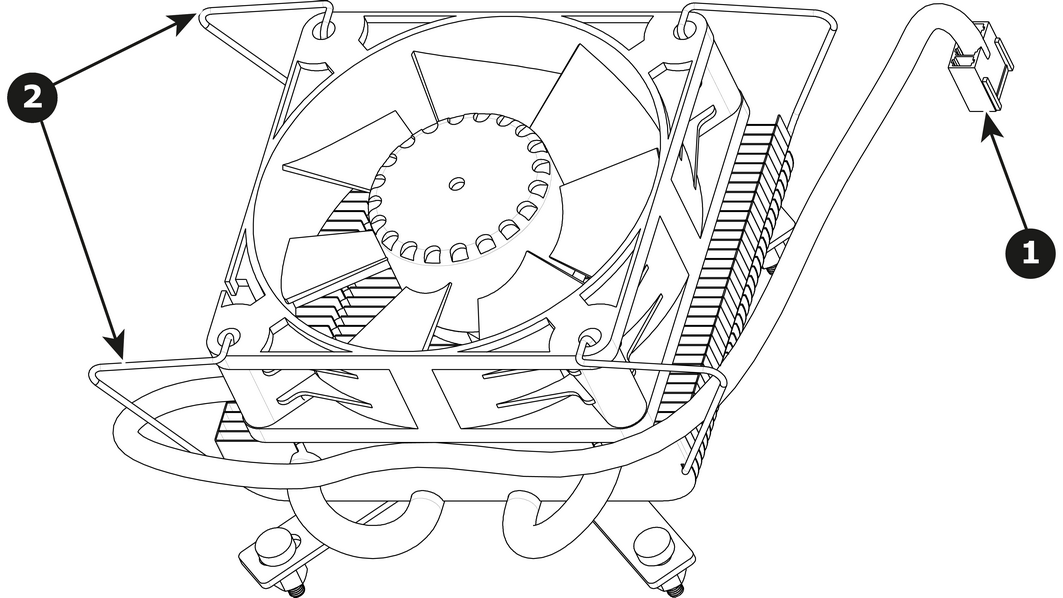
How to remove Motherboard Fan Remove the cable that provides power to the heatsink fan.Lift the two handles to release the fan from the heatsink.Image 14–116 Lift the fan away from the heatsink.
How to install Motherboard Fan Remove the fan from the Heatsink/Fan spare kit.Using the clips install the fan on the top of the heatsink that is on the motherboard.Connect the fan power cable to header xxx located on the motherboard.Note: Disregard the heatsink from the spare kit.