14.31 1RU Fan Cable

Flow chart
Image 14–100
Note: The 1RU cable assembly provides power to the 1RU fans from the System-Power board.
Note: One side of the cable is attached to a metal bracket that is accessible after the 3RU and the 1RU fan trays are removed. The other side of the cable assembly connects to the System-Power board and is accessible when the bottom panel is removed.
Concerned parts
Cable Kit Set
Necessary tools
How to remove the 1RU Fan cable
  1. Make sure the unit is placed in the upright position and the 3RU and 1RU fan trays are removed.
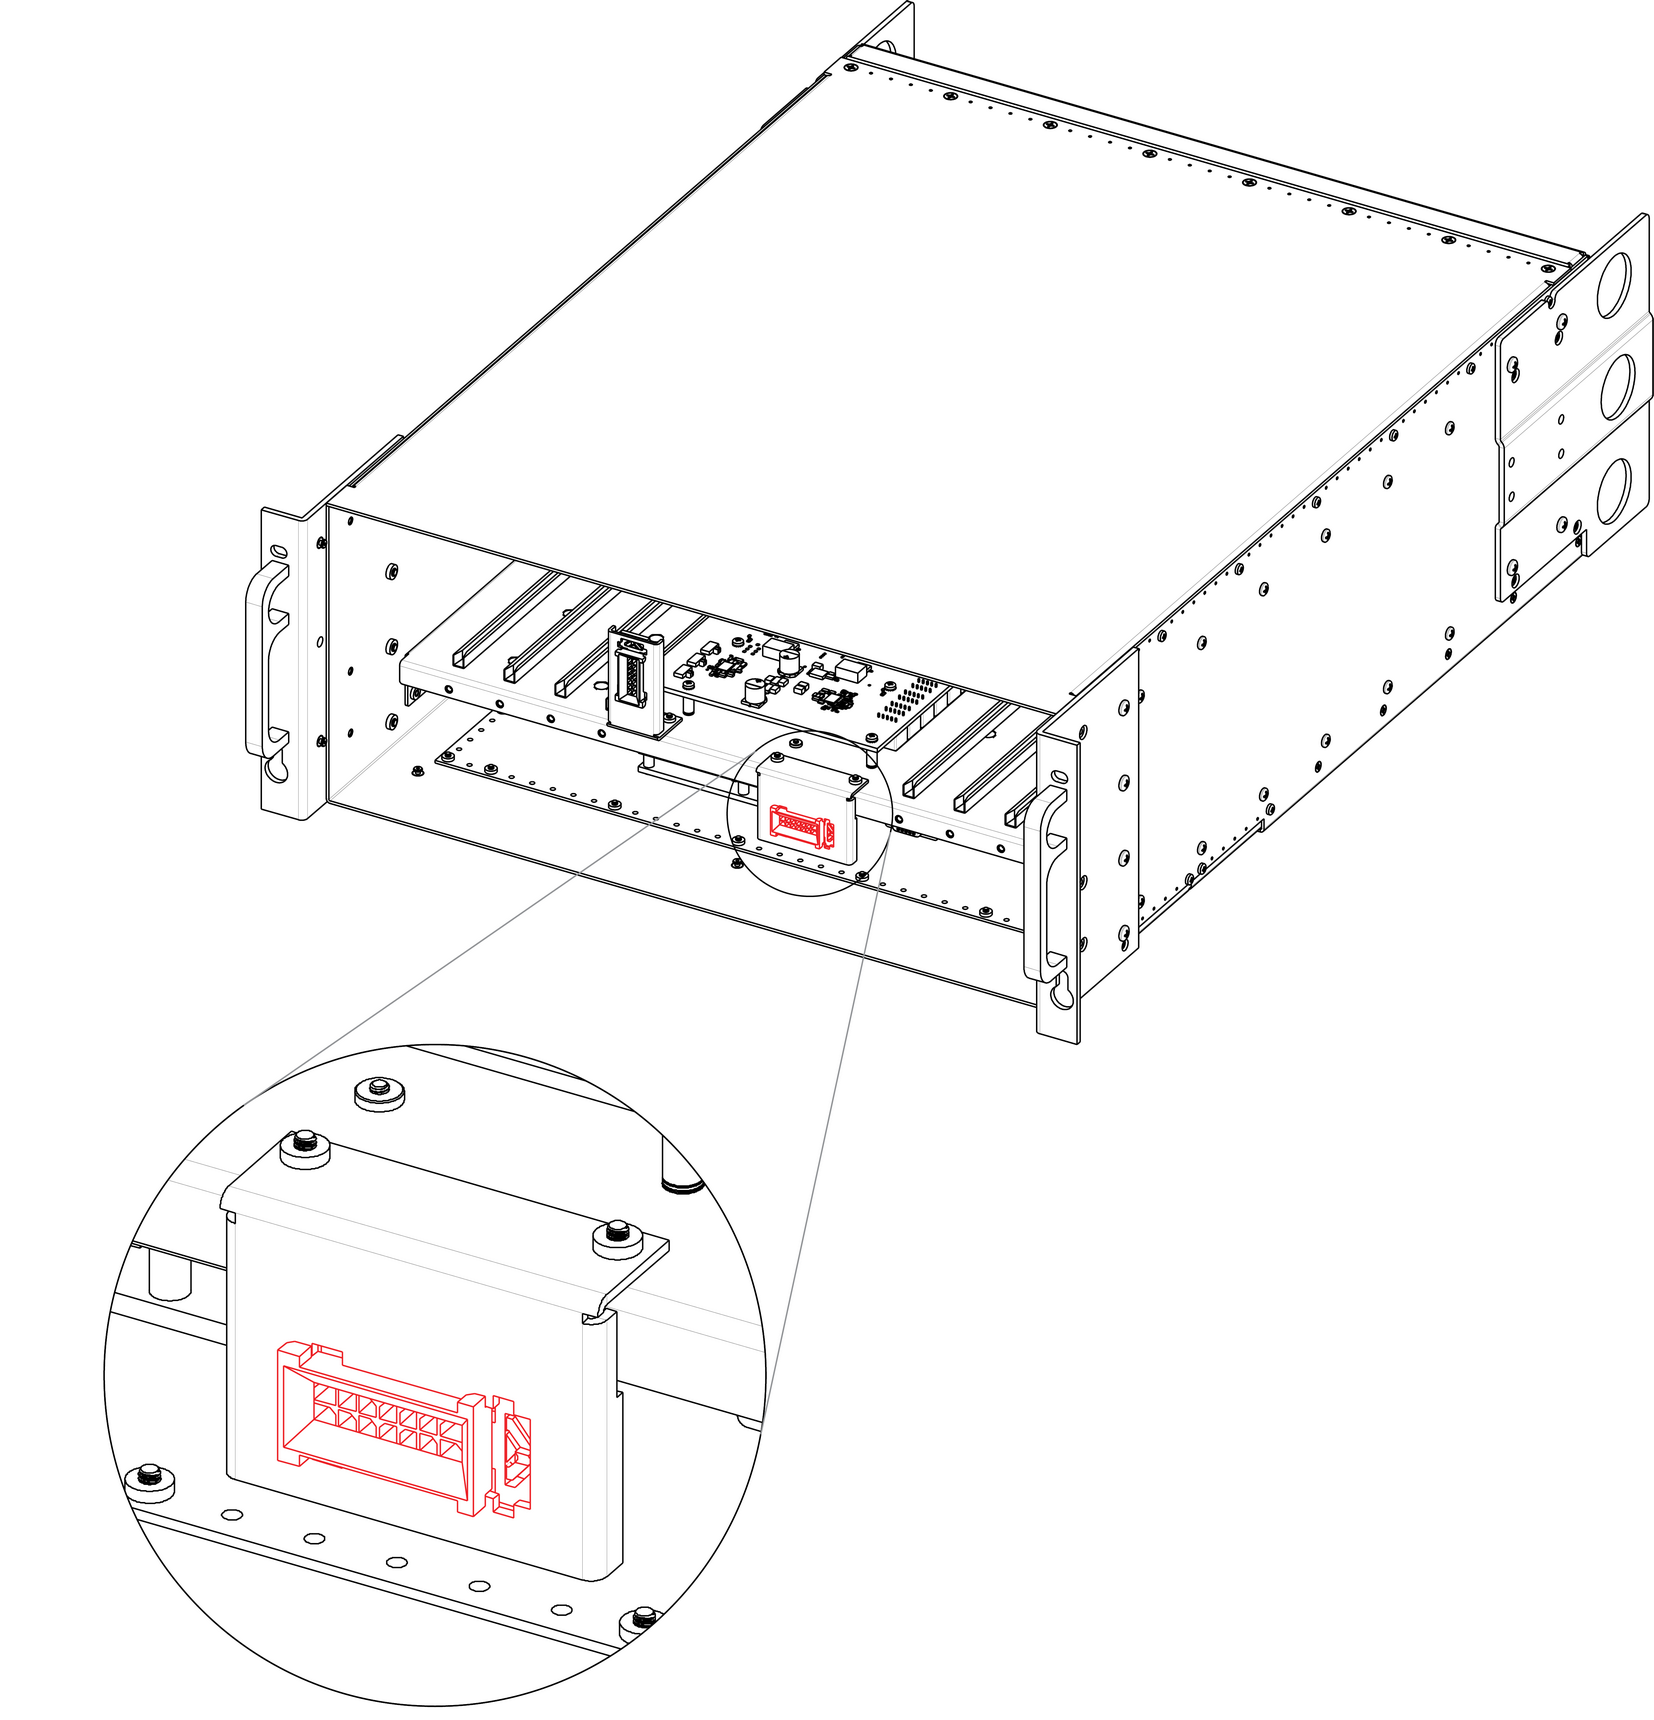
  2. Locate the 1RU cable connector that is exposed after the 1RU fan tray is removed. The connector is attached on a metal bracket that is horizontally mounted in the chassis.

    Image 14–101
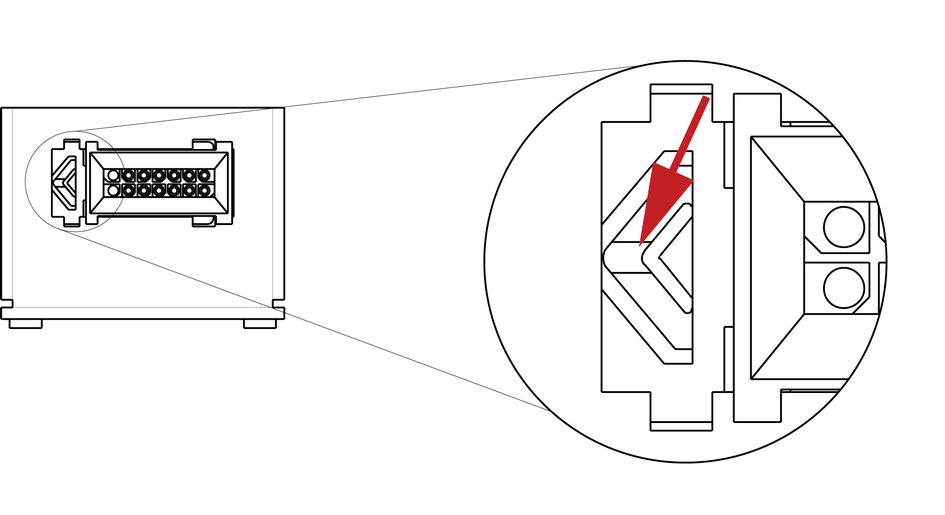
  3. Locate the snap lock on the connector and push it back to release the connector from the bracket.

    Image 14–102
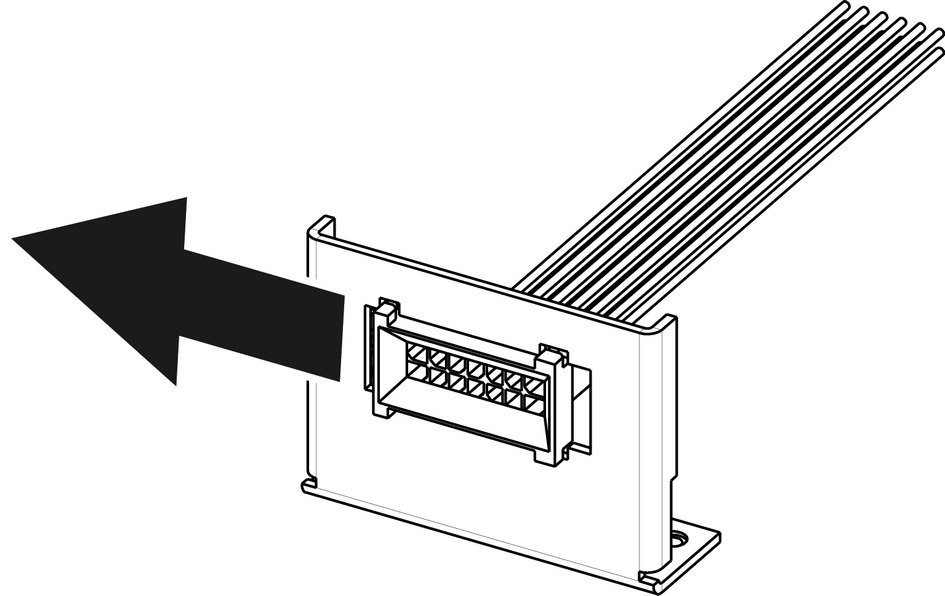
  4. Push the connector to the left until the slots in the metal bracket align with the flanges on the connectors.

    Image 14–103
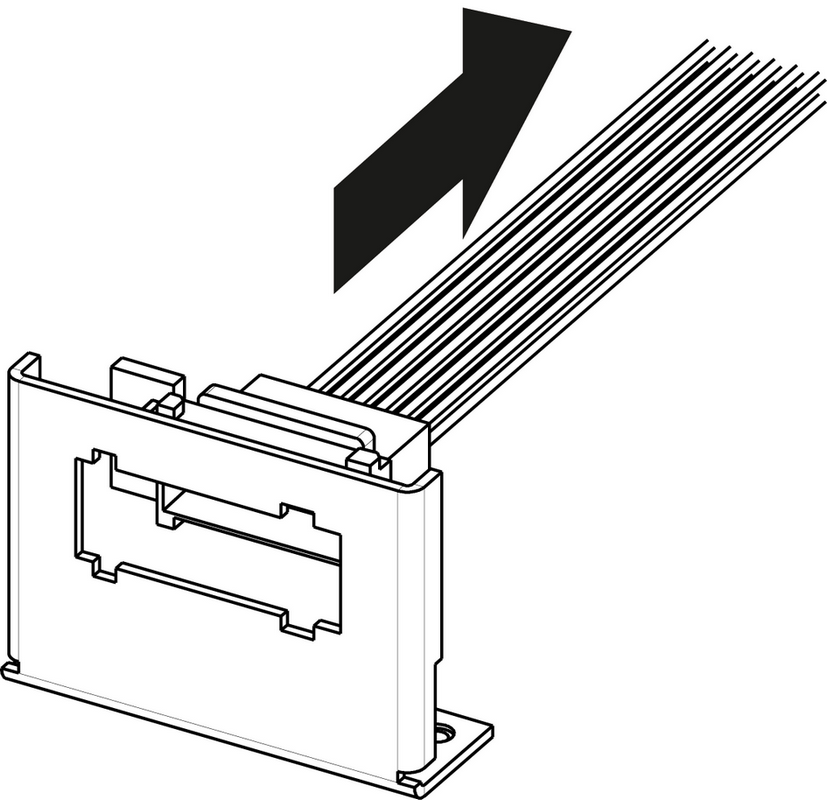
  5. Gently pull the cable away from the bracket.

    Image 14–104
  6. Turn the unit upside-down and remove the bottom panel.
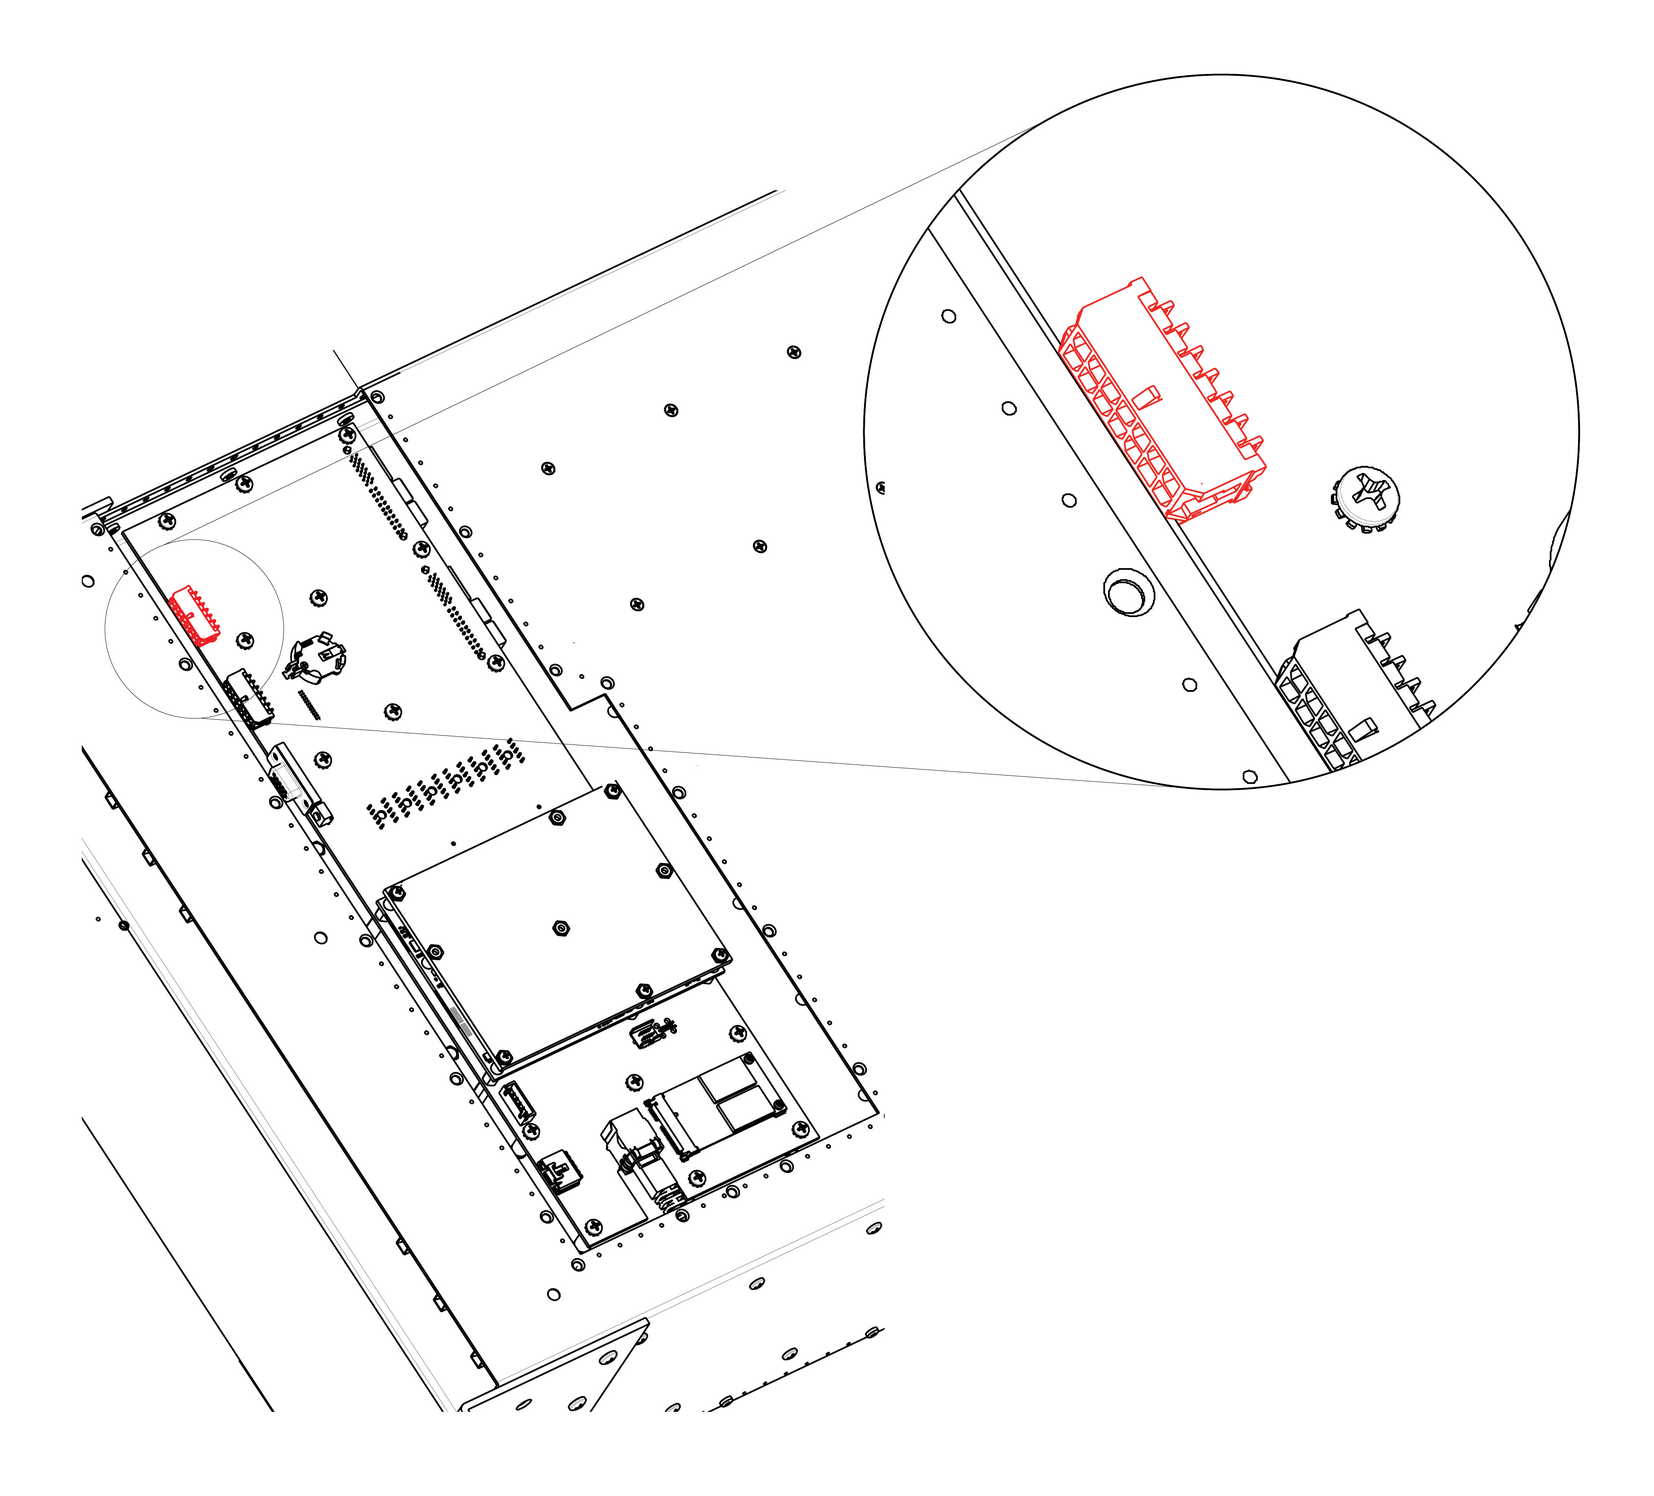
  7. Locate the 1RU cable that is plugged on the System-Power board.

    Image 14–105 1RU fan-cable connector
    Note: Only the Gen 1 system card is shown, but this connection is the same on the Gen 2 system card.
  8. Remove the 1RU cable by gently pushing it out.
How to install the 1RU Fan Cable

To install the 1RU Fan Cable follow the same procedure in the reverse order.