General
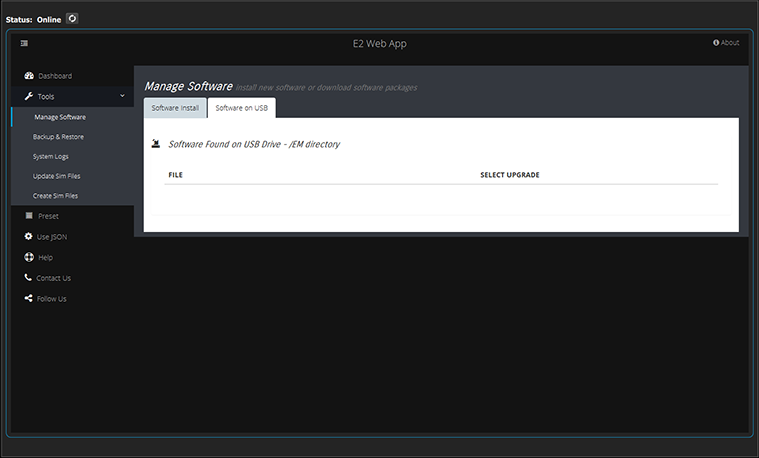
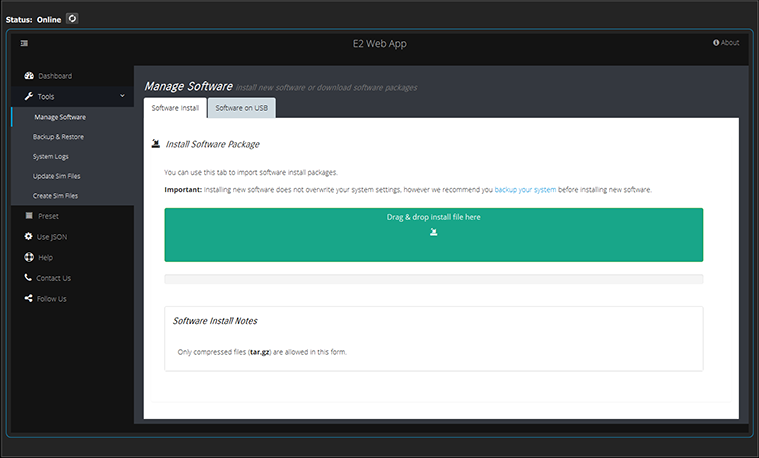
When you select the “Manage Software”, two tabs are presented: the “Software Install” tab and the “Software on USB” tab.


When you select the “Manage Software”, two tabs are presented: the “Software Install” tab and the “Software on USB” tab.
From this menu the user can select a firmware package from the EM directory on a flash drive that is inserted in the front-panel USB connector of the EMP.
How to upgrade your system:
Select the file and “drag and drop” it on top of the green button. The file is compressed and it has tar.gz extension.
While the unit updates its software the following message appears:
The system will now restart. Please wait...
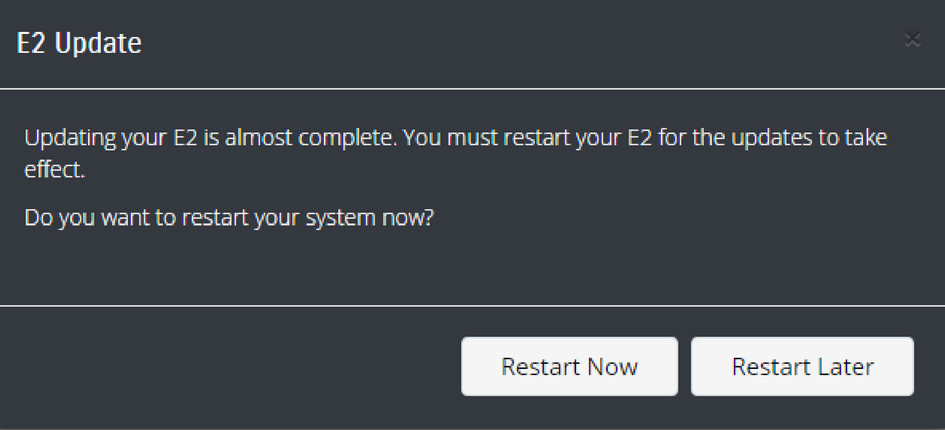
When the upload is complete, a window appears instructing you to restart the unit.
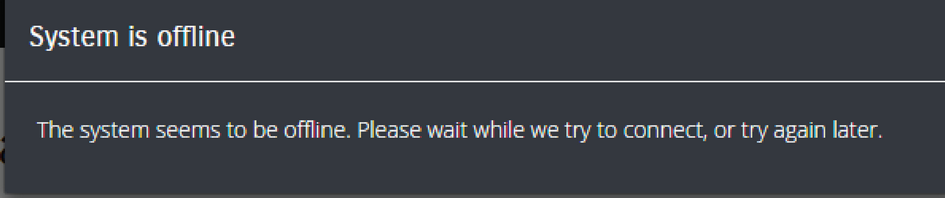
While the system reboots and installs the new software, the web app displays a message indicating that it can’t communicate with the unit. This is normal and no action is required on your part.