9.6 Multiviewer (MVR) Menu

Overview

Click on the Multiviewer icon on the left hand side of the screen to reach the Multiviewer Menu, the module used to setup the Multiviewer outputs to the MVR monitors. You should see two screens since two Multiviewer outputs exist.

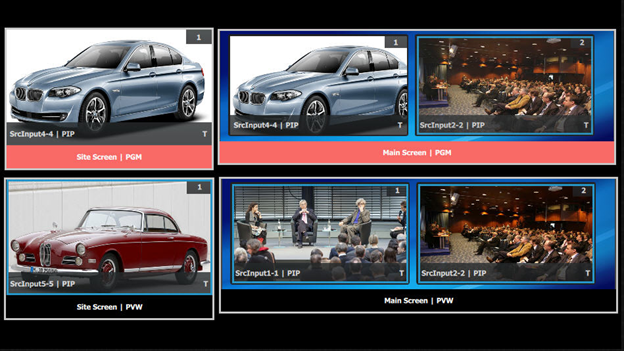
We will setup the top window to display all the inputs and the bottom window to display the Program and preview screens.
Setup the “Sources” MVR
  1. Click on the top tab that is labeled “MVROut1”.
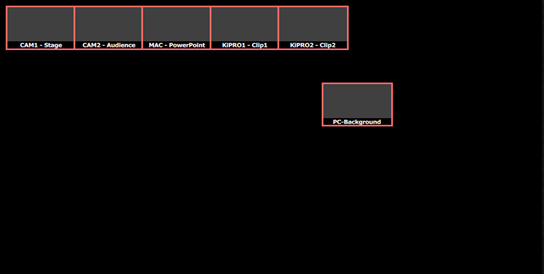
  2. Click on the Auto Layout Input button that is located at the bottom of the display area. All of the inputs and backgrounds will appear lined up at the top of the window.

    Image 9–26
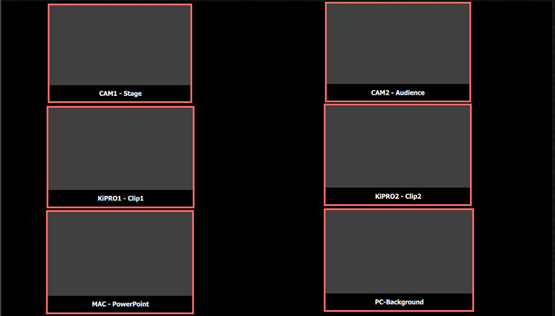
  3. Resize and arrange the PIPs to fill the screen.

    Image 9–27
Setup the “Program/Preview” MVR
  1. Click on the top tab that is labeled “MVROut2”.
  2. Click on the Destination tab and the top of the right hand side.
  3. Drag the Program and Previews under the Site and Main Screens into the window area.
  4. Resize and arrange the PIPs so they appear as follows:

    Image 9–28