What can be done?
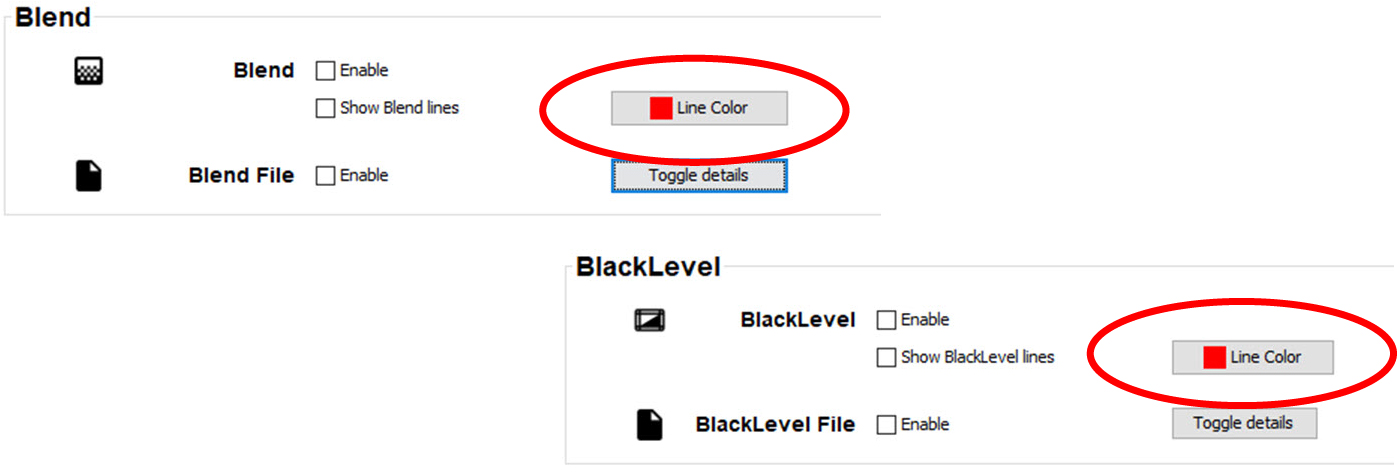
The blending and black level lines can be changed in color so that you see the difference between both and between the used image.
The blending and black level lines can be changed in color so that you see the difference between both and between the used image.
Click on Line Color .
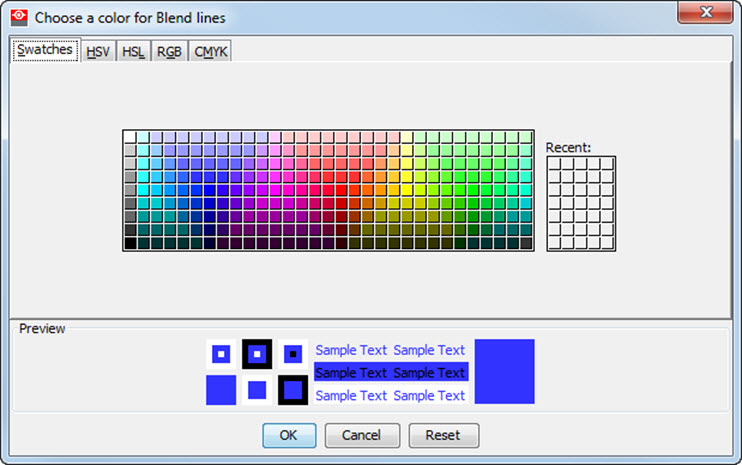
Select the desired color (via swatches = predefined color samples).
The first selected color will be indicated in . When others are selected for a preview, the color indication will also be added in the list as first one. Finally, the color selection can be done from the list or out of the color pallet.
A preview is given in the preview pane. Continue with step 8.
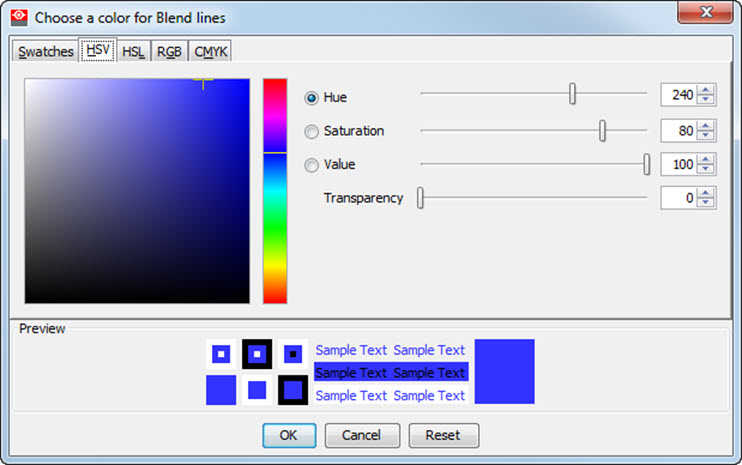
Click on the HSV tab to display the color pallet (HSV = Hue - Saturation - Value).
A color can be selected in 2 ways:
A preview is given in the preview pane. Continue with step 8.
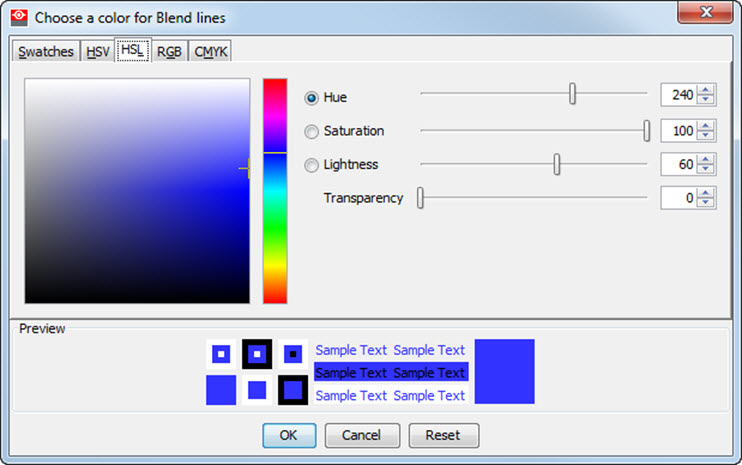
Click on the HSL tab to display the color pallet (HSV = Hue - Saturation - Lightness).
A color can be selected in 2 ways:
A preview is given in the preview pane. Continue with step 8.
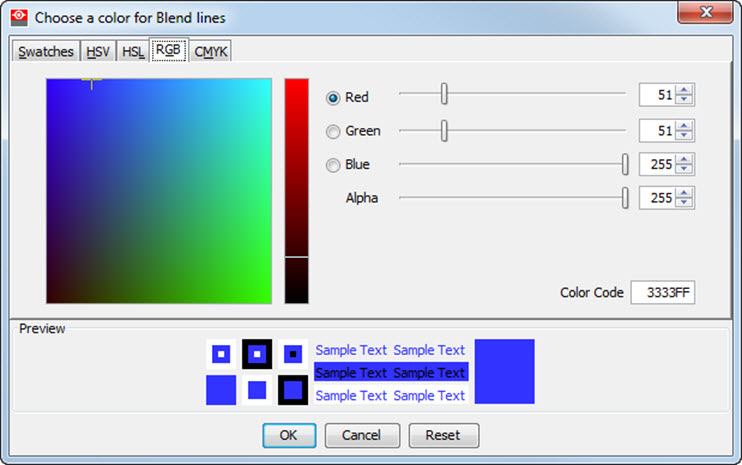
Click on RGB tab to display the RGB selection sliders.
Move the sliders until the desired color is reached, or fill out the RGB values in the input boxes.
A preview is given in the preview pane. Continue with step 8.
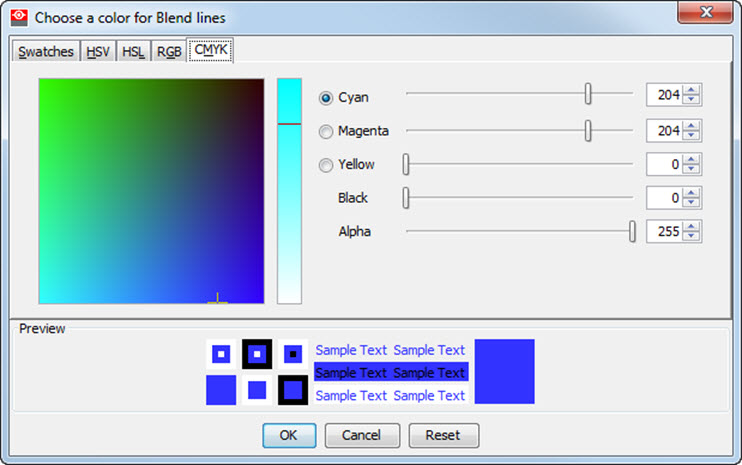
Click on CMYK tab to display the CMYB selection sliders.
Move the sliders until the desired color is reached, or fill out the CMYB values in the input boxes.
A preview is given in the preview pane. Continue with step 8.