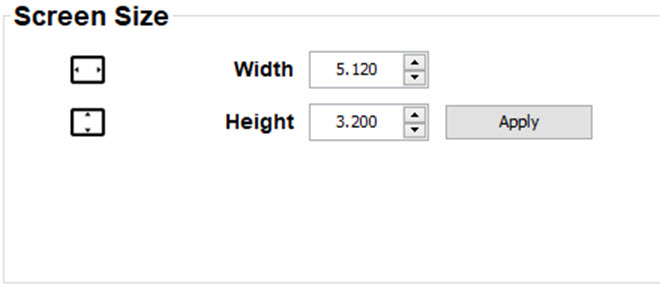
About (Warp) Screen Size adjustment
If the used source aspect ratio is different than the projector aspect ratio, e.g. source is 16:9 and projector is 16:10, then black bars will be projected. In the example case a black bar on top and bottom of the image will be projected. The warp area contains not only the image information but also the black bars. If we want to position e.g. the active left top corner exactly on the screen using 4 corner warp, then it is very hard to do that as we are moving the black left top corner and we do not have control over the exact position of image left top corner. By moving the outline of the warp screen size to the active image information, the corner points of the warp area are now exactly on the corner points of the active image information and makes warping much easier.