7.6 Presets for zoom - focus - shift

Note: Lens should be motorized.
What can be done?

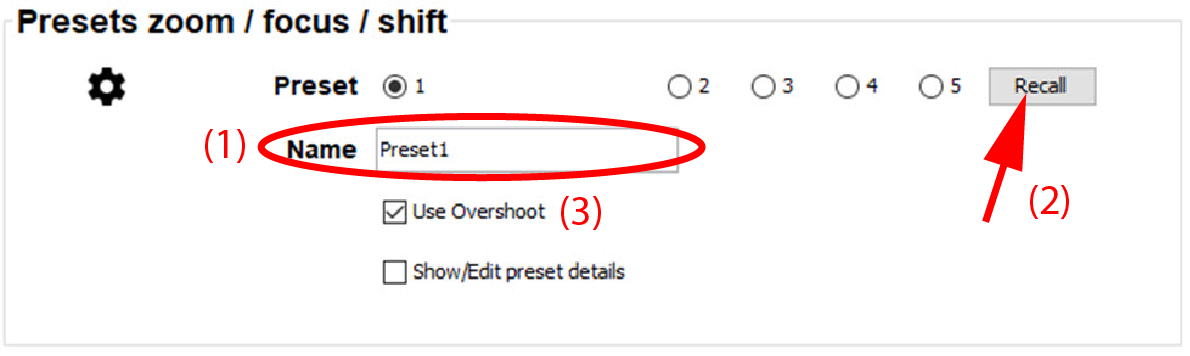
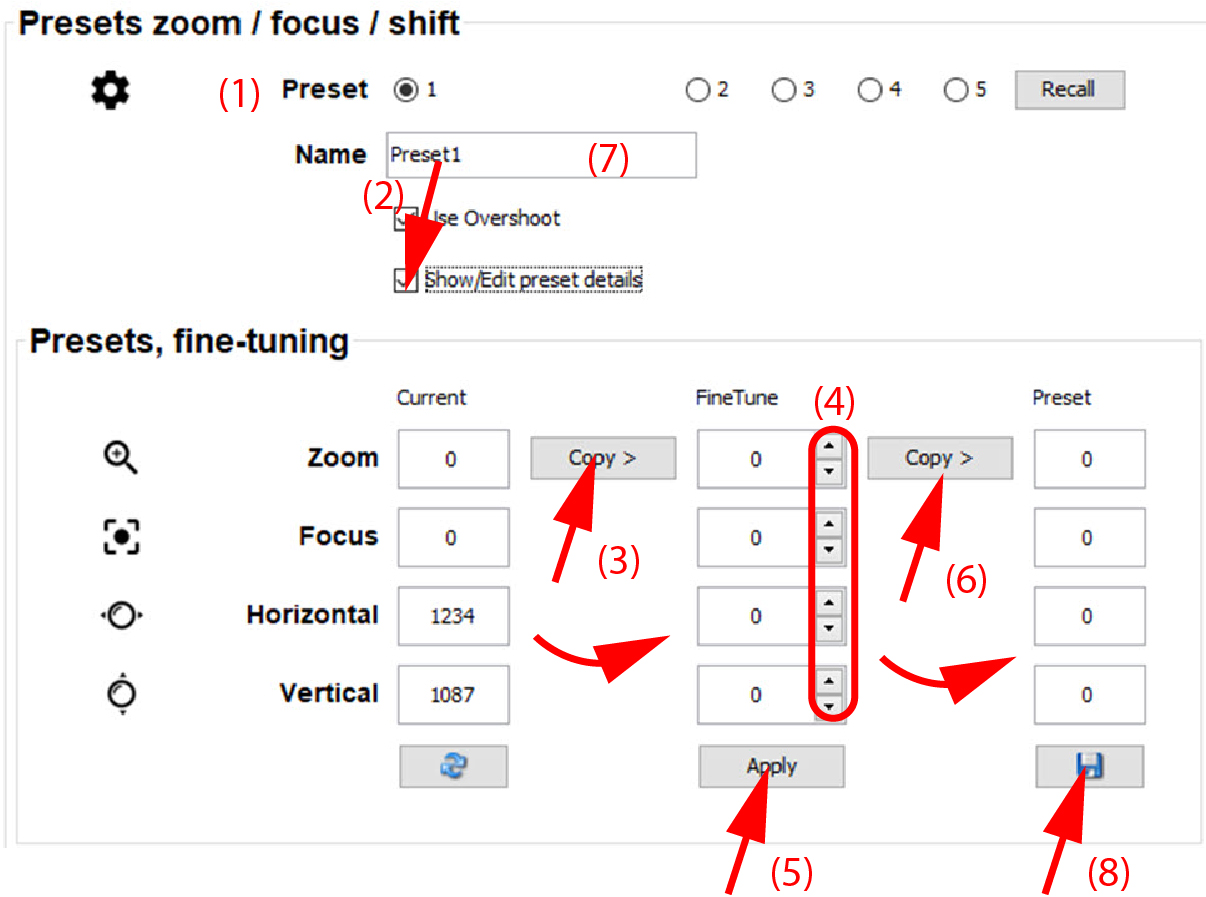
Zoom, shift and focus values for a certain position of the projector can be stored in a preset. Up to 5 preset can be created.

One of these preset can be activated when necessary. The projector lens goes then automatically to the stored settings. This functionality is very useful when using multiple screen position during a show. Before the show starts you can align the zoom, focus and shift for each screen position and stored in the different presets. During the show, when changing from screen, you just have to call the correct preset and the projector is automatically adjusted for the new screen position.

Tip: It is a good practice to calibrate the zoom/focus/vertical & horizontal shift before working with presets.
To activate a preset
  1. While in the Installation tab, go to the Presets zoom/focus/shift pane and select a preset by clicking on the corresponding radio button.

    Image 7–9 Activate preset

    The name of the preset is displayed.

  2. Click Recall to activate the settings stored in the preset.

    Depending on the Use Overschoot setting, the zoom, focus and shift goes to their stored position.

    When Use Overschoot is checked, the step motor of a function goes a little bit further than the stored position and returns than to the stored position. This gives in most cases a bitter result that moving directly to the stored position.

How to create or edit a preset
  1. While in the Installation tab, go to the Presets zoom/focus/shift pane.
  2. Adjust the zoom, focus and shift of the projector or activate a preset (1).

    Image 7–10 Create or update preset
  3. Check the checkbox before Show/Edit preset details (2).

    A Preset, fine-tuning pane opens. The current values are filled out.

  4. Click on Copy> (3) to copy the current setting into the FineTune area.
  5. Fine tune the a value by clicking on the up down control until the desired value is reached (4).
  6. Click Apply to immediately apply the new values (5).
  7. If the zoom, focus or shifts are not perfect, repeat from step 5.

    If everything is correct, click Copy> (6) to copy the FineTune values to Preset.

  8. Enter a name for the preset (7).
  9. Click Save (8).

    The new values are saved in the selected preset.