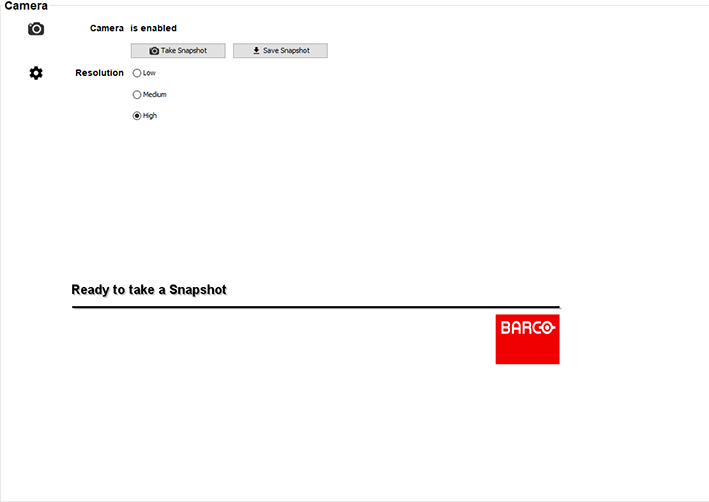
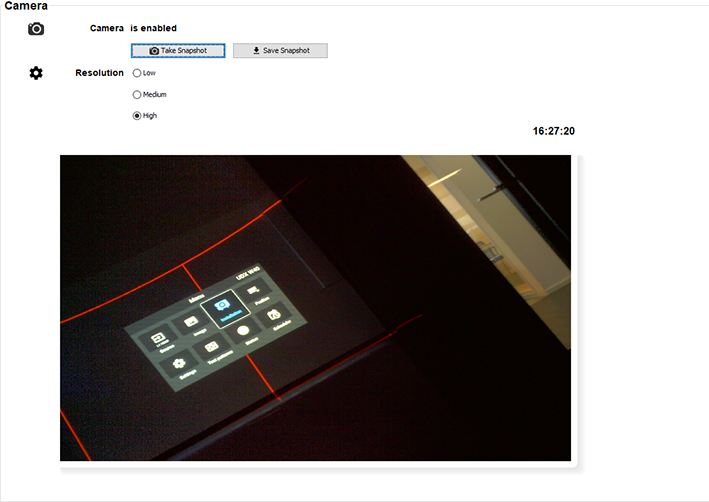
16.2 Camera

What can be done?

When installed and enabled, you can take a snapshot of the current adjustment which can be stored on your local PC to be evaluated.

In order to enable the camera pane, make sure the Camera preview is enabled in the GUI of the projector. For more info, see the projector user guide.

How to handle
  1. In the Camera pane, when the Camera is enabled, select the Resolution. The following resolutions are possible:

    Image 16–2 Example of the Camera pane
    • Low
    • Medium
    • High
  2. Click Take Snapshot to take a snapshot of the currently displayed image.

    The snapshot will now be displayed in the menu, alongside a timestamp of when the snapshot was taken.

    Image 16–3 Example of a snapshot.
  3. Click Save Snapshot to download the image to your local PC.
  4. Save the snapshot on your local PC. Click Save Snapshot, select the storage location and click OK.