7.2 Lens features calibration

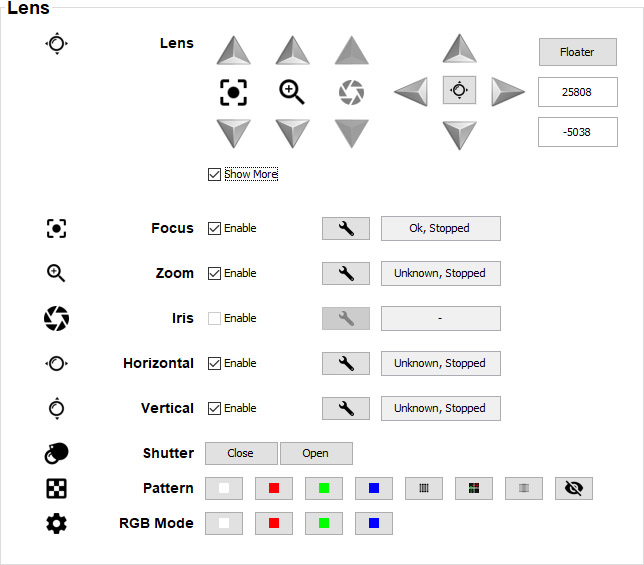
When to calibrate lens features?

Once a lens is mounted in your projector, it is necessary to adjust the available lens features. However, before starting any adjustment, it is strongly advised to calibrated all available lens features. Do this to ensure the best possible result.

Calibrating lens features

To calibrate one of the Lens features, proceed as follows:

  1. Select the Show More checkbox to see the advanced Lens features.

    Image 7–3 Lens features pane, with the advanced features being visible
  2. To calibrate the desired lens feature make sure the Enable checkbox next to the feature is selected.
  3. Click on the Calibrate button next to the desired lens feature.

    Image 7–4 Calibrate button

    A confirmation dialog will be prompted.

  4. Confirm the calibration by pressing OK.

    Wait until the calibration is completed.

    You can follow the status of the calibration process in the field next to the calibration button. This can be one of the following:

    • Unknown, Stopped: No calibration has been performed on the feature.
    • Busy, Calibrating: Calibration is ongoing
    • OK, Stopped: Calibration has been successfully performed.
    • ‘-’: Lens feature is disabled.