12.7 Black level adjustment

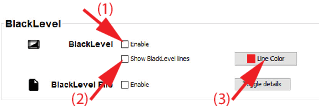
About adjusting the black level

The purpose of the black level adjustment is to align the black levels in the overlapped regions with the black levels in the other regions.

This is needed because the black levels will be brighter in the blend zones, since multiple projectors will project on the same screen area.

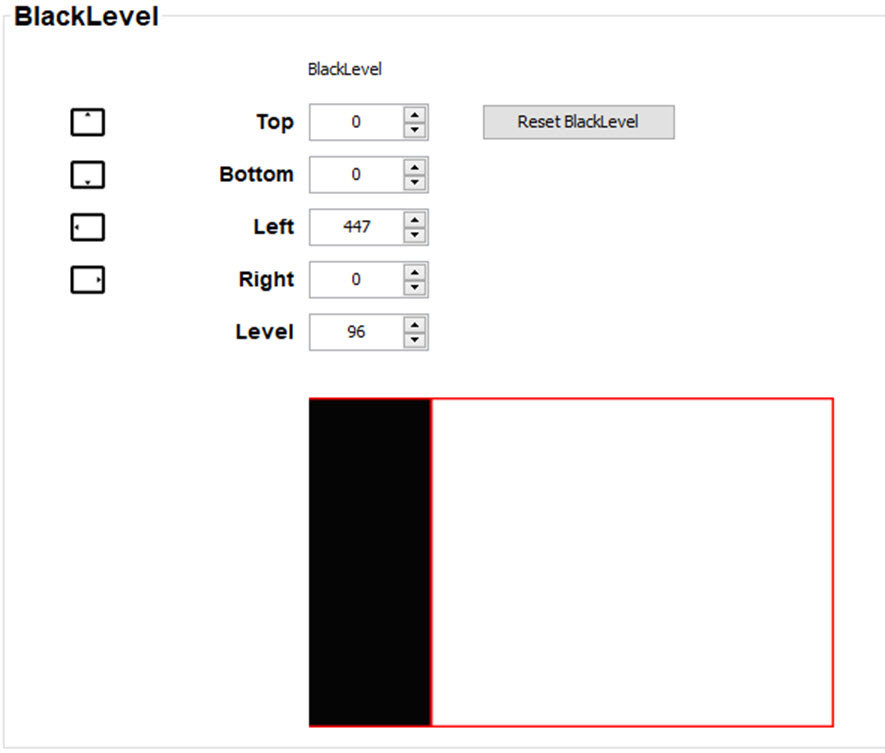
The size of the black level area is calculated automatically from the blend zones. This is done by using the start position and size of each edge of the blend and adding an additional size of 8 pixels to reduce the effect known as "sea of mirrors".

You can also specify the offsets manually by turning off the automatic calculation. The black level value is adjusted in a 8 bit resolution from 0 to 255.

The following figure shows how this occurs in a side by side configuration without any correction of the black level.

Image 12–11
Enable black level
  1. Check the check box in front of Enable black level (1).

    Image 12–12

    The black level settings are applied to the projected image.

Show black level lines
  1. Check the check box in front of Show black level lines (2).

    The black level lines are shown on the screen to make it more easy to adjust.

Adjust black level
  1. Select the side where the overlap occurs (left/right/top/bottom).

    Image 12–13
  2. Click on the corresponding up down control until the desired level is reached.

    or

    click in the input field, select the current value and enter a new value with your keyboard.

  3. Repeat this procedure for other overlap areas.
Note: Do not forget to disable the Show black level lines.
Note: Use the Reset BlackLevel key to reset the black level settings to 0.