Overview
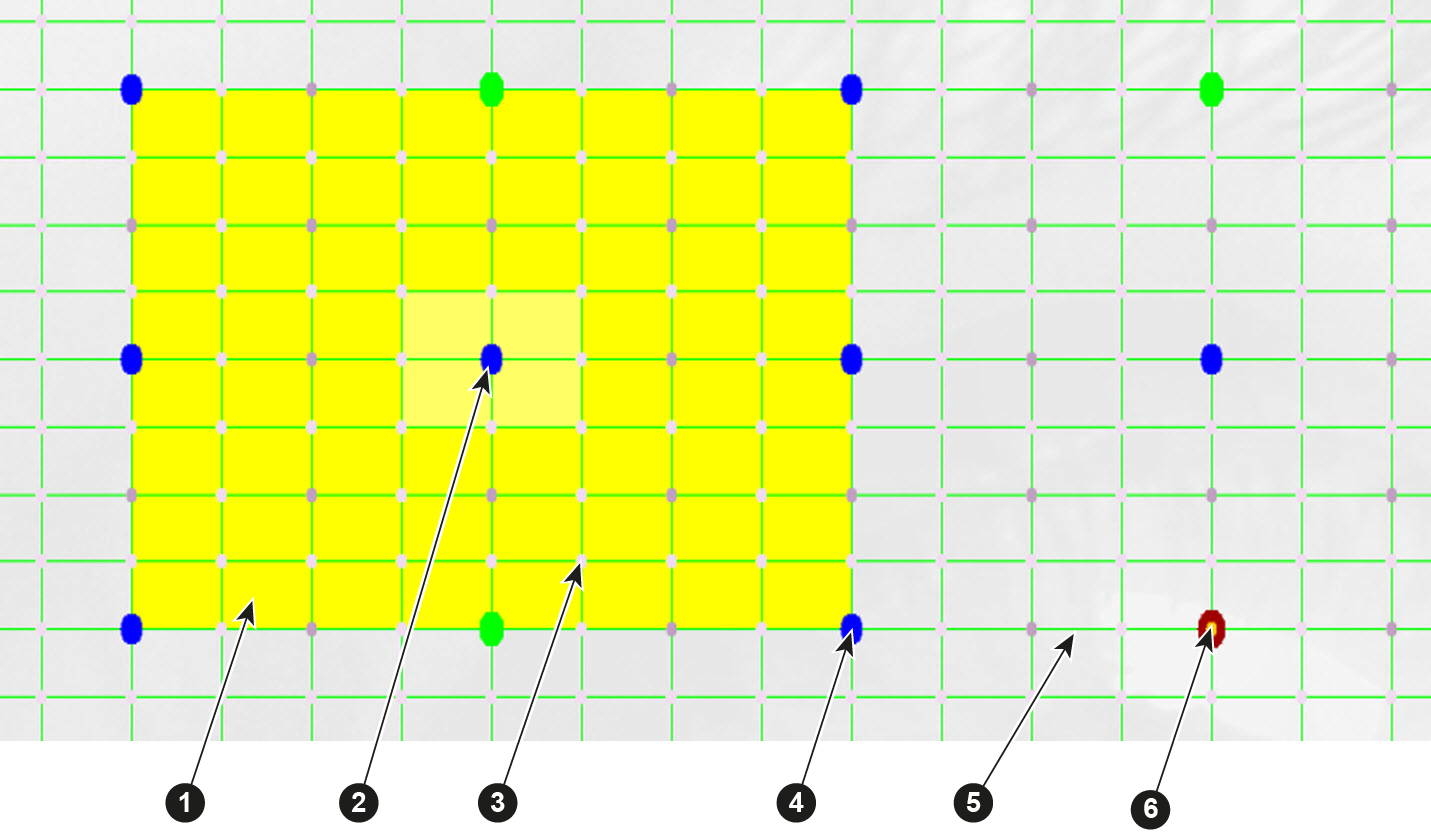
| 1 | Active field |
| 2 | Selected active node |
| 3 | Interpolation node |
| 4 | Active node (color depends on the level selection) |
| 5 | Interpolation node intersection |
| 6 | Corner or center node (highest level) |
| 1 | Active field |
| 2 | Selected active node |
| 3 | Interpolation node |
| 4 | Active node (color depends on the level selection) |
| 5 | Interpolation node intersection |
| 6 | Corner or center node (highest level) |
Each dot in the grid indicates a node. The small dots are not active nodes and cannot be moved. The bigger dots are active nodes and can be moved during the warping setup.
Depending on the mode setup the active dots get a different color. The color of the active nodes goes from red (for the highest level) to green, blue etc.
When moving an active node:
To select a node, click on an active node in the grid. The active area around the node becomes yellow. The active area is determined by one node left and right and one node up and down.
To move the active area, use the arrow keys on your keyboard or click on another node to make it the active node.
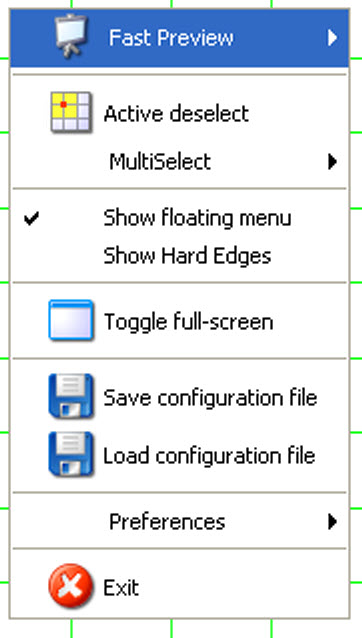
The following items are accessible:
| Fast preview | Fast preview Recover from warp board crash: to restart the warp board when no activity takes place due to a crash |
| Active deselect | To deselect the active areas |
| Multi select | Multi deselect Multi select row Multi select column |
| Show floating menu | To display or hide the floating menu |
| Show hard edges | To display or hide the hard edges. |
| Toggle full screen | Toggle the adjustment window between full screen and limited screen. |
| Save configuration file | Save current configuration to file |
| Load configuration file | Load a warp file as configuration file in Projector Toolset |
| Preferences | Background warp screen Active Point intersection Interpolation Point intersection Hardedges |
| Exit | To close the warp application |