13.3.9 Making an adjustment

Via drag and drop
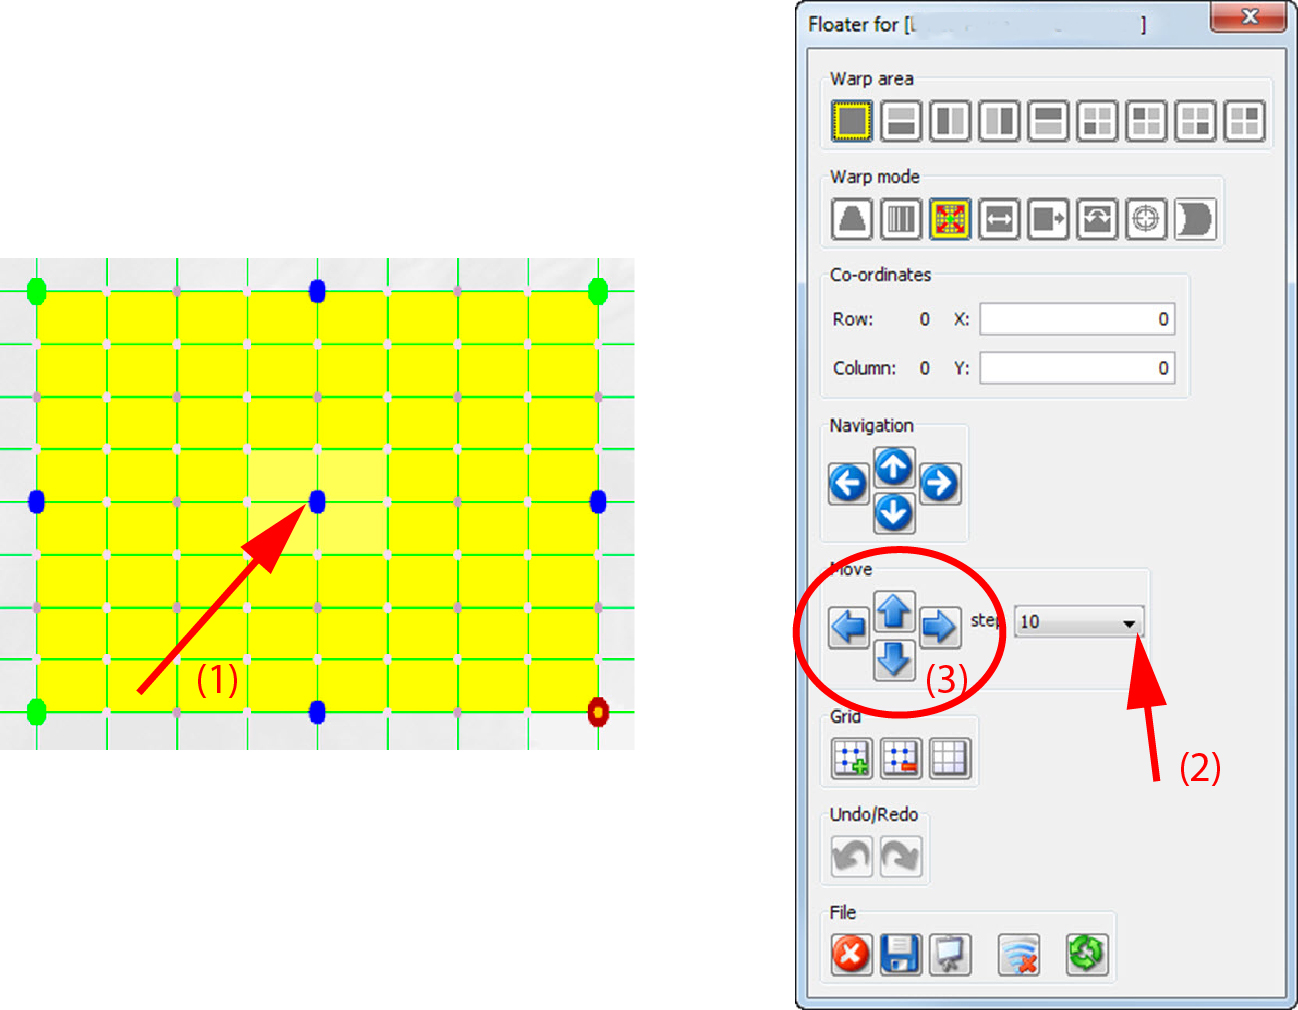
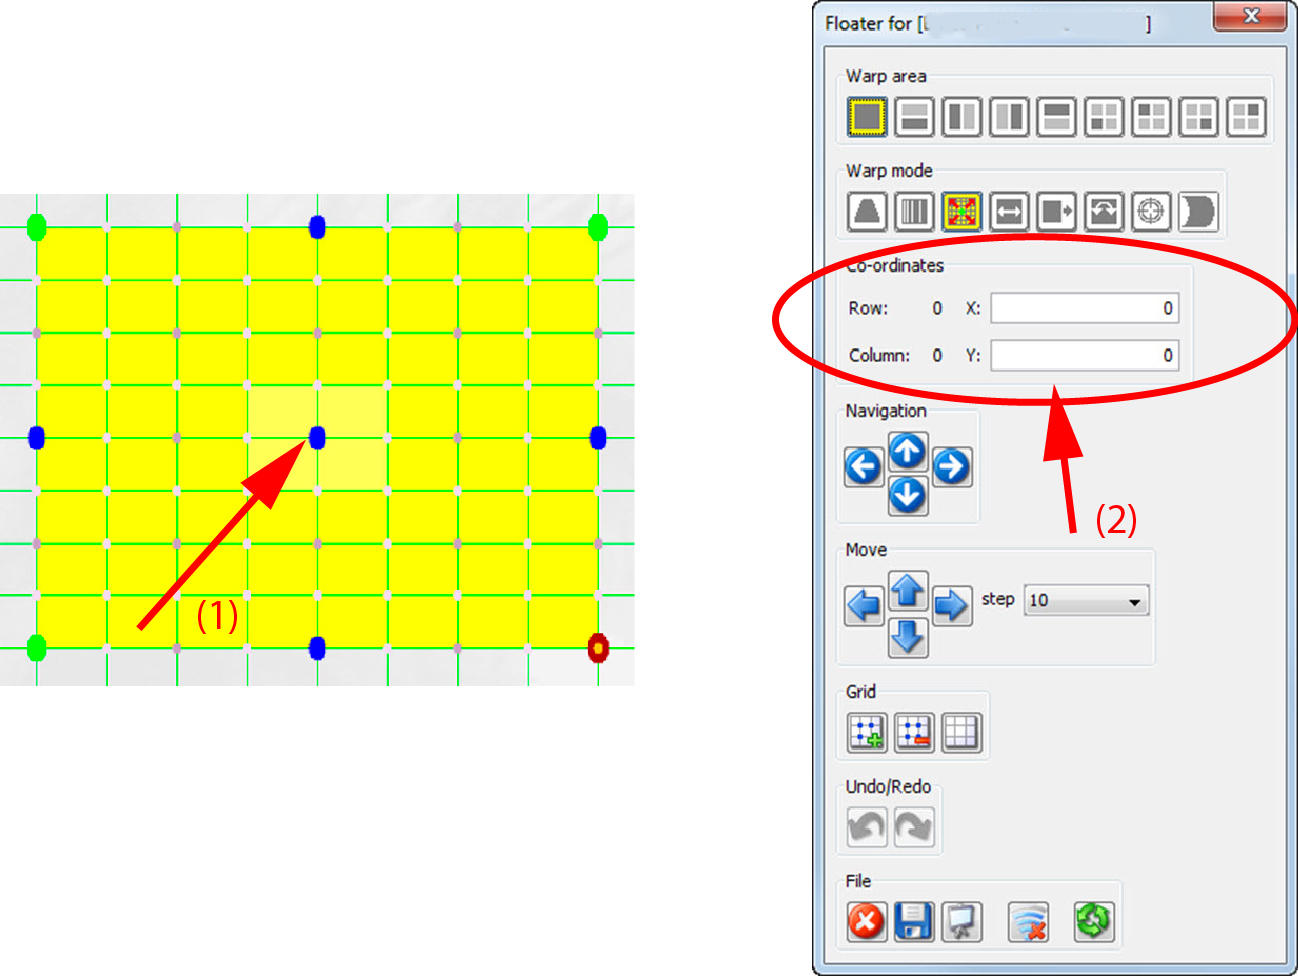
  1. Click on a node to select.

    The warp area becomes yellow. The selected node dot is enlarged.

  2. Click on the node and drag the node point to the desired position.

    Depending on the warp selection, adjacent points will move in the same way.

Via the Move pane of the Floater menu
  1. Click on a node to select (1).

    Image 13–33 Warp adjustment via move pane

    The warp area becomes yellow. The selected node dot is enlarged.

  2. Setup the steps for each click by clicking on the drop down box next to steps and selecting one of the possibilities (2).
  3. Click on the arrow keys in the Move pane of the Floater menu to move the selected node horizontally or vertically (3).
Via the Co-ordinates pane of the Floater menu
  1. Click on a node to select (1).

    Image 13–34 Warp adjustment via coordinates

    The warp area becomes yellow. The selected node dot is enlarged.

  2. In the Co-ordinates pane of the Floater menu, enter the movement for the X and Y direction (2)

    The value can be positive or negative and can be entered as a decimal value, e.g. -20.5