About the front panel
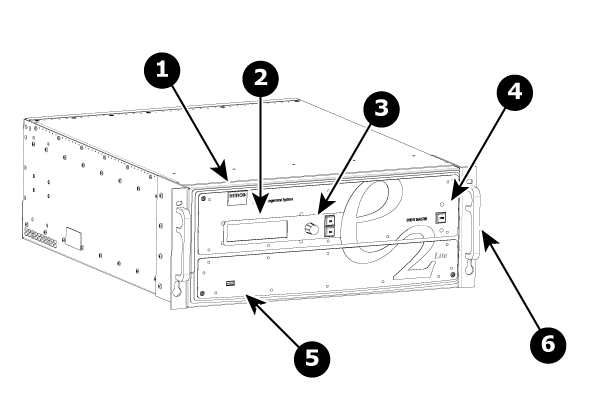
See Image 4–1 for an illustration of the front panel of the Event Master E2 Lite video processor.
- 1
- Barco logo
- 2
- Display screen
- 3
- Menu navigation buttons
- 4
- Power ON/OFF button
- 5
- USB port
- 6
- Chassis handles
See Image 4–1 for an illustration of the front panel of the Event Master E2 Lite video processor.
Two Chassis Handles are provided for ease of installation and transportation.
The 4-line x 24-character screen shows all Event Master processors menus, sub-menus, and messages. The display is dimmable.
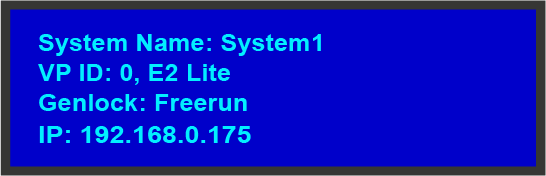
At system startup, or when no menu buttons are selected, the screen displays the Status Menu. The following illustration shows a sample Status Menu. For information about the contents of this menu, refer to the chapter titled “Front Panel Menu orientation”.
The navigation in the menus is assumed by three controls:
 |
|
 |
|
 |
|
This button switches the unit on and off.
The USB port is provided to support uploading and downloading system configurations and upgrading Event Master series processors firmware.