To connect the cables
Open the connector compartment. Do this by gently lifting the bottom of the connector compartment cover, after which it can be removed from the display.
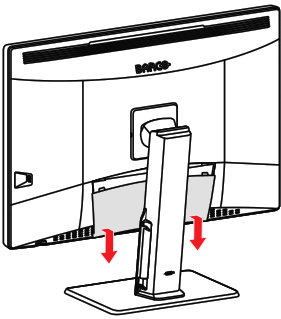
Image 2–4 Connect the video source(s) from your workstation(s) to the DisplayPort IN connector(s) of the display.
Important: Do not connect any video source(s) to the DisplayPort OUT connector. Do not confuse this connector with the DisplayPort IN 1 and 2 connectors.
Note: The MDCC-4430, MDCC-6530 can have multiple video inputs connected at once, and switching between these inputs can be easily done in the OSD menu. See “Image source selection” for more info on how to configure the different video inputs on your display.
The DisplayPort OUT allows you to daisy chain your display and an external display using DisplayPort Multi-Stream Transport (MST).
Note: By default, the DisplayPort OUT is covered with a plastic cap which has to be removed before you can use this connector.
Connect the workstation's USB host to the USB upstream connector on the display if you want to make use of QAWeb or any of the display USB downstream connectors (e.g. to connect a keyboard, mouse, touchpad or another peripheral).
Note: When cables or other objects are left on a touchpad, these can be misinterpreted as fingers and may block DPMS activation. Barco recommends to always keep the touchpad clear of other objects.
Connect the supplied mains cable to the power input on the display.
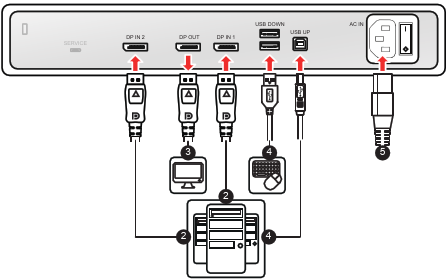
Image 2–5 - Route all cables through the cable duct in the stand of your display. For better strain-relief and shielding of the cables, use the cable clips at the inside of the connector compartment.
Close the connector compartment. Slide the top of the connector compartment cover into position and then push the bottom of the cover.
Note: Make sure that the power switch (next to the power input) is the desired position before closing the connector compartment.
- Connect the supplied mains cable to a grounded power outlet.