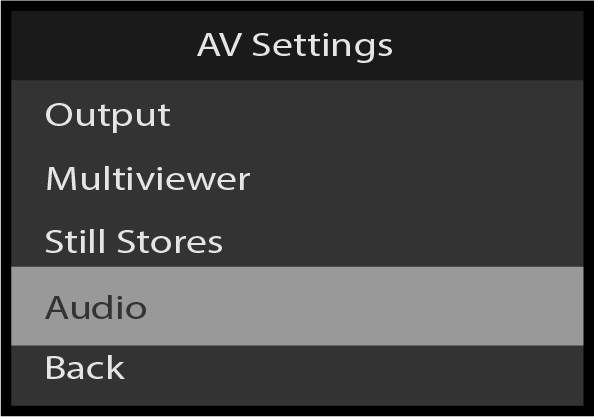
Use the AV Settings: Audio menu to setup, adjust, and view the Audio settings. To enter the the Audio menu from the AV Settings menu, scroll to and select Audio. The Audio Card must be installed to enter this menu.
Image 5–171AV Settings: Audio
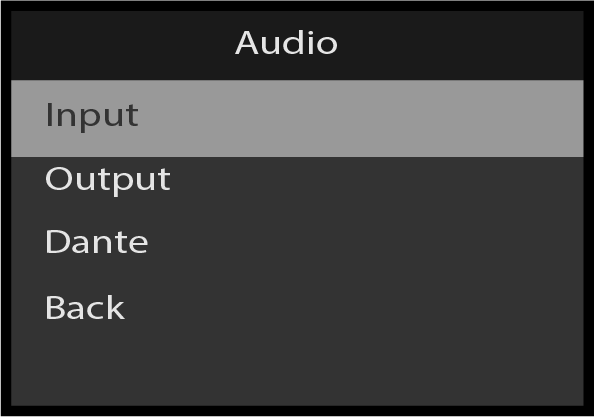
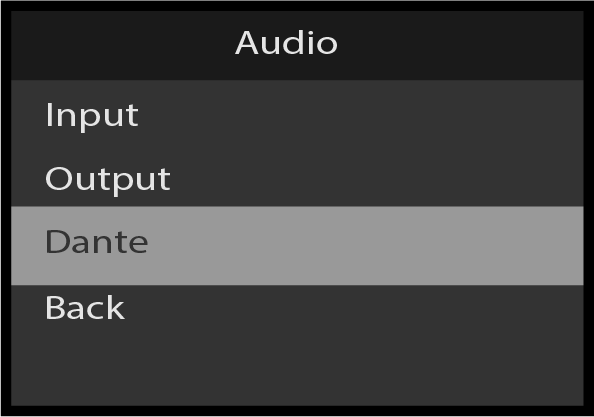
Use the Audio menu to view and adjust Audio parameters.
The Audio Menu has the following parameters:
Input
Output
Dante
Back
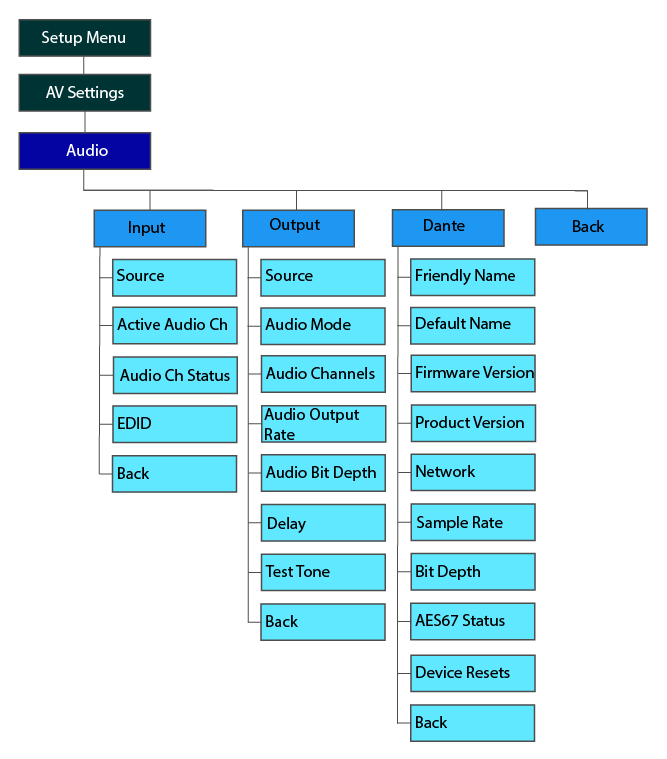
Audio: Menu tree
Refer to Image 5–172 for an illustration of the Audio menu tree.
Image 5–172AV Settings: Audio menu tree
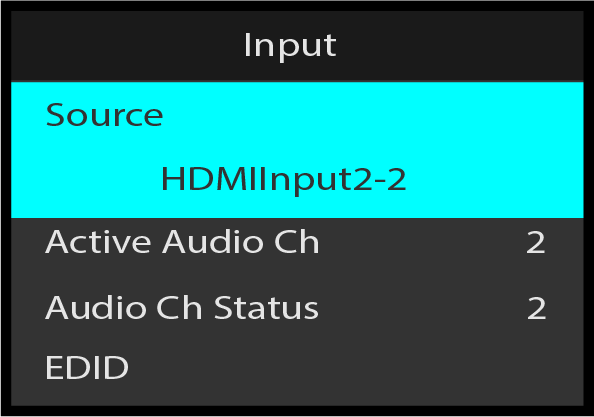
Audio: Input
In the Audio menu, scroll to and select Input.
Image 5–173Audio: Input
Scroll to and select Source and choose the desired source.
Image 5–174Input: Source selection
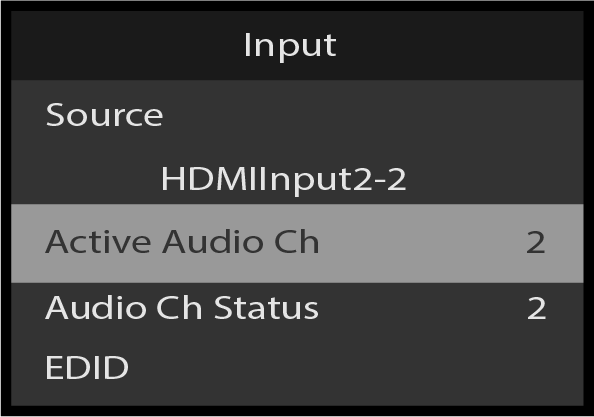
Scroll to and select Active Audio Ch and choose the desired number of active audio channels.
Image 5–175Input: Active Audio Ch
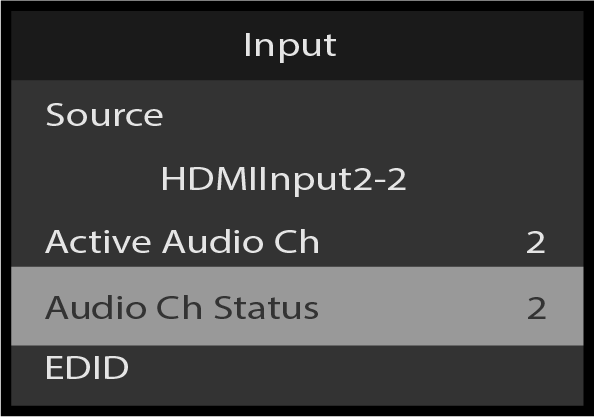
Scroll to Audio Ch Status to view the status of the Audio Channel.
Image 5–176Input: Audio Ch Status
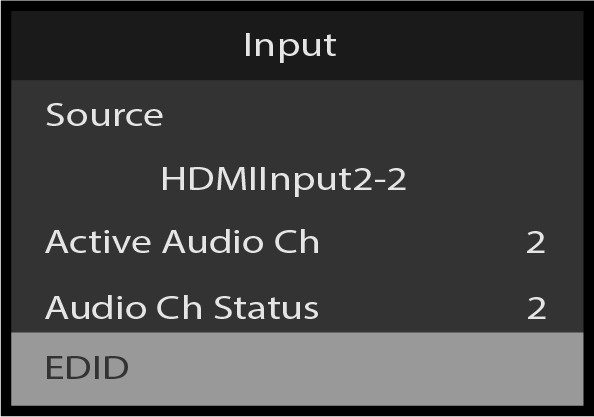
Scroll to EDID to view and adjust the EDID settings.
Image 5–177Input: EDID
The following EDID settings can viewed or modified:
Status
Format
Bit Depth
Max Audio Channels
Max Audio Sample Rate
Max Audio Bit Depth
Apply EDID
Back
Scroll to Back to return to the Audio menu.
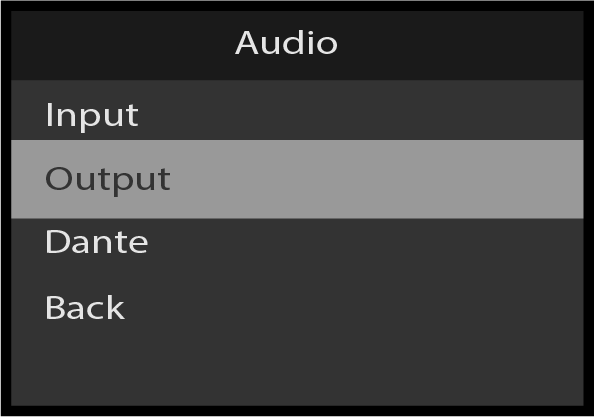
Audio: Output
In the Audio menu, scroll to and select Output.
Image 5–178Audio: Output
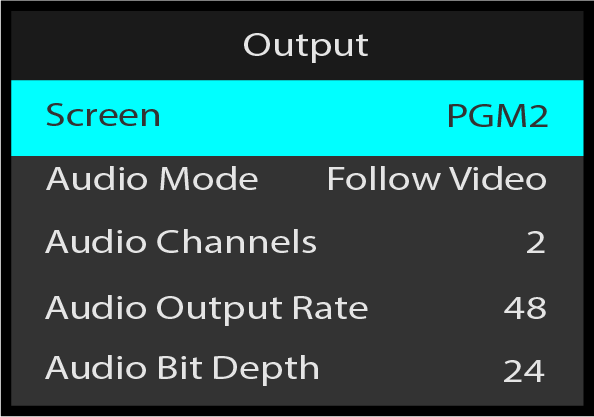
Scroll to and select Screen and choose the desired Screen.
Image 5–179Output: Screen selection
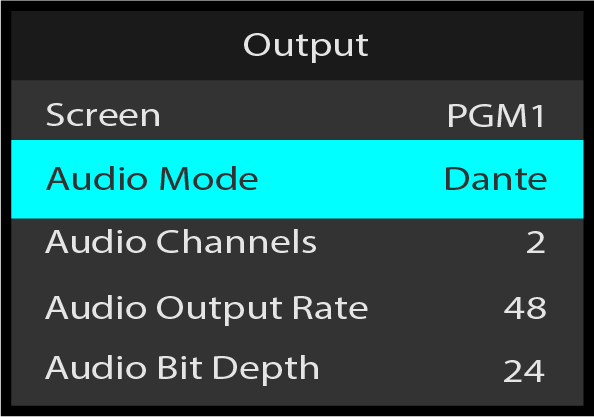
Scroll to and select Audio Mode and choose the desired Audio Mode.
Image 5–180Output: Audio Mode selection
Scroll to Audio Channels.
Image 5–181Output: Audio Channels
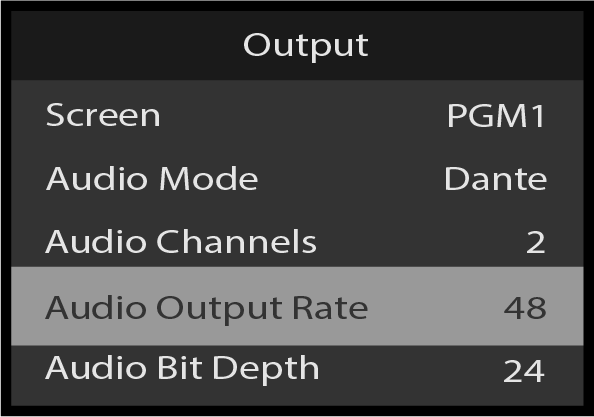
Scroll to Audio Output Rate.
Image 5–182Output: Audio Output Rate
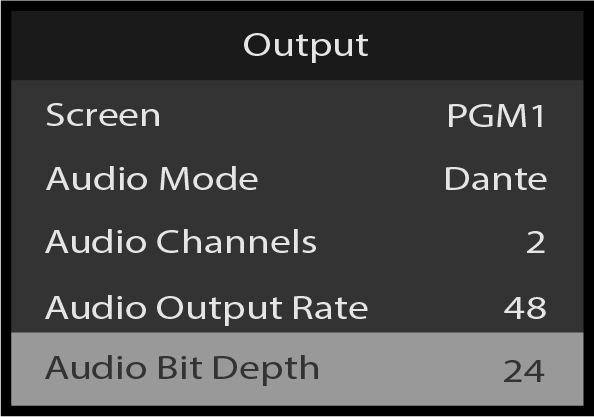
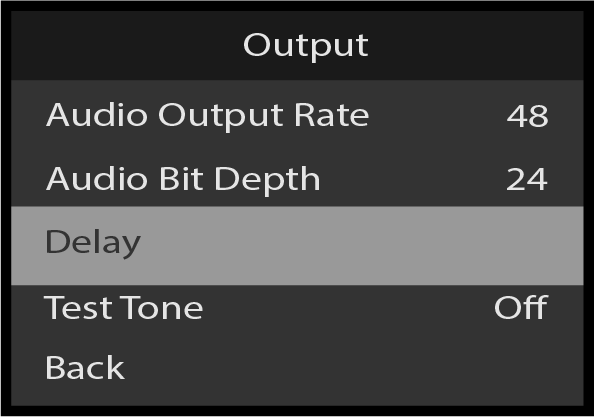
Scroll to Audio Bit Depth.
Image 5–183Output: Audio Bit Depth
Scroll to and select Delay and choose the desired Delay settings.
Image 5–184Output: Delay
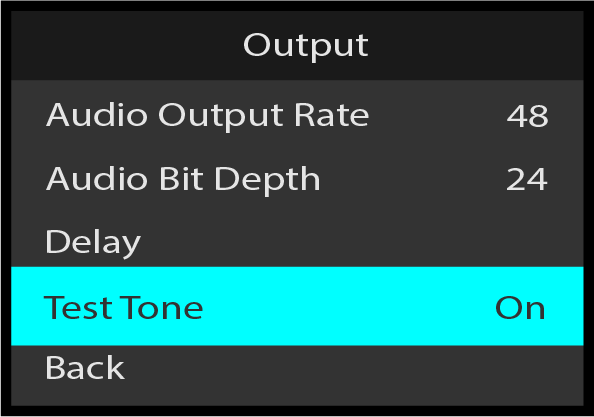
Scroll to and select Test Tone to turn the Test Tone On or Off.
Image 5–185
Scroll to and select Back to return to the Audio menu.
Audio: Dante
The Dante menu provides statuses of parameters that may be configured using the Dante® Controller software on a computer whose network interface is on the same network as the Dante Network ports on the back of the Audio Card.
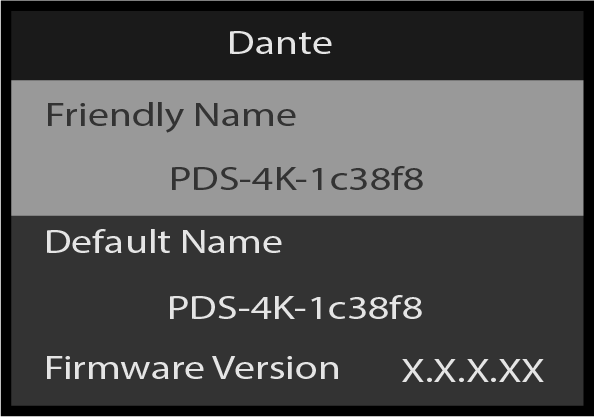
Scroll to and select Dante from the Audio menu.
Image 5–186Audio: Dante
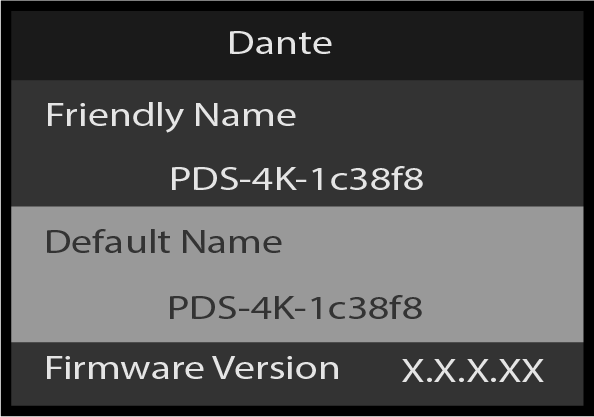
To view the Audio Card’s friendly name, scroll to Friendly Name. The Friendly Name may be changed by using the Dante® Controller Software.
Image 5–187Dante: Friendly Name
To view the Audio Card’s default name, scroll to Default Name.
Image 5–188Dante: Default Name
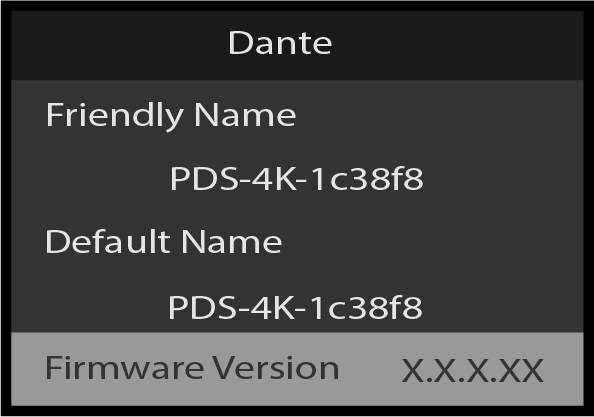
To view the Audio Card’s firmware version, scroll to Firmware Version.
Image 5–189Dante: Firmware Version
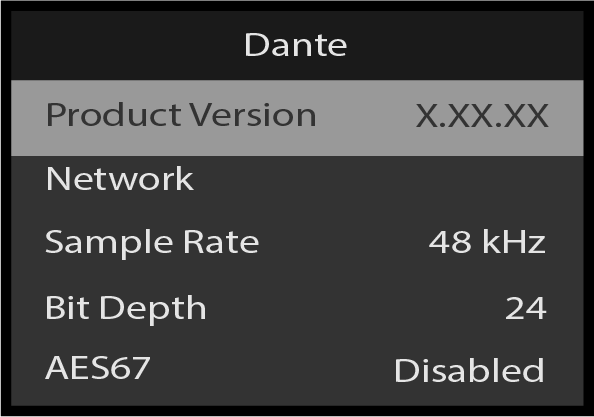
To view the Audio Card’s product version, scroll to Product Version.
Image 5–190Dante: Product Version
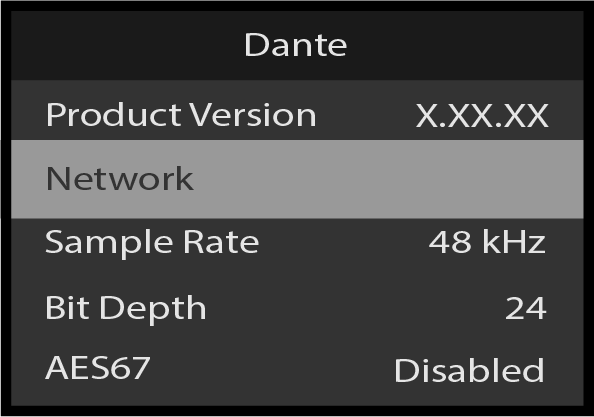
To view or Adjust the Audio Card’s network settings, scroll to and select Network.
Image 5–191Dante: Network
The Dante: Network has the following sub-menu items:
Mode
Network1
Network2
Back
Network1 and Network2 display general network settings such Link Status, IP Address, Subnet Mask, Gateway, and Mac Address.
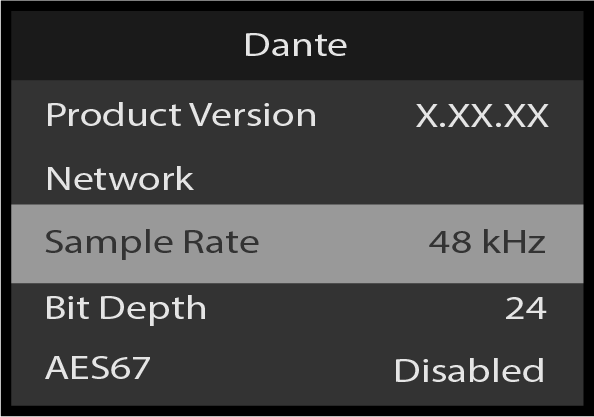
To view the Audio Card’s Sample Rate, scroll to Sample Rate.
Image 5–192Dante: Sample Rate
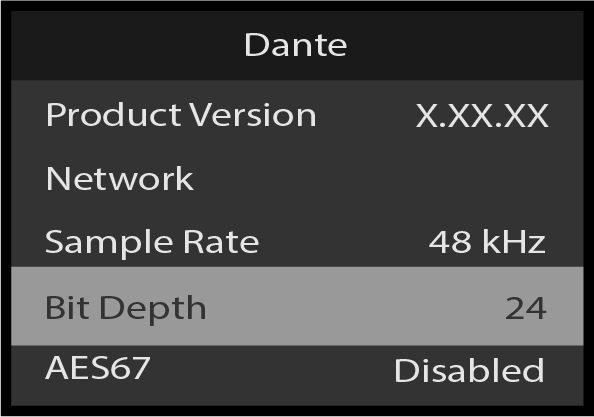
To view the Audio Card’s Bit Depth, scroll to Bit Depth.
Image 5–193Dante: Bit Depth
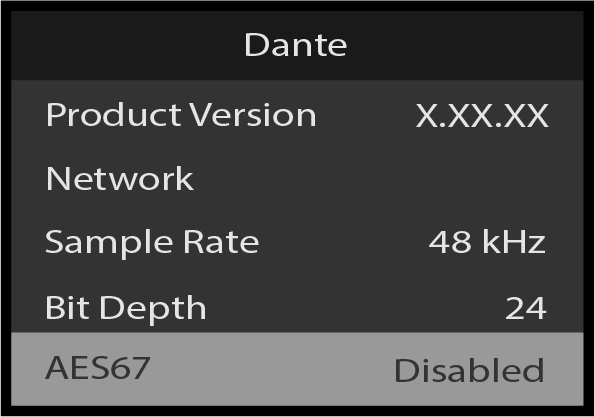
To view the Audio Card’s AES67 Status, scroll to AES67 Status.
Image 5–194Dante: AES67 Status
To view the Audio Card’s Reset menu, scroll to and select Device Resets.
Image 5–195Dante: Device Resets
The Dante: Device Resets menu has the following sub-menu options:
Reboot Dante Card
Clear Dante
Config (Keep IP)
Clear Dante Config
Back
To return to the AV Settings: Audio menu, scroll to and select Back.