General
This section provides information about setting up a multiviewer (MVR).
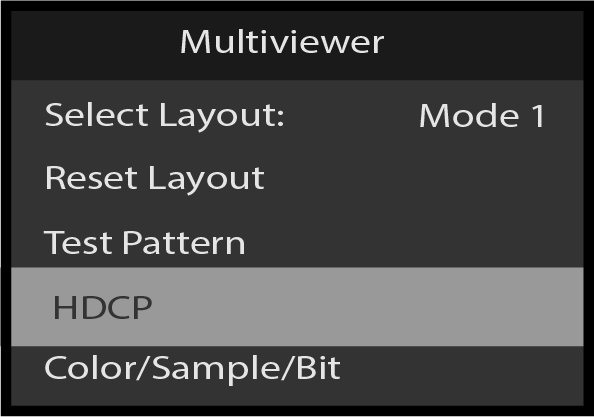
Scroll to and select Multiviewer on the AV Settings menu.
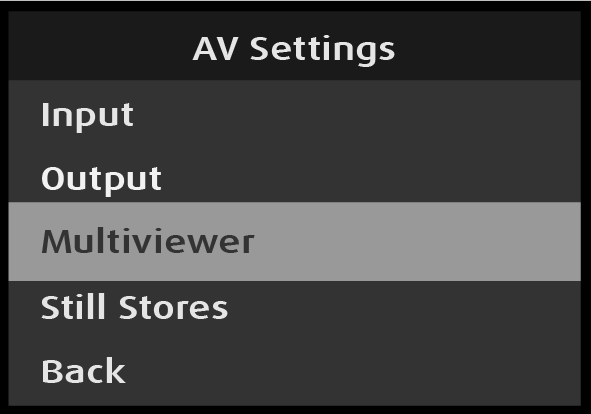
Image 5–125 AV Settings: Multiviewer selection
This section provides information about setting up a multiviewer (MVR).
Scroll to and select Multiviewer on the AV Settings menu.
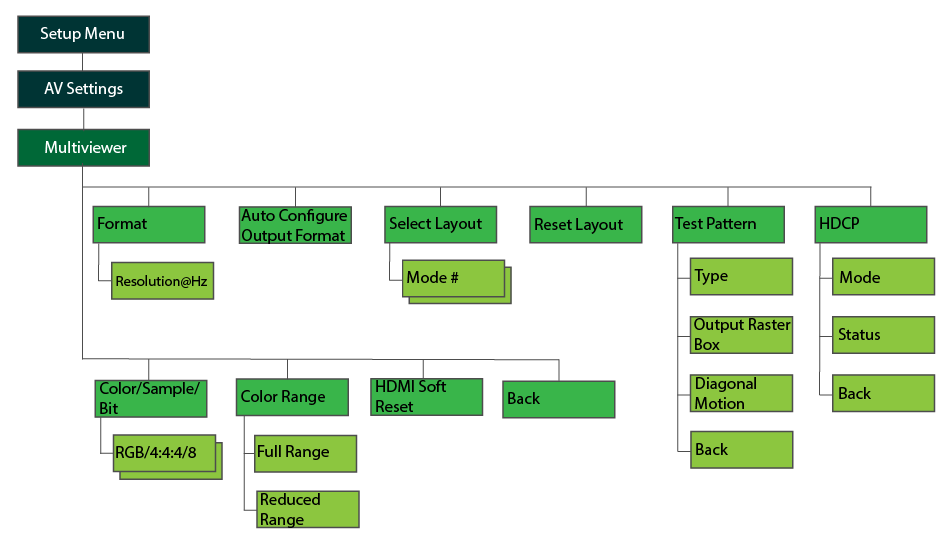
Refer to Image 5–126 for an illustration of the Multiviewer menu tree.
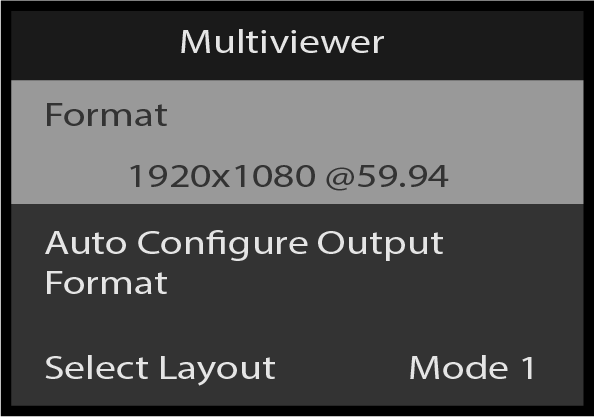
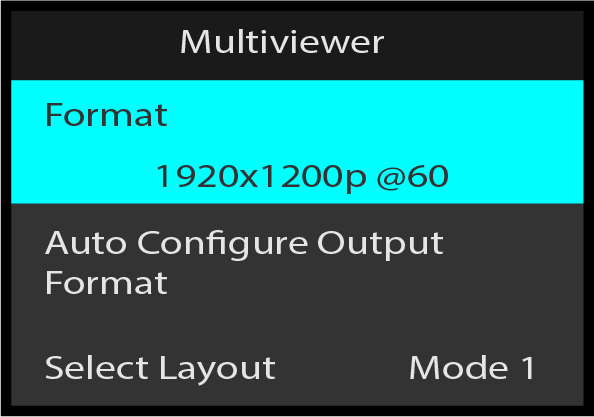
Scroll to and select Format from the Multiviewer menu.
Once Format is selected, the highlight bar turns from gray to cyan.
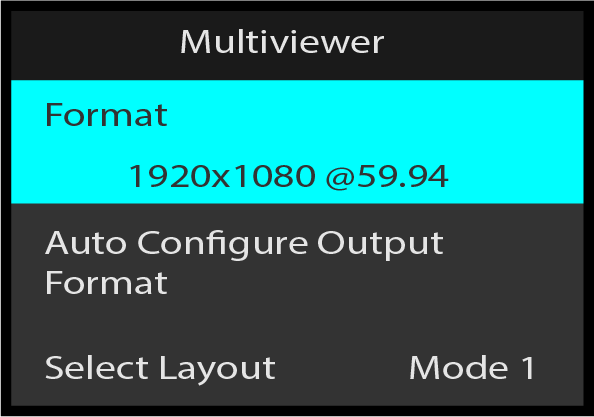
Turn the Adjust knob to scroll through the available formats.
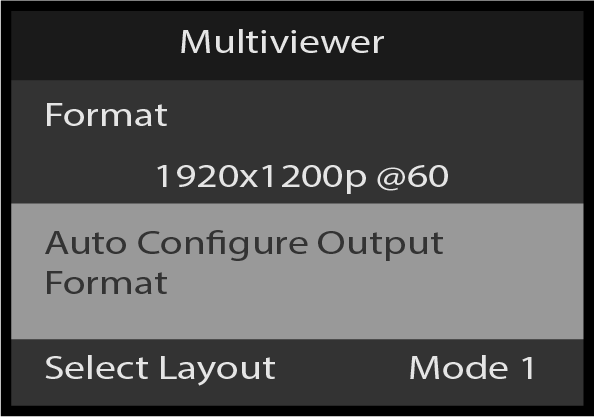
Use Auto Configure Output Format to automatically detect and acquire multiviewer output format.
Scroll to and select Auto Configure Output Format on the Multiviewer menu.
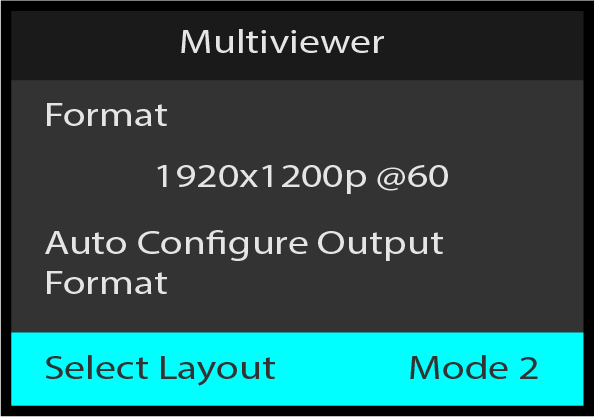
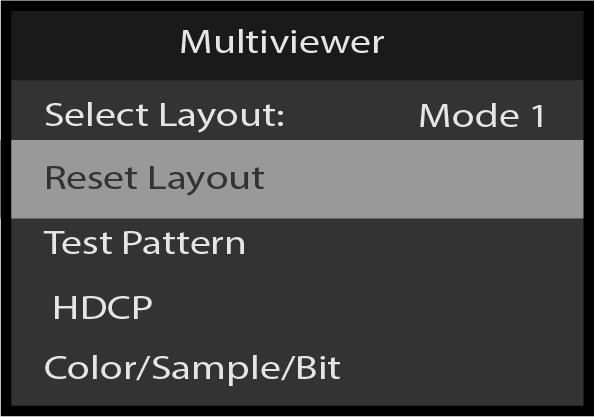
Scroll to Select Layout and press the Adjust knob to activate the control.
Use Select Layout to change among the Multiviewer's four window layout "looks."
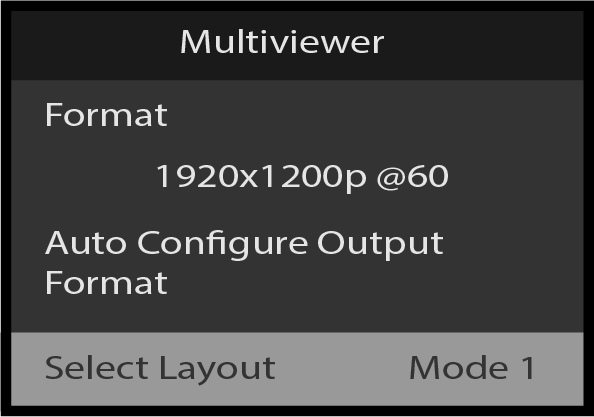
Turn the Adjust knob to scroll through the four Layouts and press the Adjust knob again to apply the change in order to see the new layout on the Multiviewer's output.
Reset Layout is used to revert any changes made using the Event Master Toolset to the currently displayed Multiviewer Layout.
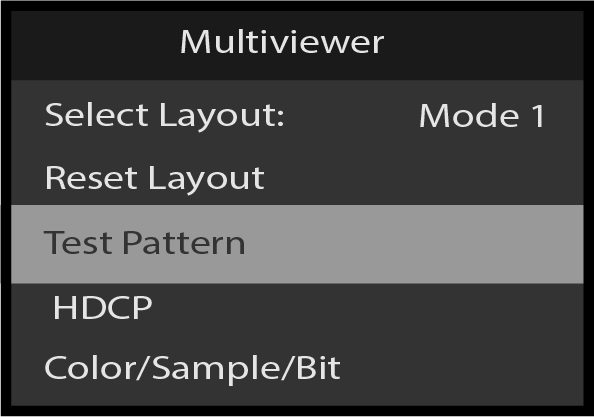
Use the Test Pattern to select and adjust multiviewer output test patterns.
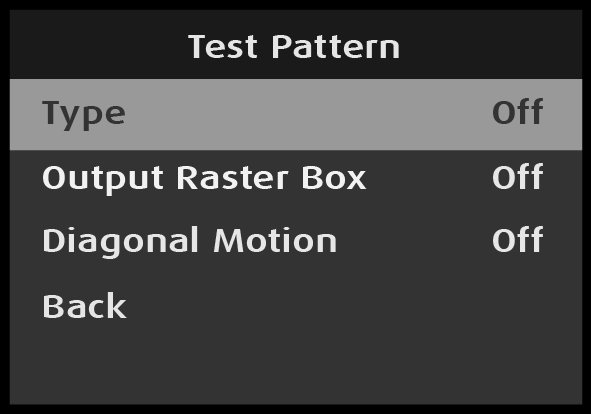
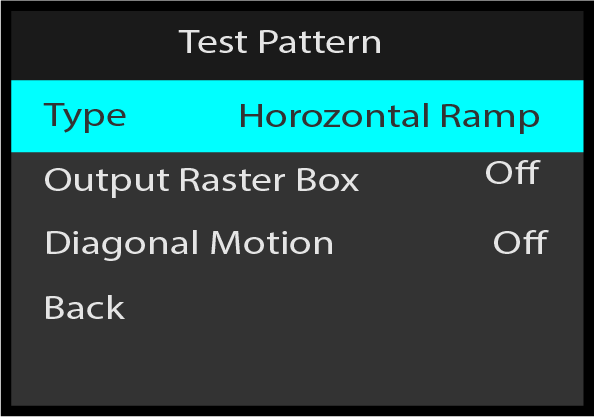
Use Type to select the desired test pattern
Scroll to and select Type from the Test Pattern menu.
Once Type is selected, the highlight bar turns from gray to cyan.
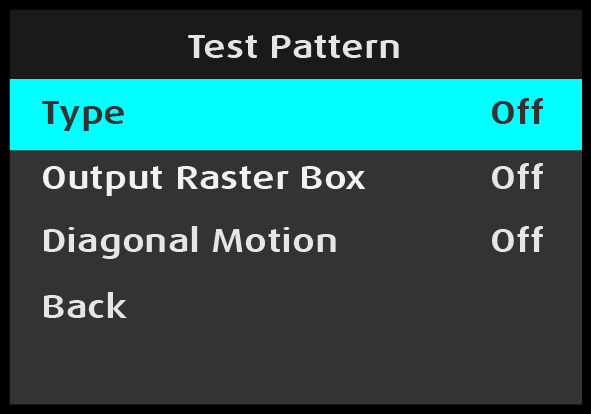
The following test patterns are available:
Use the Adjust knob to scroll through and select the desired test pattern.
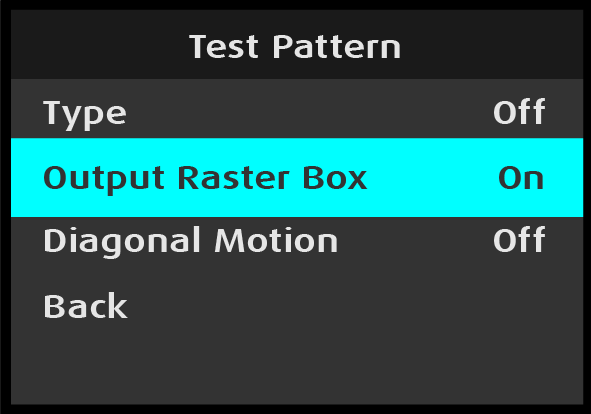
Use Output Raster Box to turn On and to turn Off a border box around the multiviewer output. The output box is white.
Scroll to and select Output Raster Box from the Test Pattern menu.
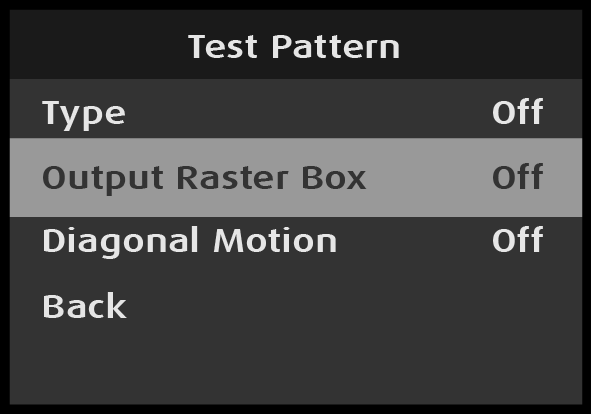
Once Output Raster Box is selected, the highlight bar turns from gray to cyan.
Use Diagonal Motion to add motion to a test pattern. In most cases the motion is diagonal; in some cases the motion is either horizontal or vertical.
Scroll to and select Diagonal Motion from the Test Pattern menu.
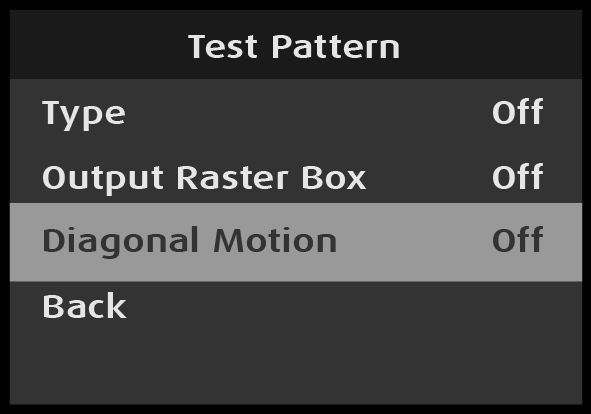
Once Diagonal Motion is selected, the highlight bar turns from gray to cyan.
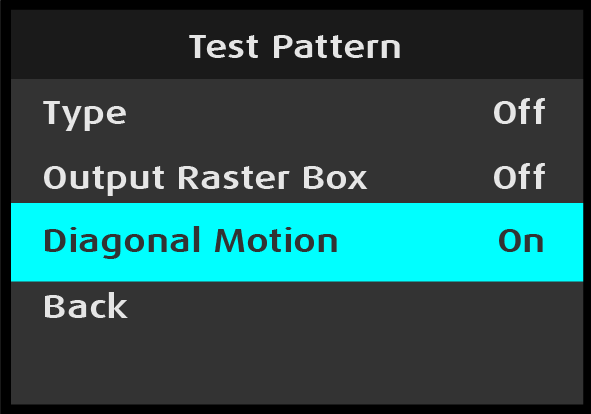
Back returns to the Output menu.
HDCP Mode enables the HDCP setting for the multiviewer output. The default HDCP mode setting for HDMI is Off.
Select HDCP from the Multiviewer menu to set up and apply HDCP settings for the multiviewer.
Scroll to and select HDCP Mode on the Multiviewer menu.
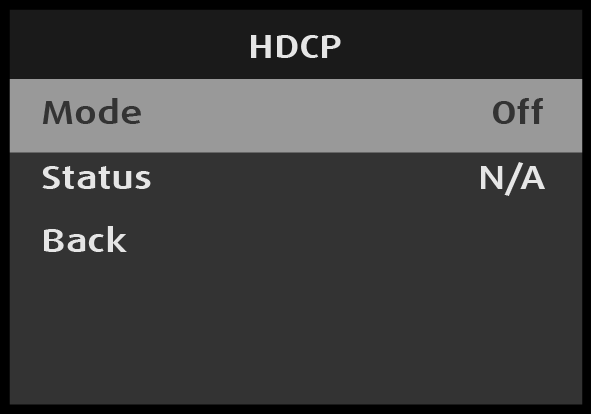
Once Mode is selected, the highlight bar turns from gray to cyan.
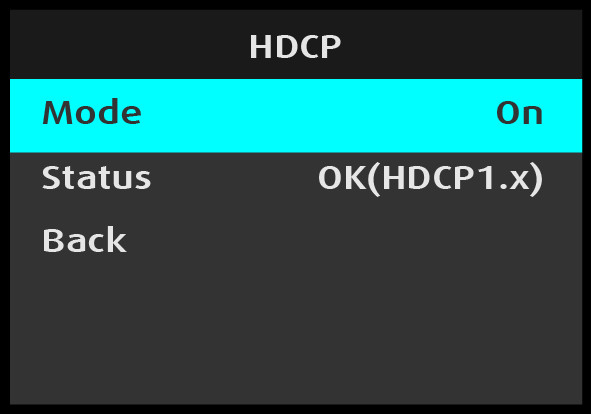
Use the Adjust knob to turn HDCP On or Off.
When HDCP is turned On the system displays the HDCP specification version for the Multiviewer. This is a status-only display; it cannot be selected or adjusted.
Select Back to return to the Multiviewer menu.
Use the Adjust Knob to select Color/Sample/Bit. Select the desired Color/Sample/Bit for the Multiviewer.
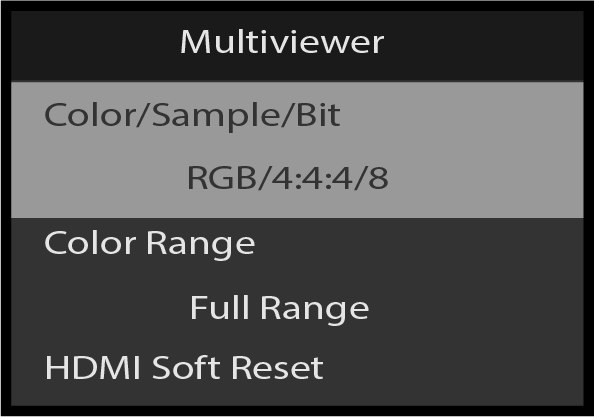
Use the Adjust knob to select Color Range. Select the desired Color Range.

Use the Adjust knob to select HDMI Soft Reset. HDMI Soft Reset can fix some display issues on Multiviewer output, but the Multiviewer output will go black for a few seconds.
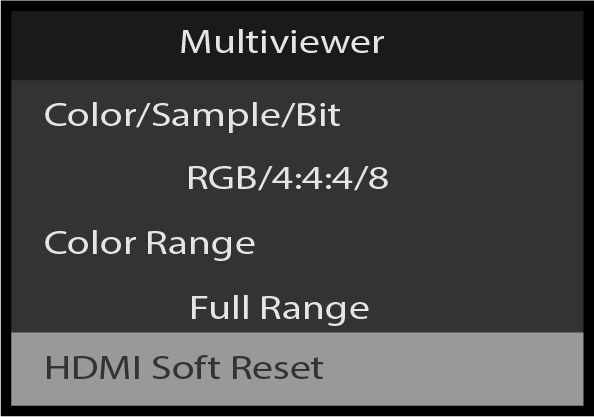
Select Back to return to the Multiviewer menu.