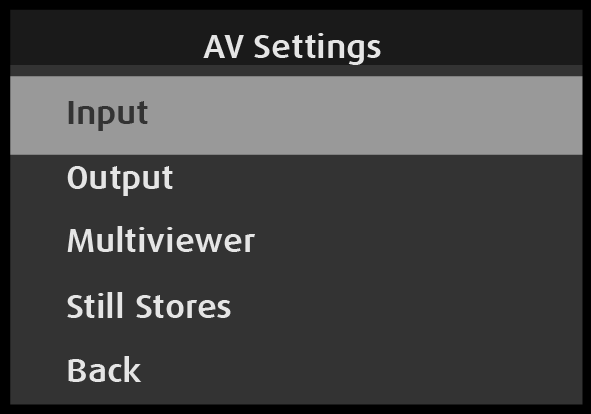
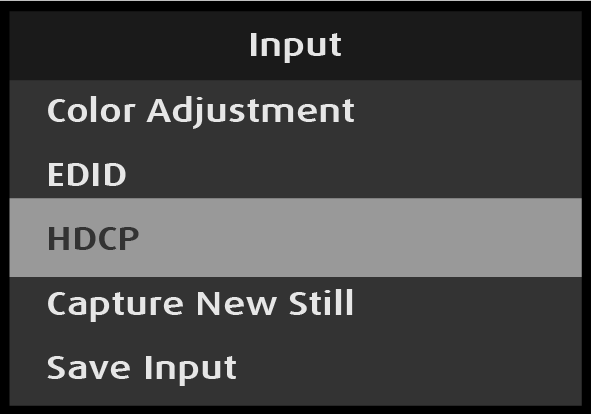
Use the AV Settings: Input menu to set up and use inputs. To enter the Input menu from the AV Setup menu, scroll to and select Input.
Image 5–8AV Settings: Input menu
Use the Input menu to adjust all parameters related to inputs.
The Input menu has the following submenus:
Format
Format Adjustment
Adjust Row
Source Name
Auto Acquire
Film Mode
Audio (if Audio Option card installed)
Sizing & Aspect Ratio
Color Adjustment
EDID
HDCP
Capture New Still
Save Input
Back
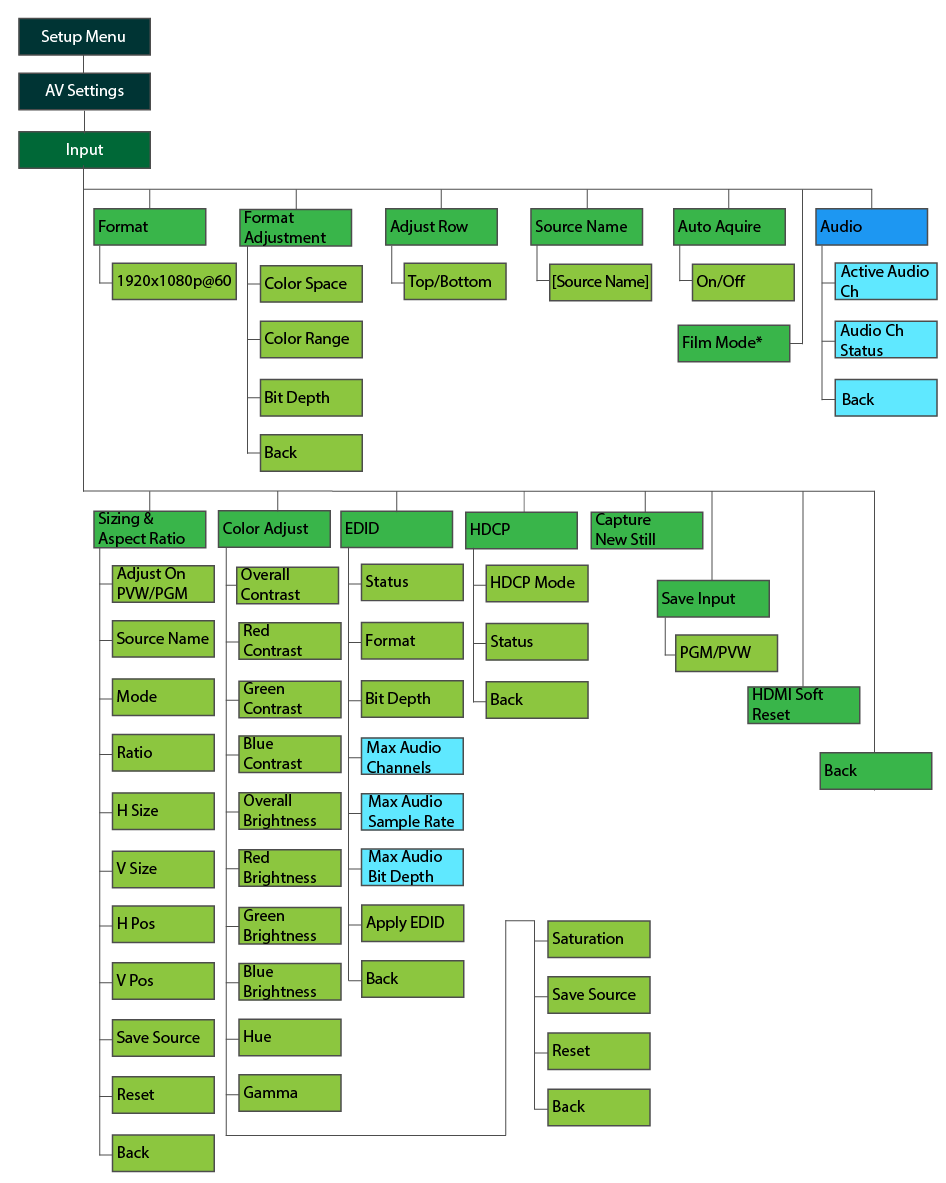
AV Settings: Input menu tree
Refer to Image 5–7 for an illustration of the AV Settings: Input menu tree.
Image 5–9
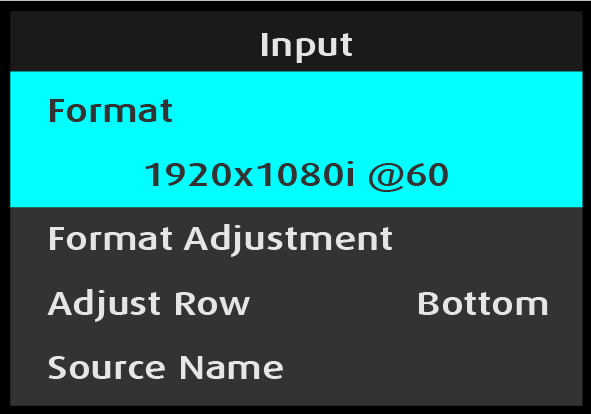
Input: Format
Select Format on the Input menu.
Image 5–10Input: Format selection
Once Format is selected, the highlight bar turns from gray to cyan. Turning the adjust knob scrolls through the available formats.
Scroll to and select the desired format.
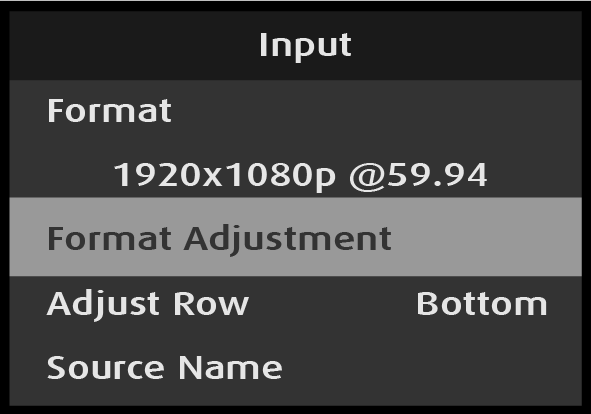
Image 5–11Input: Format adjustment
Input: Format Adjustment
Select Format Adjustment on the Input menu
Image 5–12Input: Format Adjustment selection
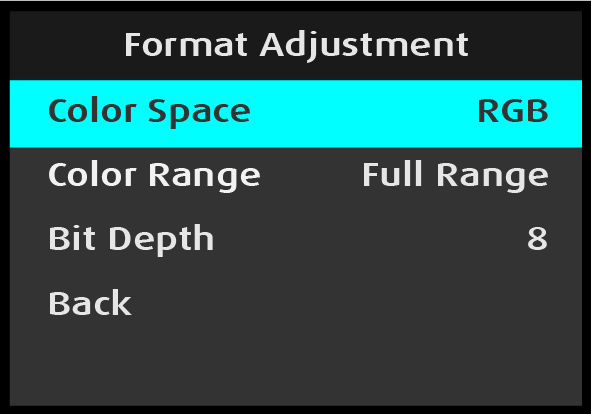
Scroll to and select Color Space on the Format Adjustment menu.
Image 5–13Format Adjustment: Color Space selection
Once Color Space is selected, the highlight bar turns from gray to cyan.
Scroll through the available color spaces and select the desired color space.
The available color spaces are:
RGB
SMPTE
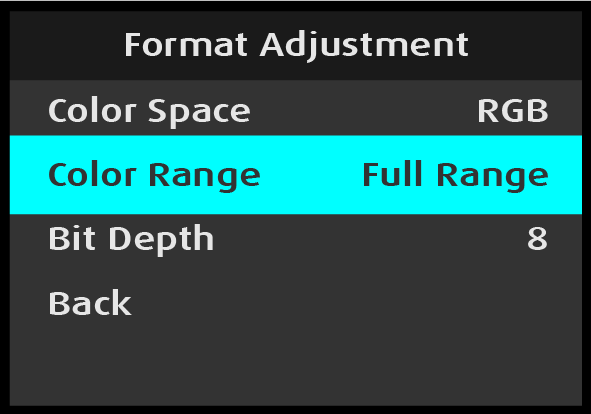
Scroll to and select Color Range on the Format Adjustment menu.
Image 5–14Format Adjustment: Color Range selection
Once Color Range is selected, the highlight bar turns from gray to cyan.
Scroll through the available color ranges and select the desired color range.
The available color spaces are:
Full Range
Reduced Range
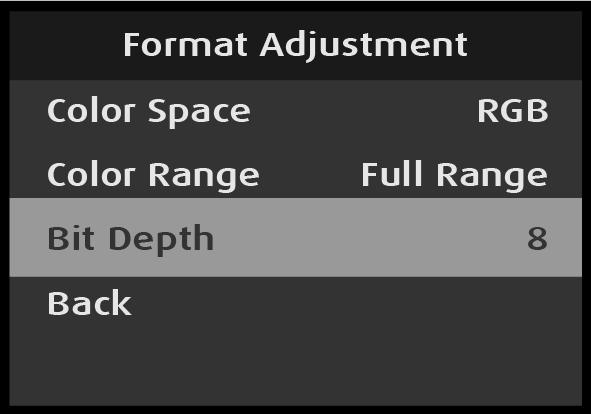
Scroll to and select Bit Depth on the Format Adjustment menu.
Image 5–15Format Adjustment: Bit Depth selection
Bit Depth is a status-only selection; it displays the bit depth of the selected input.
Back returns to the Input menu.
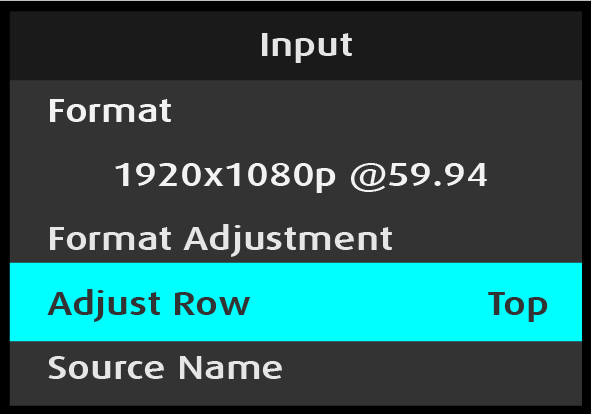
Input: Adjust Row
Select Adjust Row on the Input menu.
Image 5–16Adjust Row selection
Scroll to and select either Bottom or Top.
Image 5–17Adjust Row adjustment
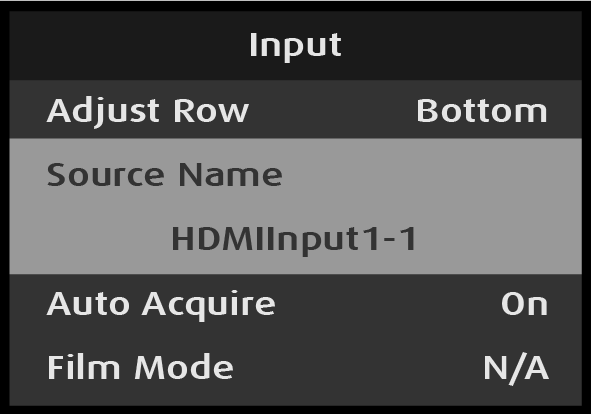
Input: Source Name
Select Source Name on the Input menu.
Image 5–18Input: Source Name selection
Source Name is a status-only selection; it displays the source name of the selected input.
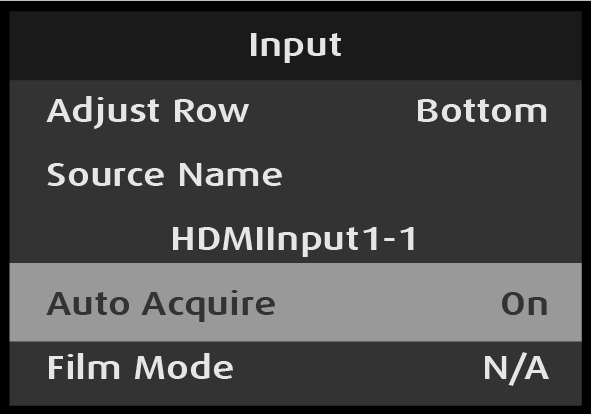
Input: Auto Acquire
Select Auto Acquire on the Input menu.
Image 5–19Auto Acquire selection
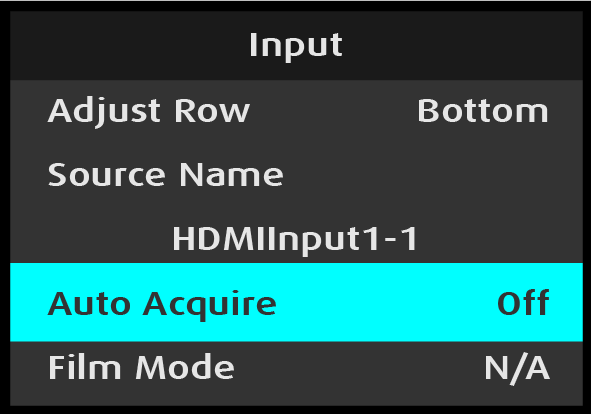
Scroll to and select either On or Off.
Image 5–20Auto Acquire adjustment
If Auto Acquire is On, the system detects and acquires the input type and resolution. Default is On.
If Auto Acquire is Off, the input format must be selected. The input source must then output the chosen format in order for its signal to be acquired.
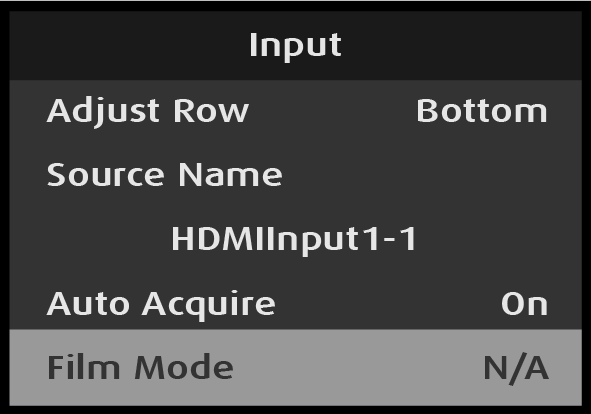
Input: Film Mode
Select Film Mode on the Input menu.
Image 5–21Film Mode selection
Note: Input: Film Mode is not applicable for progressive input formats and is automatically applied only for interlaced formats on SDI inputs only.
Input: Audio
If the Audio Card is installed, the Audio sub-menu will be visible.
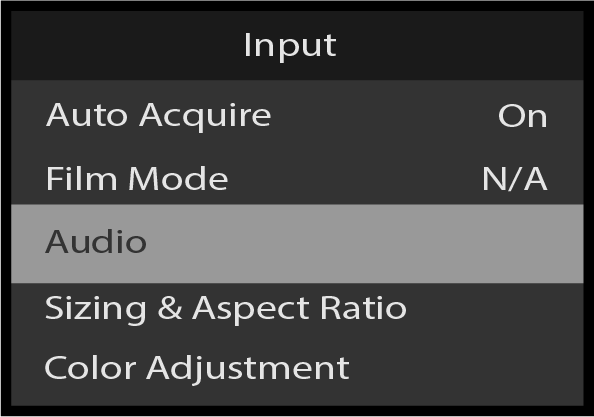
Scroll to and select Audio from the Input menu.
Image 5–22Input: Audio
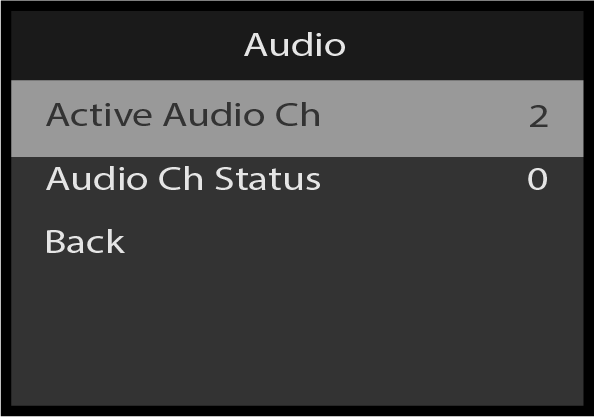
Scroll to Active Audio Ch. Use this to select the number of Active Audio Channels for the input to be either two or mute (no audio). Eight audio channels will be available in a future release.
Image 5–23Audio: Active Audio Ch
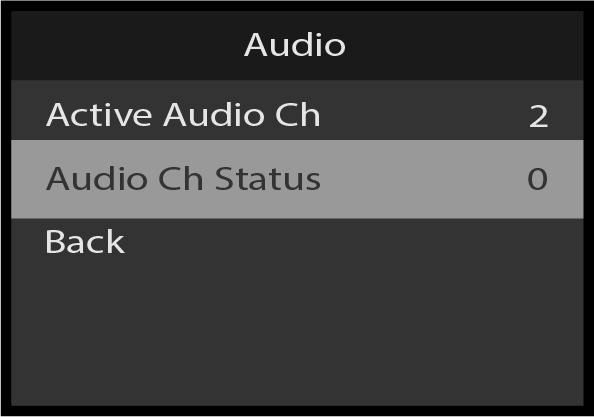
Scroll to Audio Ch Satus. This line indicates the number of audio channels present on the input signal.
Image 5–24Audio: Audio Ch Status
Scroll to and select Back to return to the Input menu.
Input: Sizing & Aspect Ratio
Use the Input: Sizing & Aspect Ratio menu to adjust the aspect ratio, visible size and position of the input source. Use the Input: Sizing & Aspect Ratio menu also to apply these changes to the selected input on either the preview (PVW) or program (PGM) outputs.
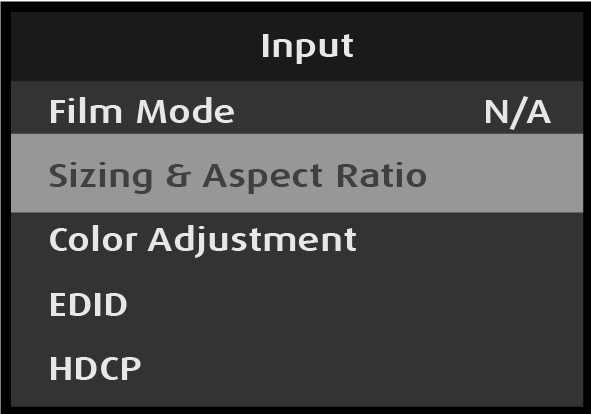
Select Sizing & Aspect Ratio on the Input menu.
Image 5–25Input: Sizing & Aspect Ratio selection
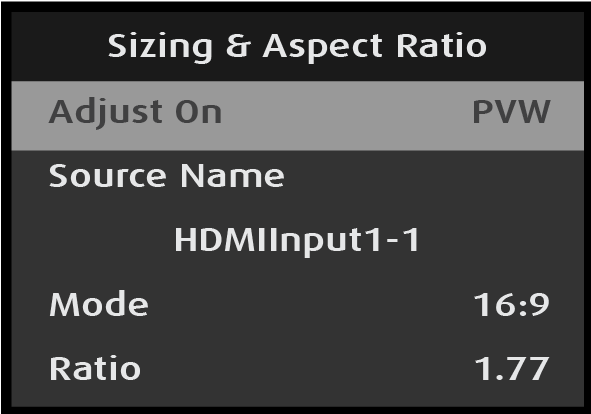
The system displays the Sizing & Aspect Ratio menu.
Image 5–26Sizing & Aspect Ratio menu
Sizing & Aspect Ratio: Adjust On
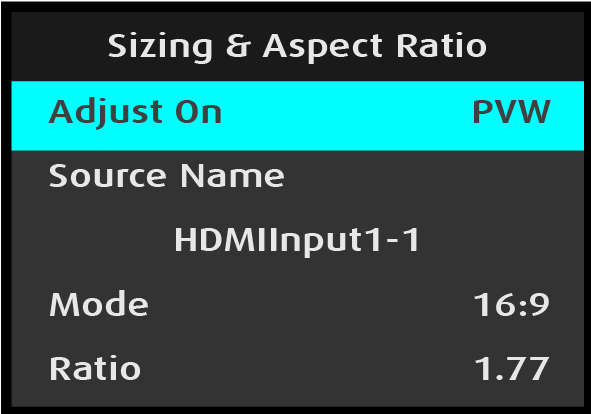
Scroll to and select Adjust On on the Sizing & Aspect Ratio menu
Image 5–27Adjust On selection
Once Adjust On is selected, the highlight bar turns from gray to cyan.
Scroll to and select either PVW (preview) or PGM (program).
Sizing & Aspect Ratio: Source Name
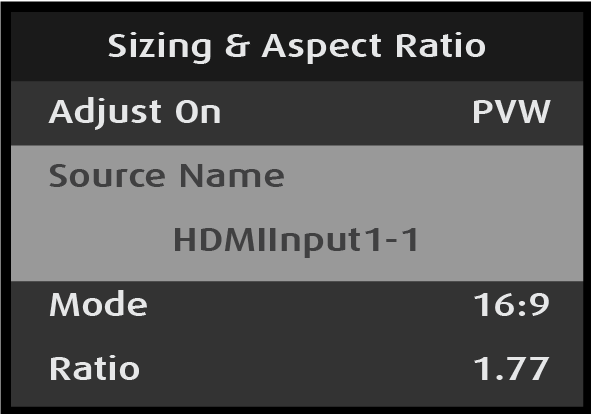
Select Source Name on the Sizing & Aspect Ratio menu.
Image 5–28Sizing & Aspect Ratio: Source Name selection
Source Name is a status-only selection; it displays the source name of the selected input.
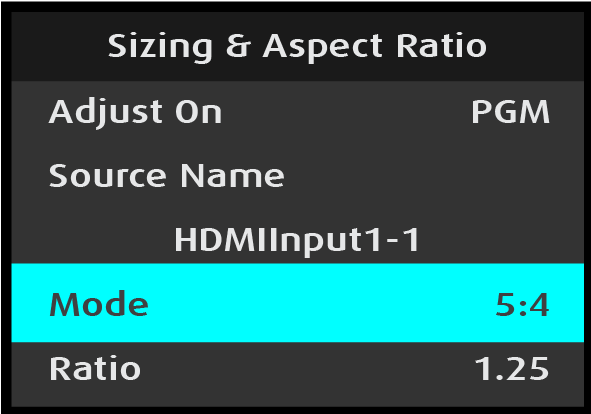
Sizing & Aspect Ratio: Mode
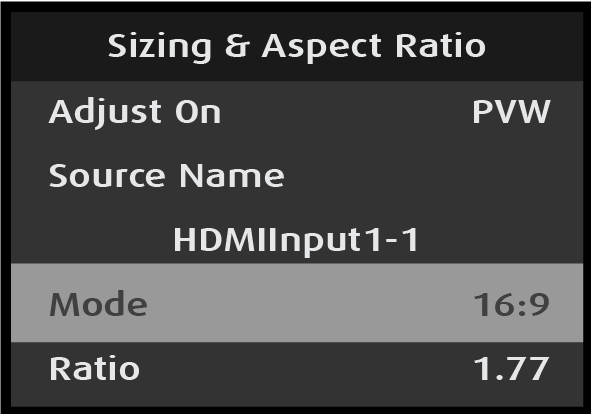
Scroll to and select Mode on the Sizing & Aspect Ratio menu.
Image 5–29Sizing & Aspect Ratio: Mode selection
Once Mode is selected, the highlight bar turns from gray to cyan.
Image 5–30Sizing & Aspect Ratio: Mode adjustment
The modes are:
3:1
16:9
16:10
3:2
4:3
5:4
1:1
Custom
Scroll to and select the desired mode.
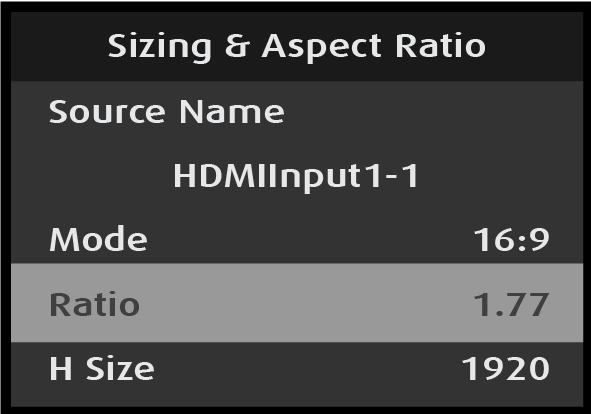
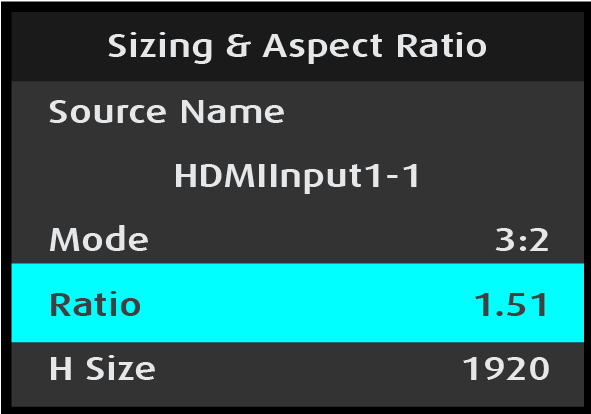
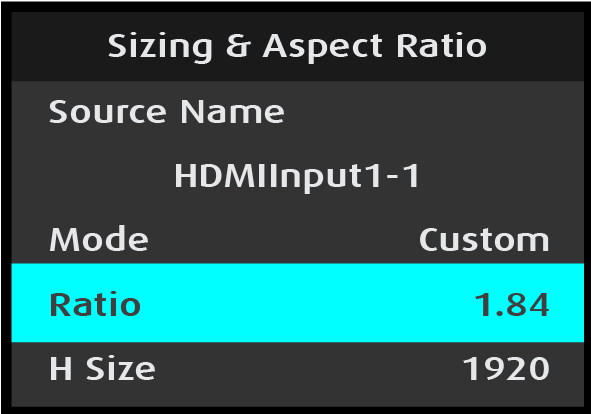
Sizing & Aspect Ratio: Ratio
Scroll to and select Ratio on the Sizing & Aspect Ratio menu to adjust the ratio of the width of the input source to its height.
Image 5–31Sizing & Aspect Ratio: Ratio selection
Once Ratio is selected, the highlight bar turns from gray to cyan.
Image 5–32Sizing & Aspect Ratio: Ratio adjustment
Use the Adjust knob to adjust and select the desired ratio.
Adjusting the Ratio automatically adjusts the Mode. If, for example, Ratio is 1.77, the Mode is 16:9. Turning the adjust knob counter-clockwise, users can adjust the ratio to any custom setting, for example from 2.99 to 1.78. Setting the Ratio to 1.51 sets the Mode to 3:2.
Setting the ratio to a value that does not match a mode sets the mode to “Custom.”
Image 5–33Aspect ratio adjustment with “Custom” mode
Sizing & Aspect Ratio: H Size, V Size, H Pos, V Pos, Save Source, and Reset
Use the Sizing & Aspect Ratio size and position menus to adjust or reset the size and position of the input source. The adjustment procedure for H Size, V Size, H Pos, and V Pos is the same for all four adjustments. The H Size adjustment is illustrated here.
Reset returns the sizing and position adjustments to their original settings.
Select H Size from the Sizing & Aspect Ratio menu.
Image 5–34Sizing & Aspect Ratio: H Size selection
Once H Size is selected, the highlight bar turns from gray to cyan.
Use the Adjust knob to adjust the H-size value.
Image 5–35Sizing & Aspect Ratio: H Size adjustment
V Size, H Pos, and V Pos are updated in the same manner as H Size is updated. Once all updates are made, save the source.
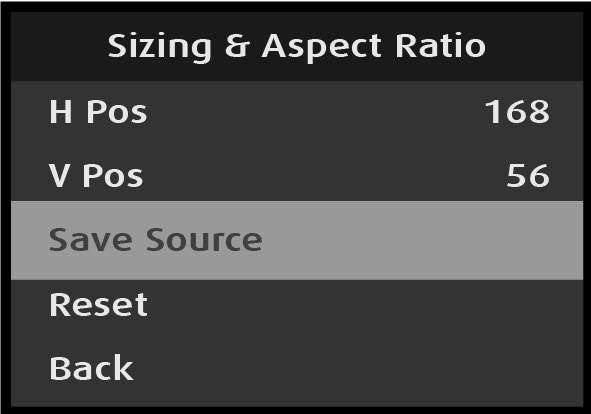
Scroll to and select Save Source.
Image 5–36Sizing & Aspect Ratio: Save Source
The system flashes an “Input/Source is saved” message.
Image 5–37“Input/Source is saved” message
Reset returns the Sizing & Aspect Ratio adjustments to their original settings, even if the source has been saved.
Back returns to the Input menu.
Input: Color Adjustment
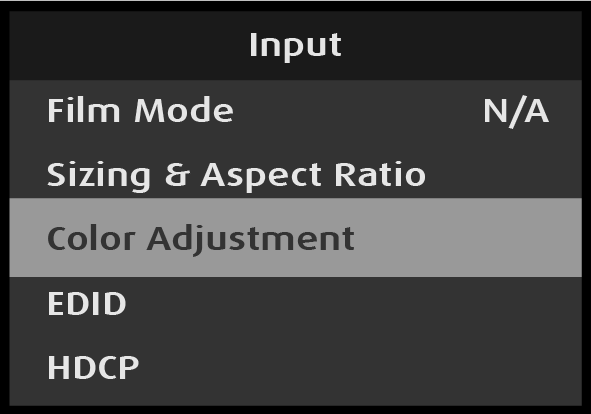
Select Color Adjustment on the Input menu.
Image 5–38Input: Color Adjustment selection
Selecting Color Adjustment opens the Color Adjustment menu.
Select Color Adjustment to adjust the following color aspects of the input source:
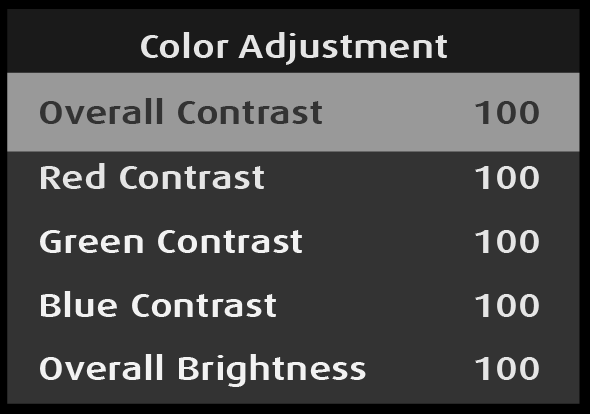
Overall Contrast: Range: 50 to 150; Default: 100
Red Contrast: Range: 25 to 150; Default: 100
Green Contrast: Range: 25 to 150; Default: 100
Blue Contrast: Range: 25 to 150; Default: 100
Overall Brightness: Range: 50 to 150; Default: 100
Red Brightness: Range: 25 to 150; Default: 100
Green Brightness: Range: 25 to 150; Default: 100
Blue Brightness: Range: 25 to 150; Default: 100
Hue: Range: -90 to 90; Default: 0
Gamma: Range: 0.30 to 3.29; Default: 1.00
Saturation: Range: 0 to 150: Default: 100
The adjustment procedure is the same for all eleven adjustments. The Overall Contrast adjustment is illustrated here.
Save Source saves all adjustments to the source.
Reset returns the color adjustments to their initial settings.
Back returns to the Input menu.
Scroll to and select Overall Contrast on the Color Adjustment menu.
Image 5–39Overall Contrast selection
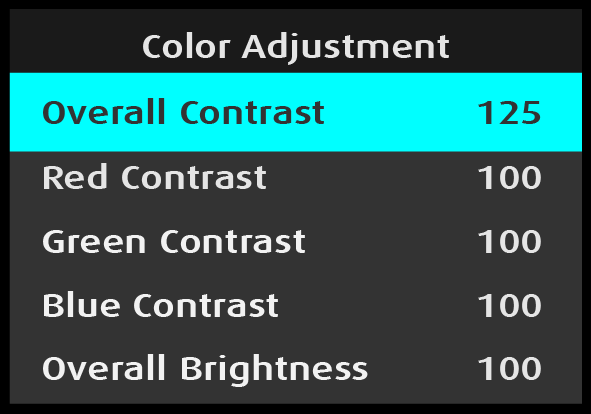
Use the Adjust knob to adjust the Overall Contrast value.
Image 5–40Overall Contrast adjustment
Once all updates are made, save the source.
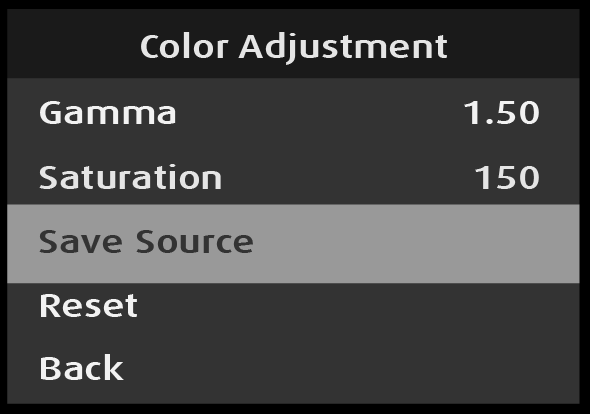
Scroll to and select Save Source.
Image 5–41Color Adjustment: Save Source
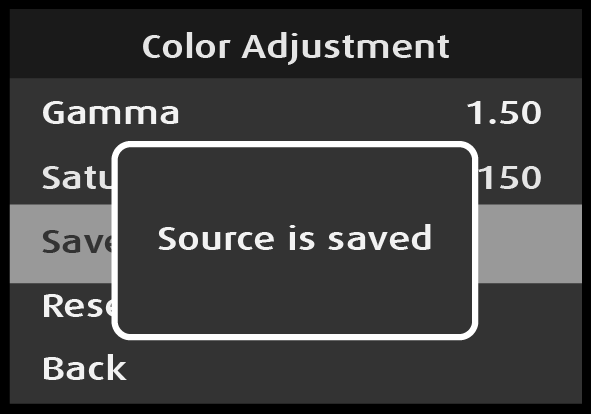
The system flashes a “Source is saved” message.
Image 5–42“Source is saved” message
Reset returns the source settings to their original state, even if the source has been saved.
Back returns to the Input menu.
Input: EDID
Use the EDID menu to set up and apply an EDID for an input. Note Some EDID settings are only available when the Audio Card installed.
Note: EDID is not applicable to SDI inputs.
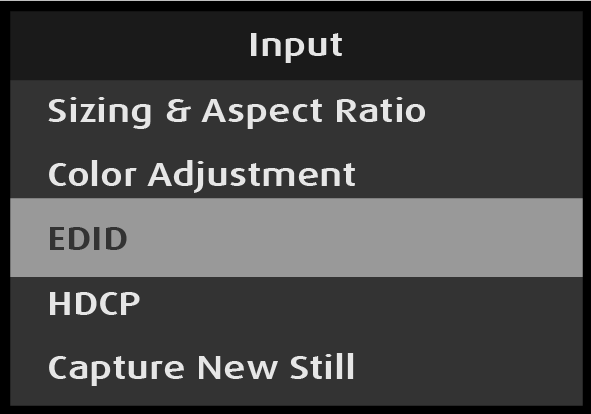
Select EDID on the Input menu.
Image 5–43Input: EDID selection
Selecting EDID opens the EDID menu.
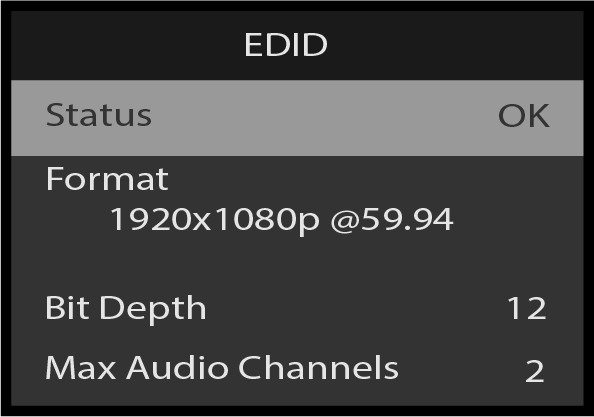
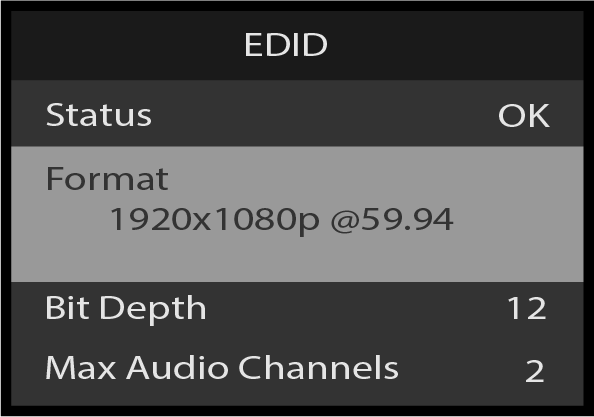
Scroll to Status on the EDID menu.
Image 5–44EDID: Status OK
EDID: Status is a status-only selection; it displays the status of the input selected on the Adjust Row and Adjust On menus.
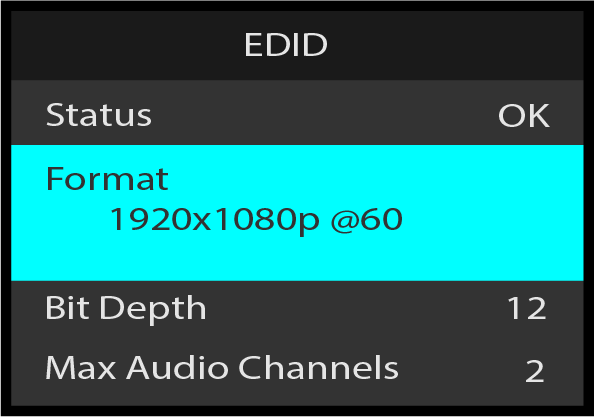
Scroll to and select Format on the EDID menu.
Image 5–45EDID: Format selection
Once Format is selected, the highlight bar turns from gray to cyan.
Image 5–46EDID: Format selection
Use the Adjust knob to scroll through and select the desired EDID format from the available formats.
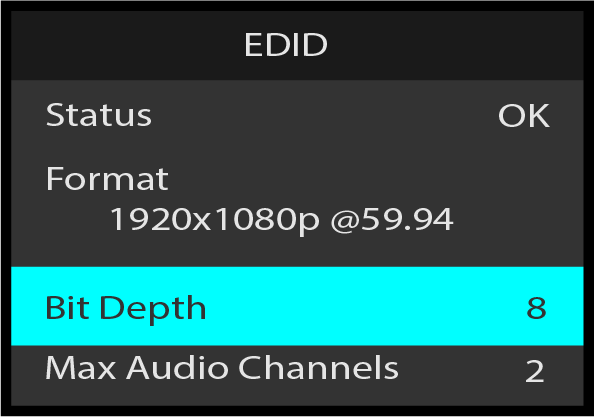
Scroll to and select Bit Depth on the EDID menu.
Image 5–47EDID: Bit Depth adjustment
Use the Adjust knob to adjust the bit-depth value.
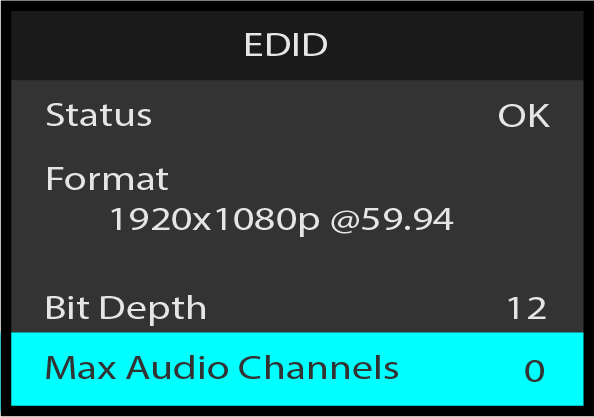
Scroll to and select Max Audio Channels to choose the desired number of audio channels. Only available with optional audio card.
Image 5–48EDID: Max Audio Channels adjustment
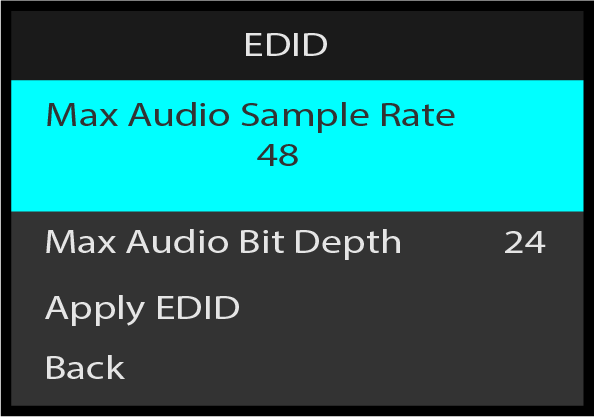
Scroll to and select Max Audio Sample Rate to choose the desired sample rate. Only available with optional audio card.
Image 5–49EDID: Max Audio Sample Rate adjustment
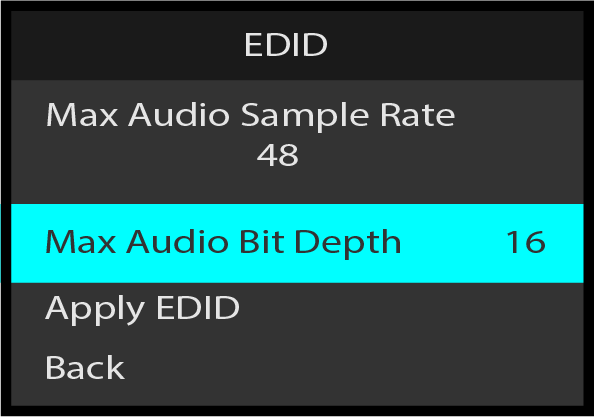
Scroll to and select Max Audio Bit Depth to choose the desired bit depth. Only available with optional audio card..
Image 5–50EDID: Max Audio Bit Depth adjustment
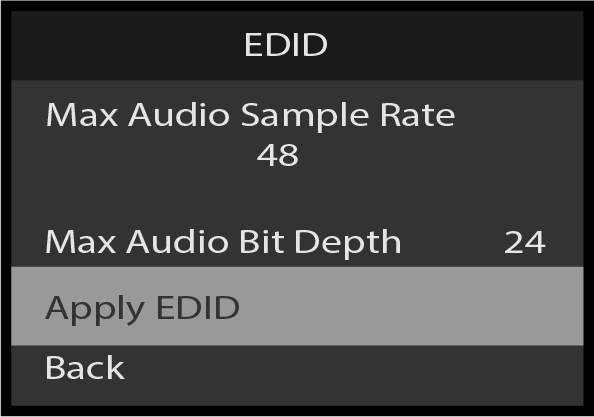
Scroll to and select Apply EDID to apply the updated EDID settings to an input, or scroll to and select Back to return to the Input menu, without keeping the EDID changes.
Image 5–51EDID: Apply EDID selection
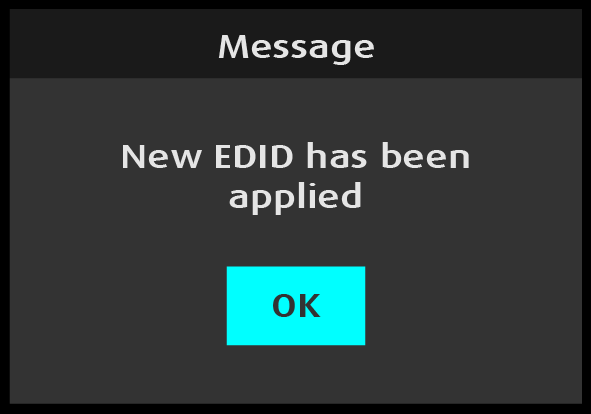
The system displays a "New EDID has been applied” message.
Image 5–52"New EDID has been applied” message
Press the Adjust knob to select "OK."
The system applies the adjusted EDID.
Scroll to and select Back to return to the Input menu.
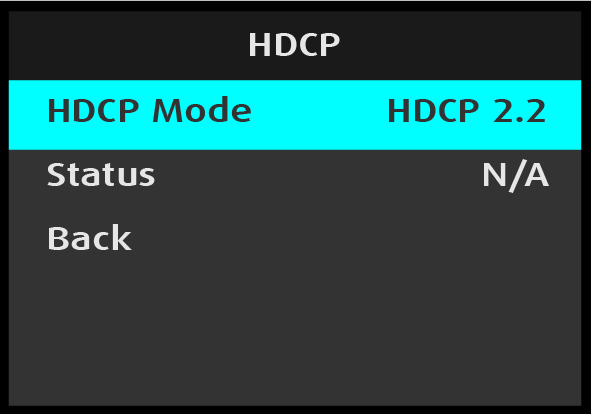
Input: HDCP
The default HDCP mode setting for HDMI is Off.
Note: HDCP Mode is not applicable to SDI inputs.
Select HDCP on the Input menu to set up and apply HDCP settings for the input.
Image 5–53Input: HDCP selection
Scroll to and select HDCP Mode on the Input menu.
Image 5–54HDCP Mode adjustment
Use the Adjust knob to adjust the HDCP-version value.
Status shows "N/A" if no HDCP encryption is negotiated on the input, or it shows "OK" and the HDCP type negotiated with the input device.
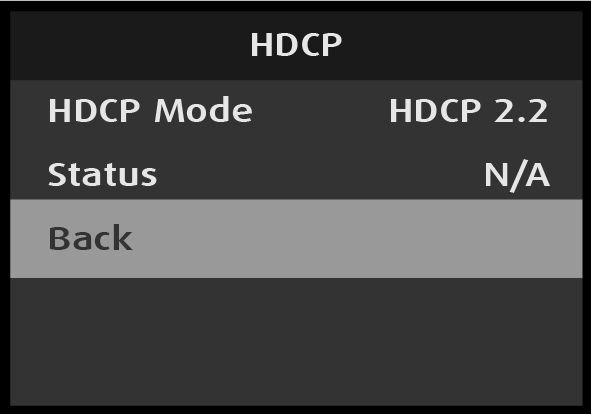
Select Back to return to the Input menu.
Image 5–55HDCP: Back—return to Input menu
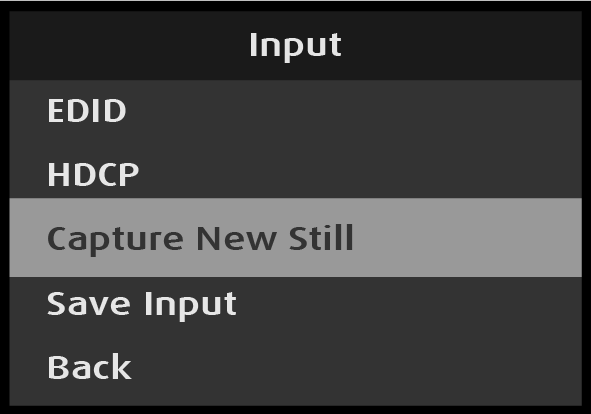
Input: Capture New Still
Scroll to and select Capture New Still on the Input menu.
Image 5–56Input: Capture New Still
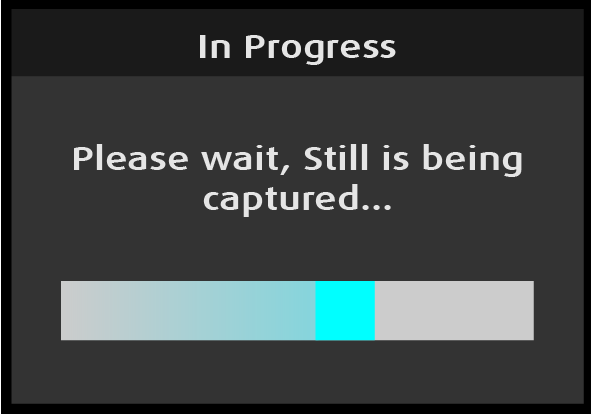
Press the Adjust knob to capture the new still.
The system displays a progress screen while it captures the Still.
Image 5–57StillStore in progress
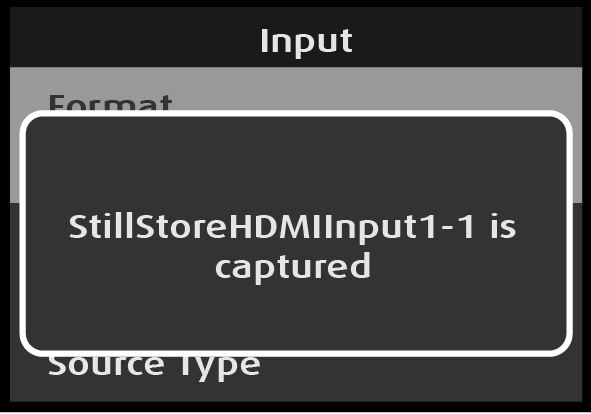
Once the Still is captured, the system returns to the Input menu and displays a message that contains the name of the Still.
Image 5–58“StillStore is captured” message
Note: The “StillStore is captured” message, with the name of the Still, is displayed only briefly.
Once the Still is captured, the system returns to the Input menu.
Image 5–59AV Settings: Input menu
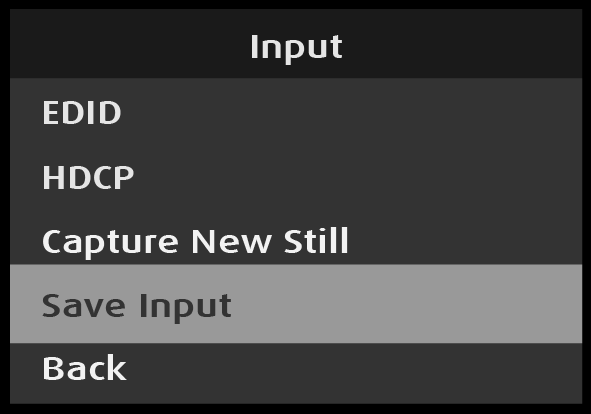
Input: Save Input
Scroll to and select Save Input on the Input menu.
Image 5–60Input: Save Input selection
The system displays the following message:
Press the Adjust knob to save the input.
Image 5–61“Input/Source is saved” message
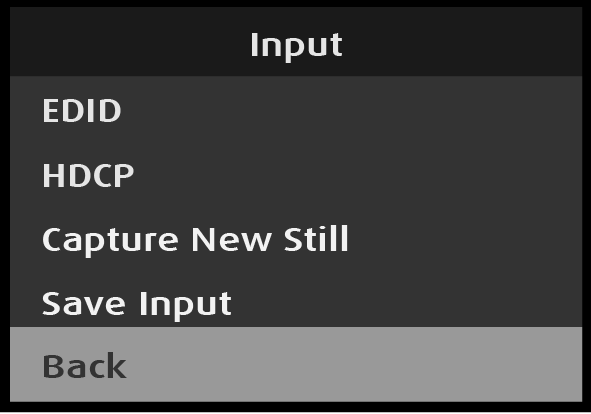
Once the input is saved, the system returns to the Input menu.
Image 5–62Input menu
Scroll to and select Back to return to the Setup menu.