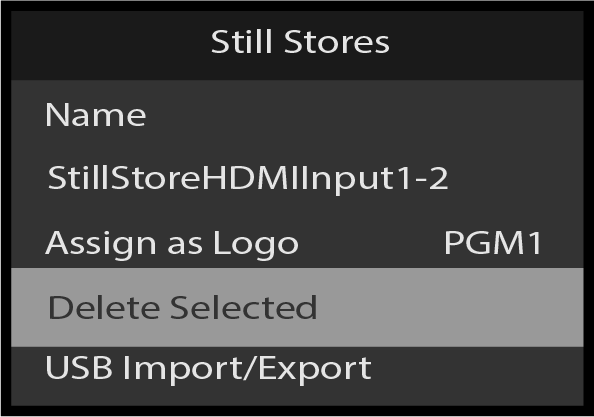
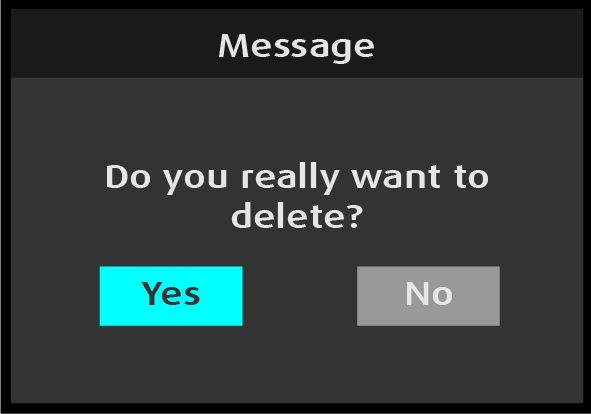
Once Delete Selected has been selected, the system displays a message.
Image 5–163“Do you really want to delete?” message
To delete the selected still store, turn the Adjust knob to select “Yes,” and press the Adjust knob.
(“Yes” is the system default.)
To not delete the selected store and return to the Still Stores menu, turn the Adjust knob to select “No,” and press the Adjust knob.
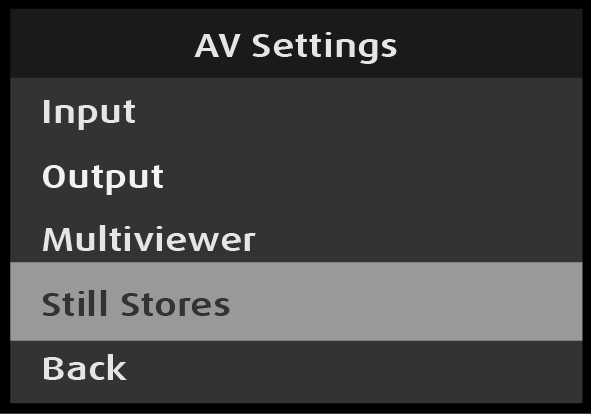
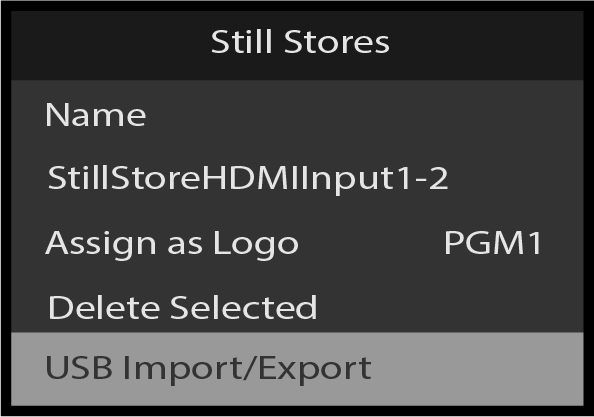
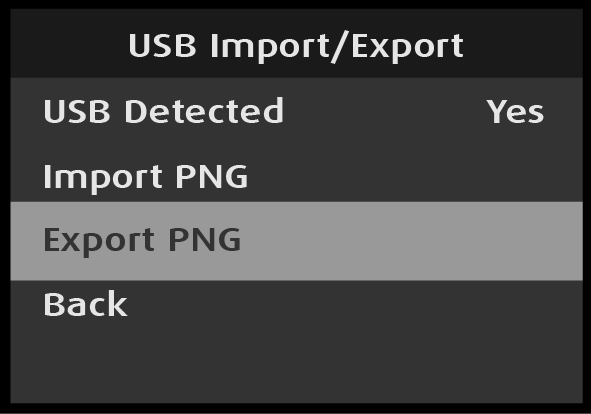
Still Stores: USB Import/Export
Use Still Stores: USB Import/Export to import stills from, or export stills to a USB flash drive.
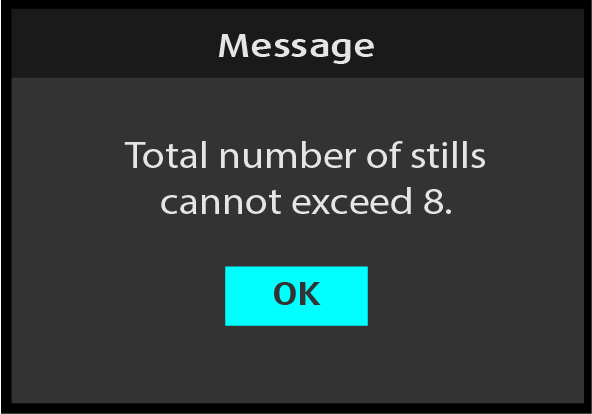
Note: To import stills from a USB flash drive, the stills must be located in the Stills\Import subfolder of the EM folder on the USB flash drive. No more than eight stills may be stored in the PDS-4K.
To import Stills from a USB flash drive...
Insert the flash drive with the stills to be imported into the unit’s USB port.
Scroll to and select USB Import/Export on the Still Stores menu.
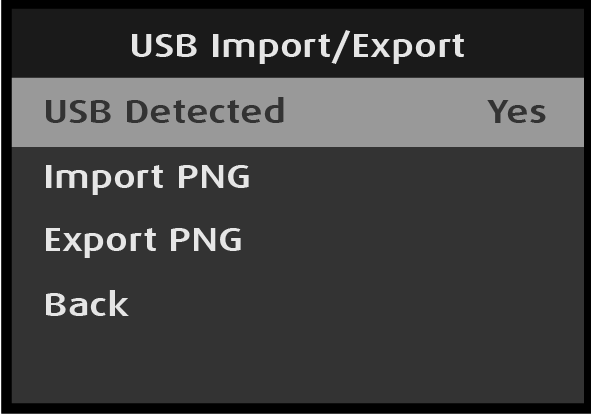
Image 5–164Still Stores: USB Import/Export selection
If the system detects a USB flash drive, the “USB Detected” line reads “Yes.”
Image 5–165USB Detected: “Yes”
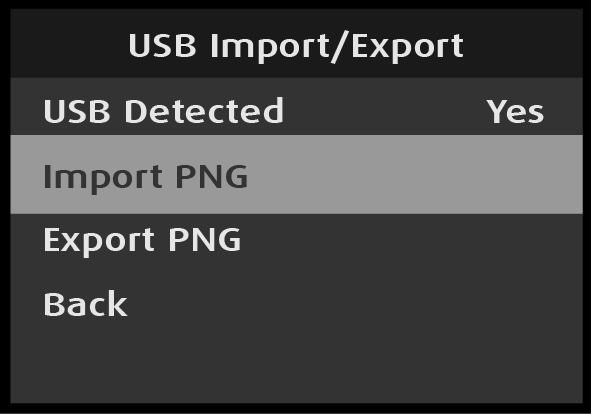
Scroll to and select Import PNG on the USB Import/Export menu.
While the export is in progress, the system displays the “Please wait” message.
Image 5–170“Please wait” message
The system places the exported Stills in the Stills\Export subfolder of the EM folder on the USB flash drive. If the Export subfolder does not already exist, the system creates it.