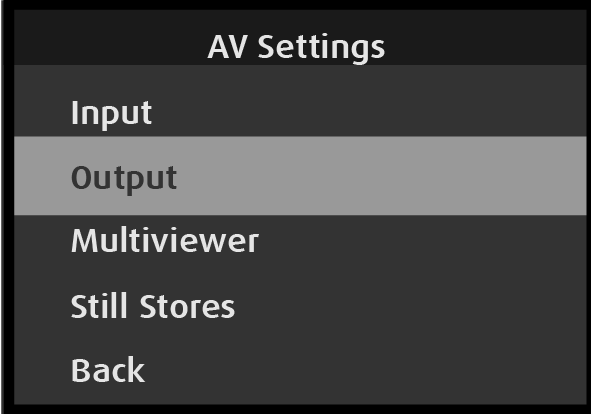
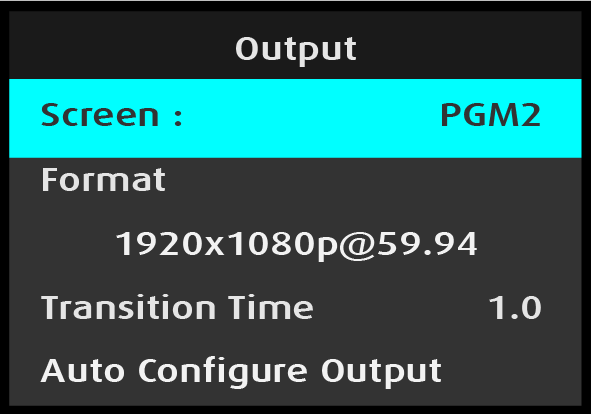
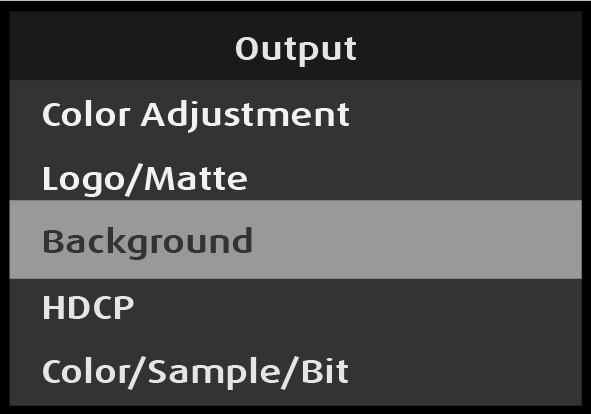
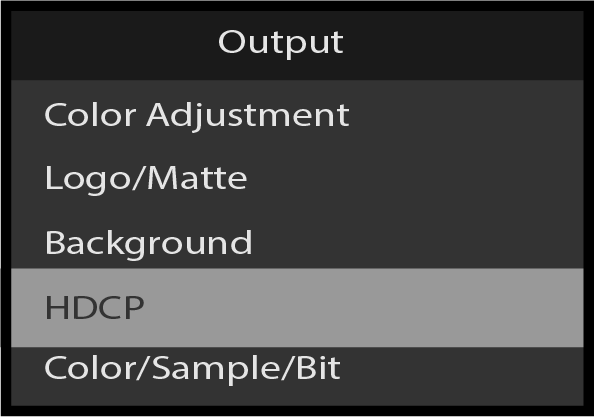
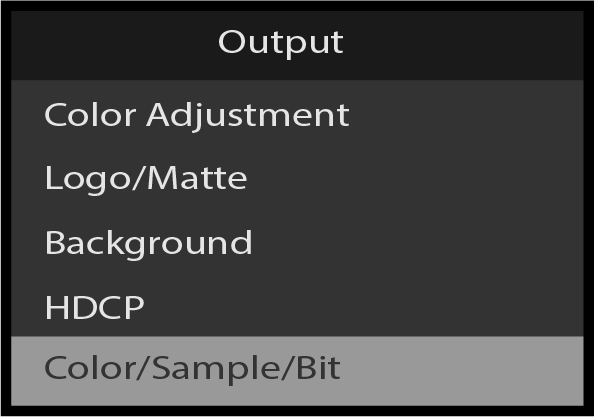
Use the AV Settings: Output menu to set up and use outputs. To enter the Output menu from the AV Setup menu, scroll to and select Output.
Image 5–64AV Settings: Output menu
Use the Output menu to adjust all parameters relating to outputs. Using this menu, you can set all of the configuration options for the selected output.
The AV Settings: Output menu has the following submenus:
Screen
Format
Transition Time
Auto Configure Output Format
Layer Scaling Mode
Test Pattern
Area of Interest
Color Adjustment
Logo/Matte
Background
HDCP
Color/Sample/Bit
HDMI Soft Reset
SDI Setup
Audio (if Audio Option card installed)
Back
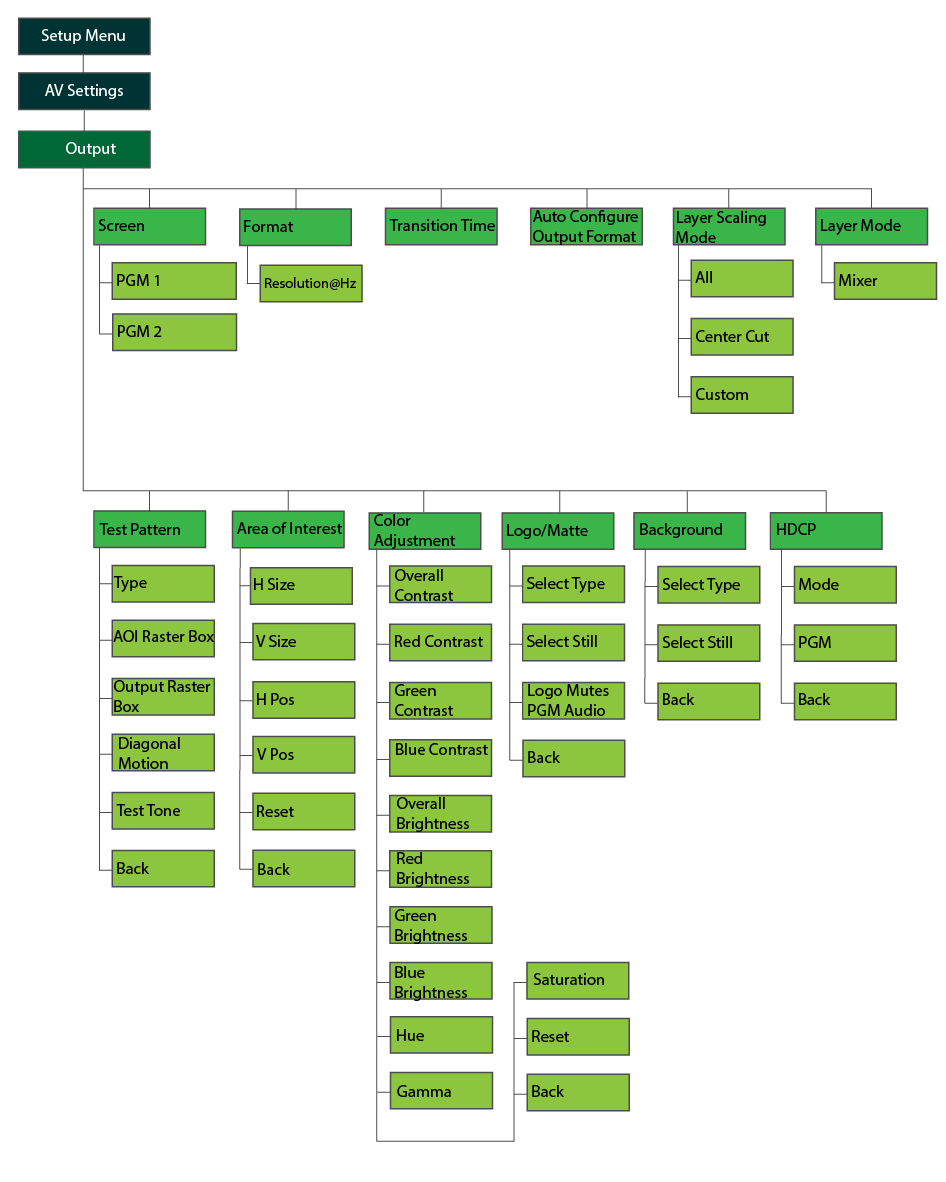
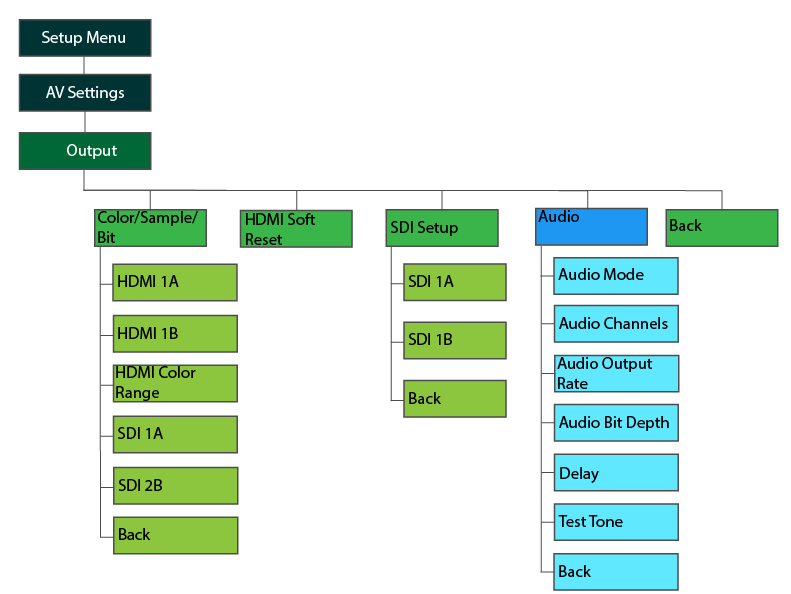
AV Settings: Output menu tree
Refer to Image 5–65 and Image 5–66 for an illustration of the AV Settings: Output menu tree.
Image 5–65AV Settings: Output menu treeImage 5–66AV Settings: Output menu tree (continued)
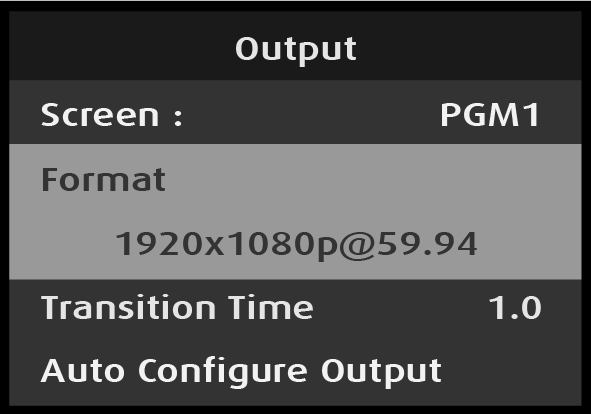
Output: Screen
Select Screen on the Output menu.
Image 5–67Output: Screen selection
Once screen is selected, the highlight bar turns from gray to cyan.
Turning the adjust knob scrolls through the available outputs.
Image 5–68Output: Screen adjustment
Note: In 4K60 mode the options are PGM1 and PGM2; in 4K30 mode the options are PGM1A, PGM1B, PGM2A, and PGM2B.
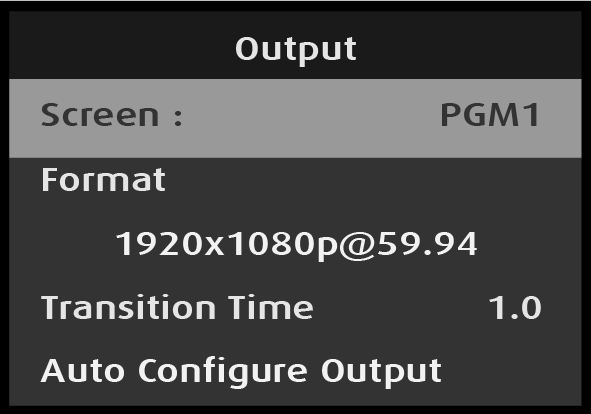
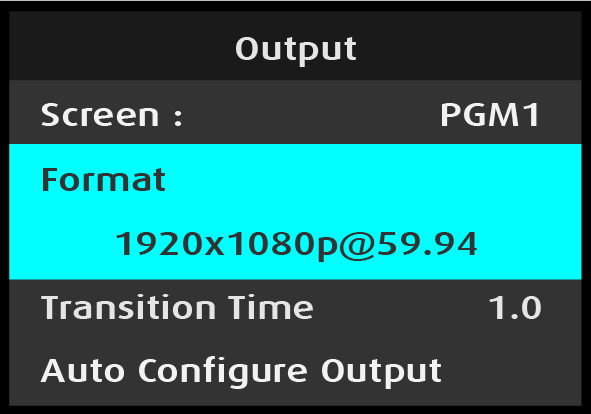
Output: Format
Select Format on the Output menu.
Image 5–69Output: Format selection
Once Format is selected, the highlight bar turns from gray to cyan.
Image 5–70Output: Format adjustment
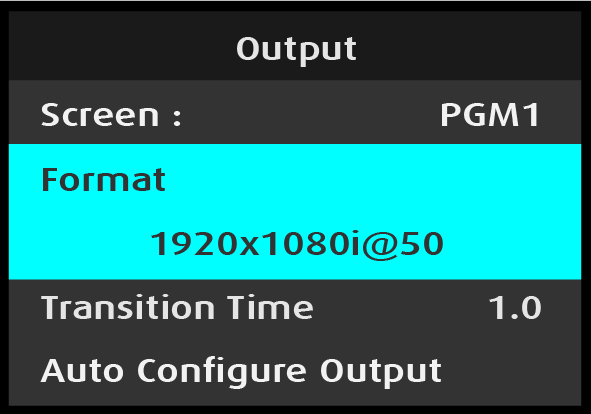
Turn the Adjust knob to scroll through the available formats.
Image 5–71Adjusting Output Format
Press the Adjust knob to select the desired output format, when it is displayed.
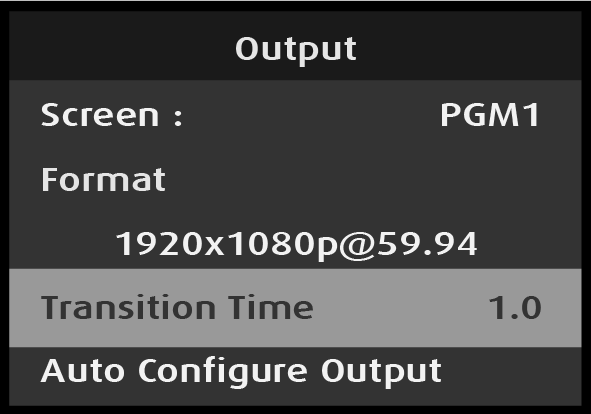
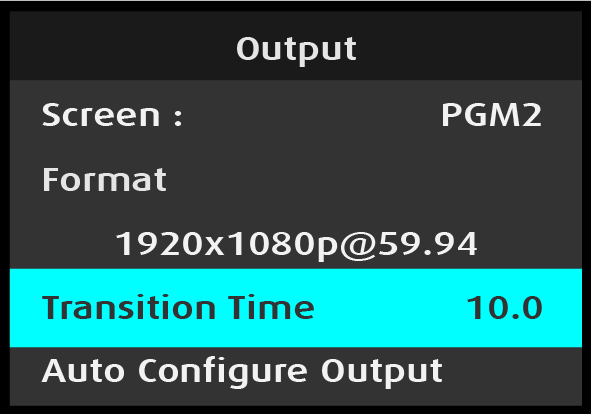
Output: Transition Time
Use Transition Time to adjust the duration of a transition time in seconds. Value ranges from "0.0" to "12.0." A transition time of "0.0" specifies a Cut transition.
Select Transition Time on the Output menu.
Image 5–72Output: Transition Time selection
Once Transition Time is selected, the highlight bar turns from gray to cyan.
Turn the adjust knob to adjust the transition time.
Image 5–73Output: Transition Time adjustment
The Transition Time is adjusted in tenths of a second.
Press the Adjust knob to select the desired transition time, when it is displayed.
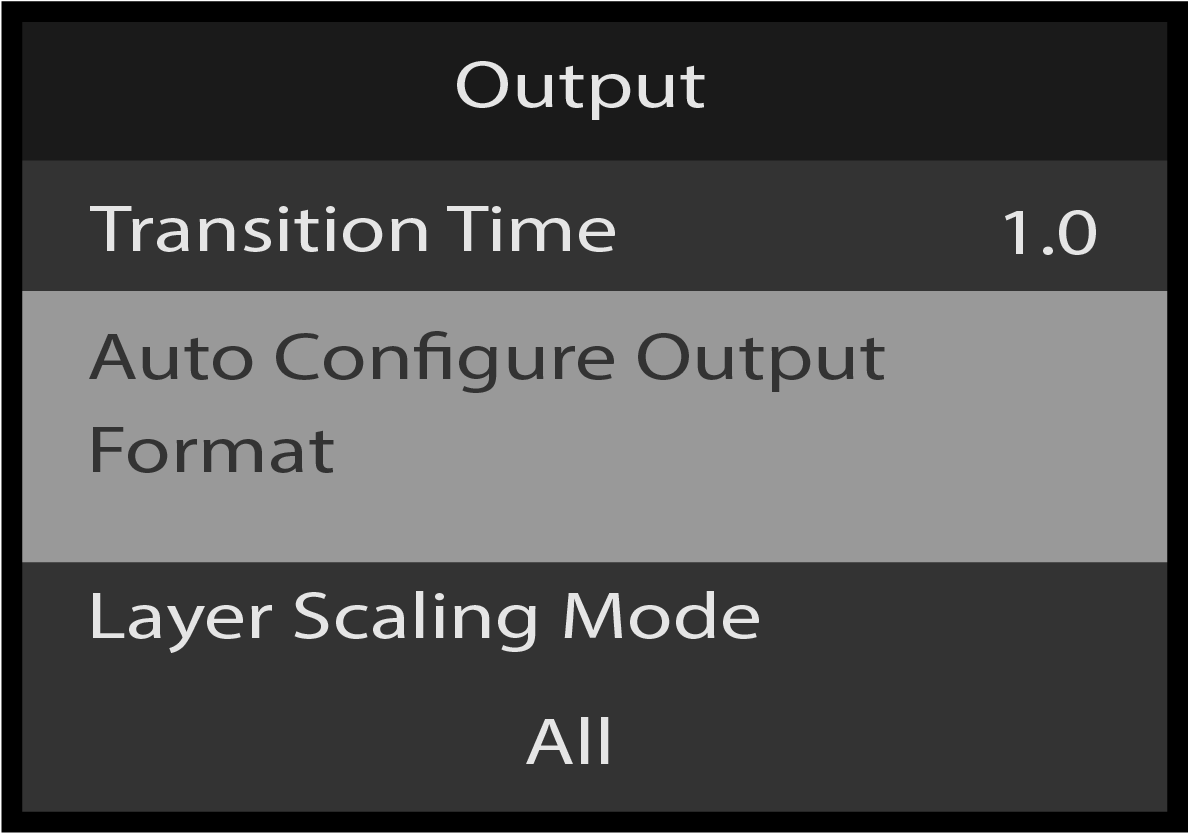
Output: Auto Configure Output Format
Use Auto Configure Output Format to automatically detect and acquire the preferred output format for the primary HDMI display.
Scroll to and select Auto Configure Output Format from the Output menu.
Image 5–74Output: Auto Configure Output Format selection
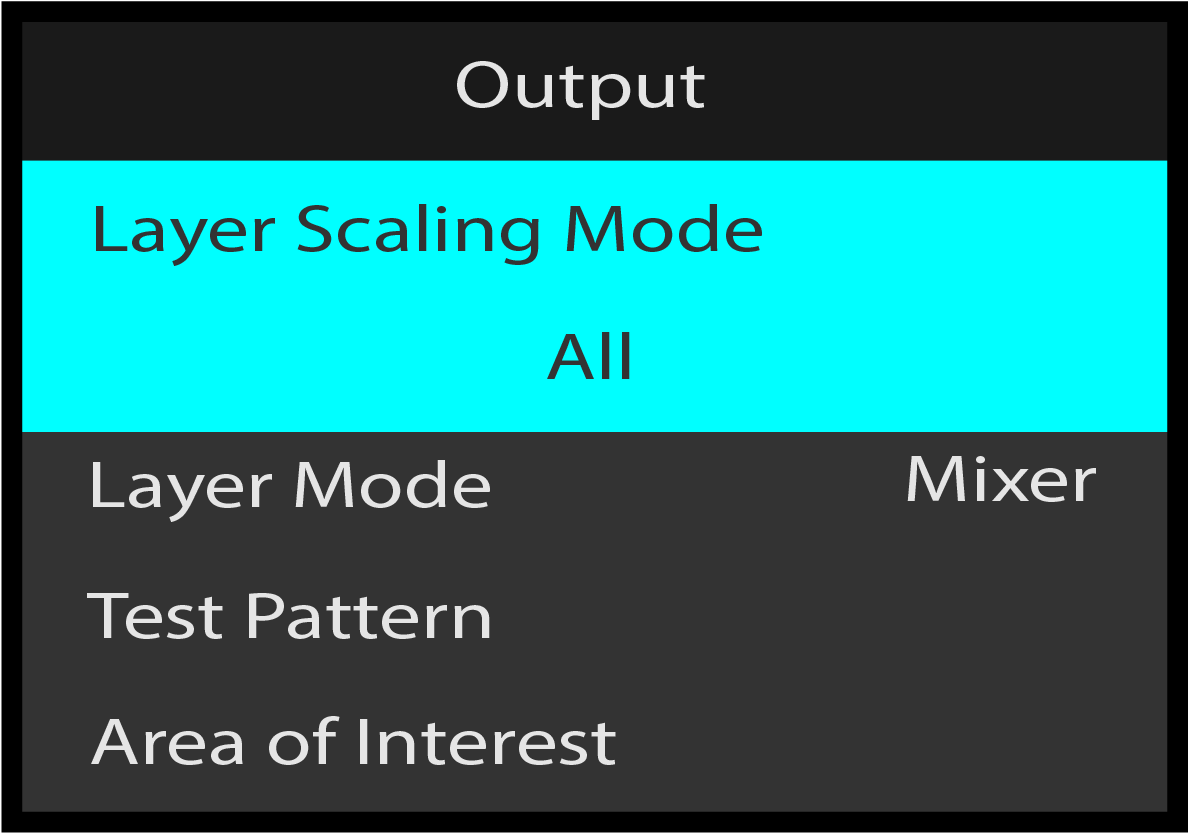
Output: Layer Scaling Mode
The layer scaling mode can be adjusted by using the Adjust knob and selecting Layer Scaling Mode.
Image 5–75Output: Layer Scaling Mode
The following layer scaling modes are available:
All
Center Cut
Custom
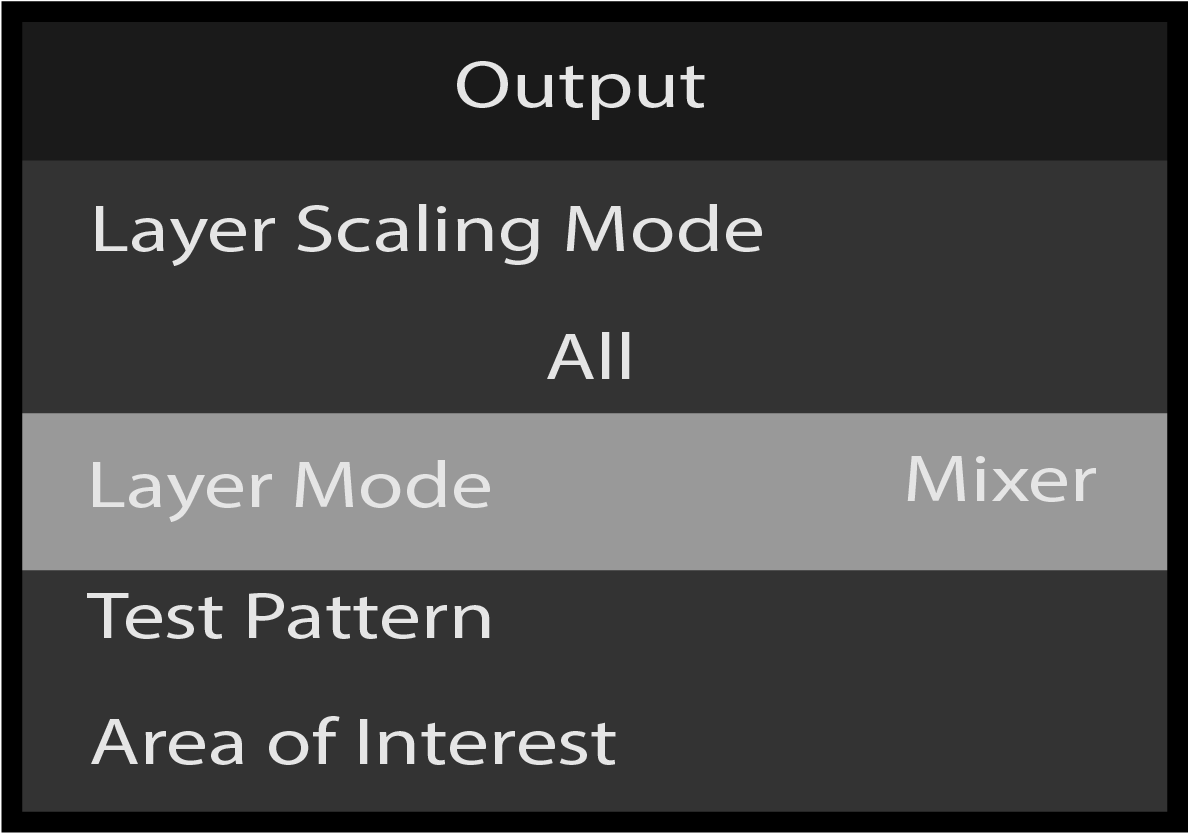
Output: Layer Mode
The Layer Mode can be highlighted by scrolling to it using the Adjust knob.
Image 5–76Output: Layer Mode
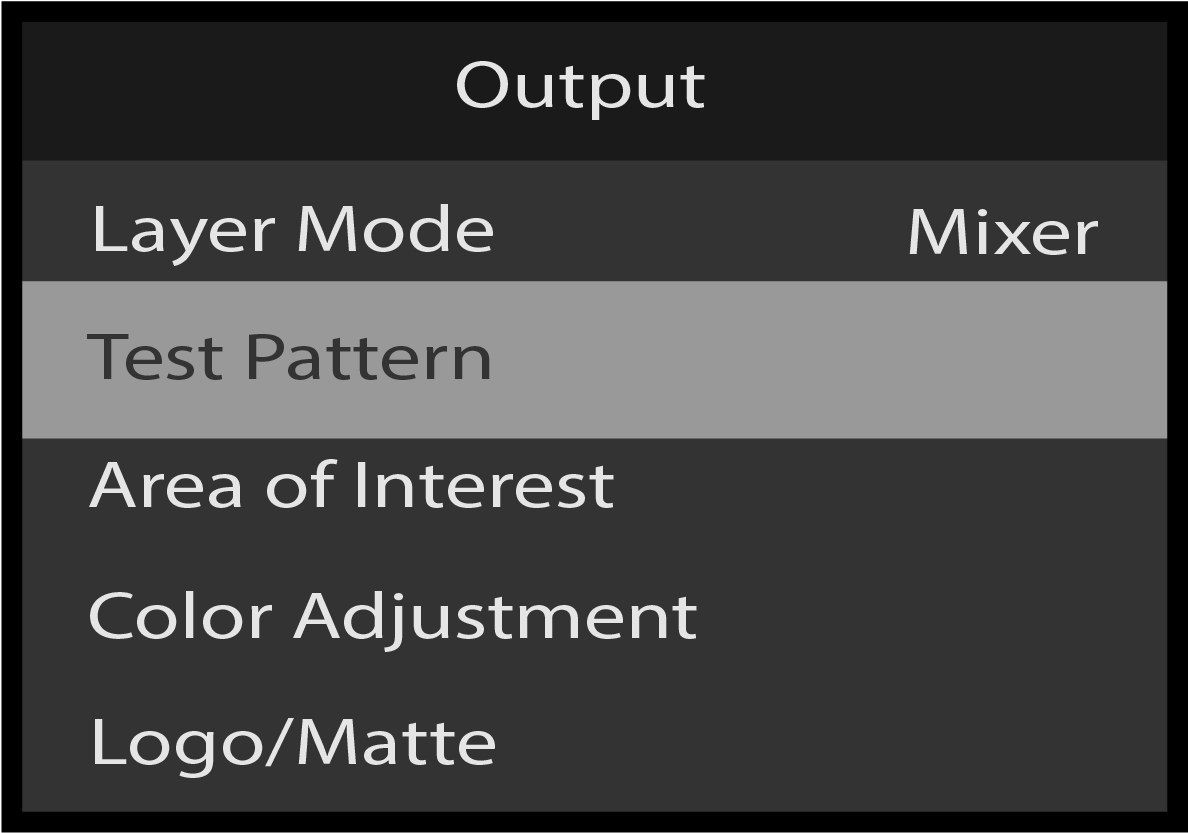
Output: Test Pattern
Use Test Pattern to select and adjust output test patterns.
Scroll to and select Test Pattern on the Output menu.
Image 5–77Output: Test Pattern selection
The system displays the Test Pattern menu.
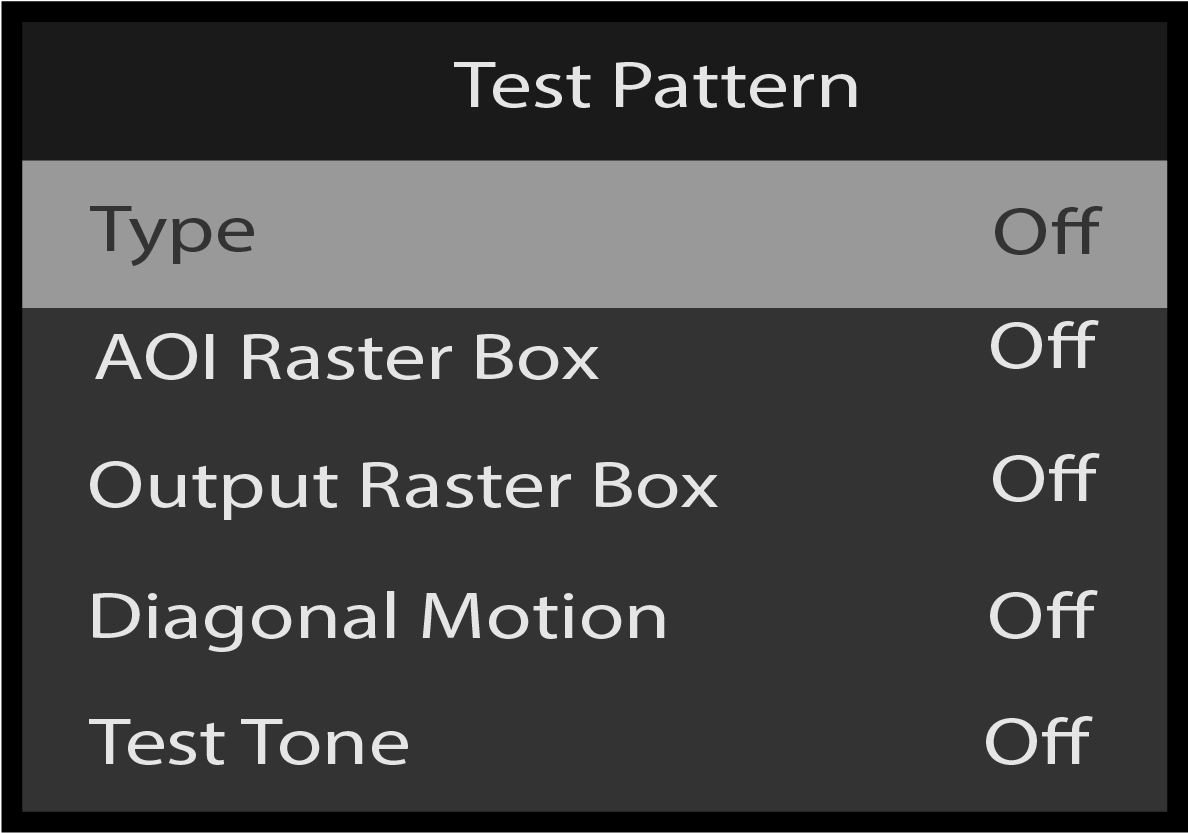
Test Pattern: Type
Use Type to select the desired test pattern.
Scroll to and select Type from the Test Pattern menu.
The system displays the Test Pattern menu.
Image 5–78Test Pattern: Type selection
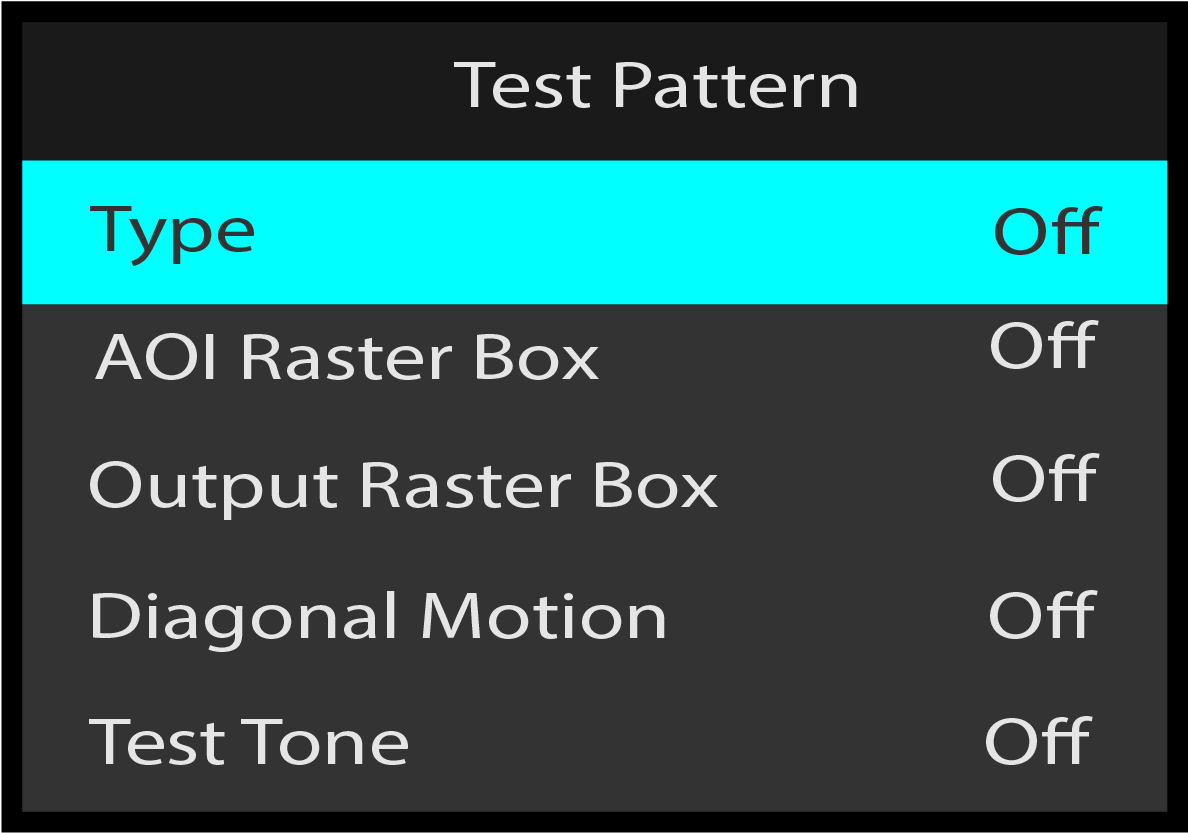
Once Type is selected, the highlight bar turns from gray to cyan.
Image 5–79Test Pattern: Type adjustment
The following test patterns are available:
Horizontal Ramp
Vertical Ramp
100% Color Bars
16x16 Grid
32x32 Grid
Burst
75% Color Bars
50% Gray
Horizontal Steps
Vertical Steps
White
Black
SMPTE Bars
Circle Alignment
Red
Green
Blue
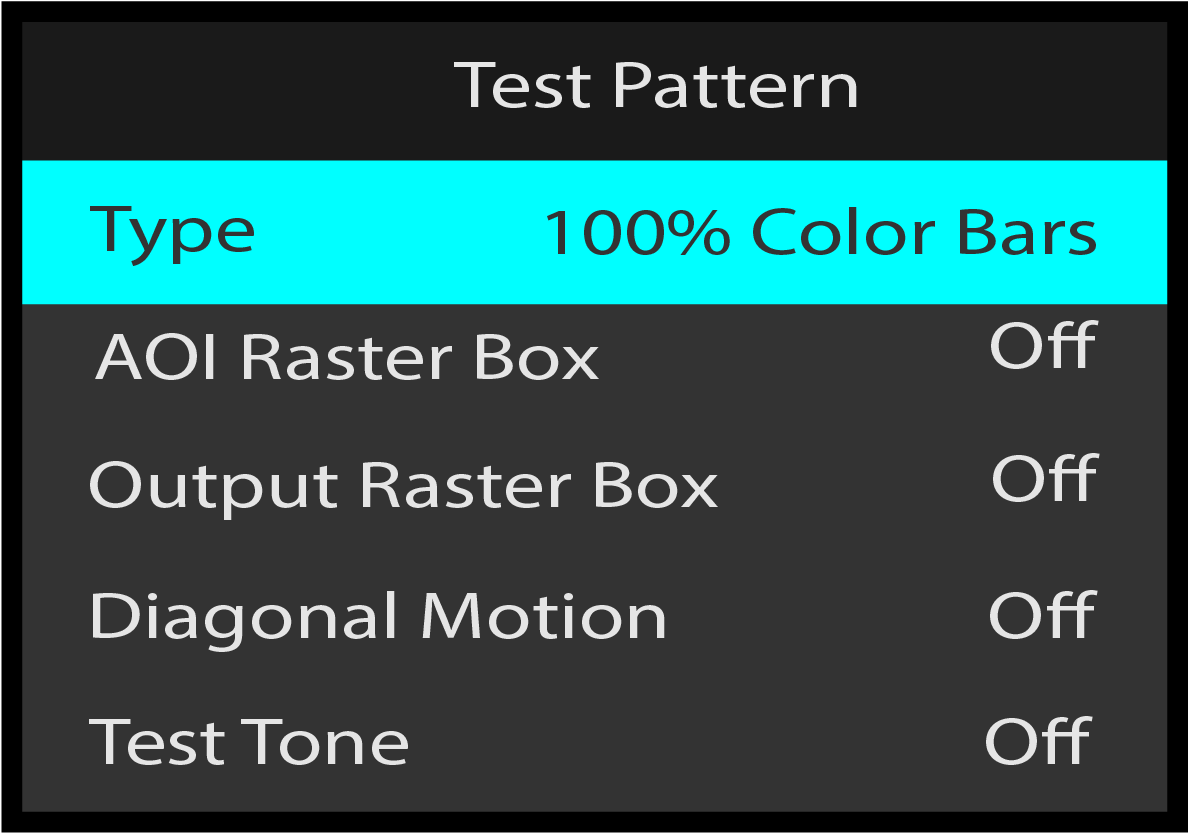
Use the Adjust knob to scroll through and select the desired test pattern.
Image 5–80Selecting test-pattern type “100% Color Bars”
Test Pattern: AOI Raster Box
Use AOI Raster Box to turn On and turn Off a border box around the area of interest (AOI). The AOI raster box is green.
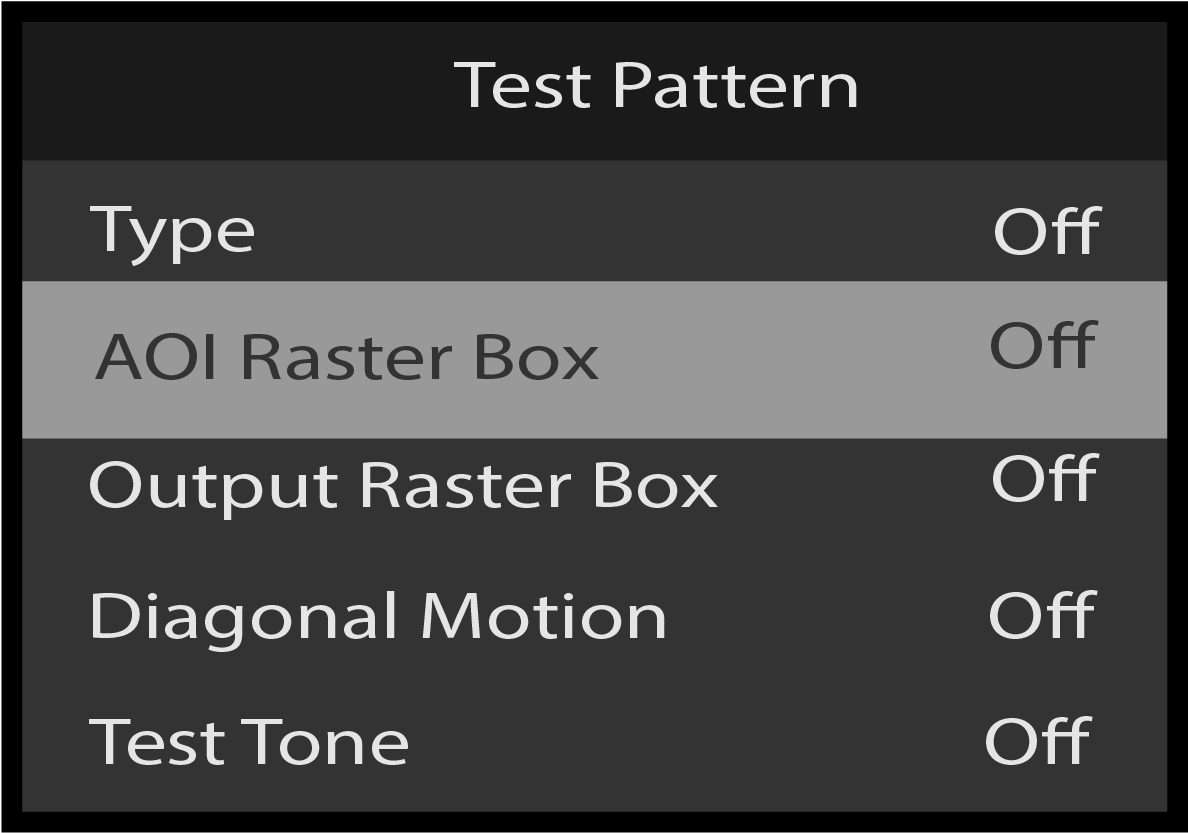
Scroll to and select AOI Raster Box from the Test Pattern menu.
Image 5–81Test Pattern: AOI Raster Box selection
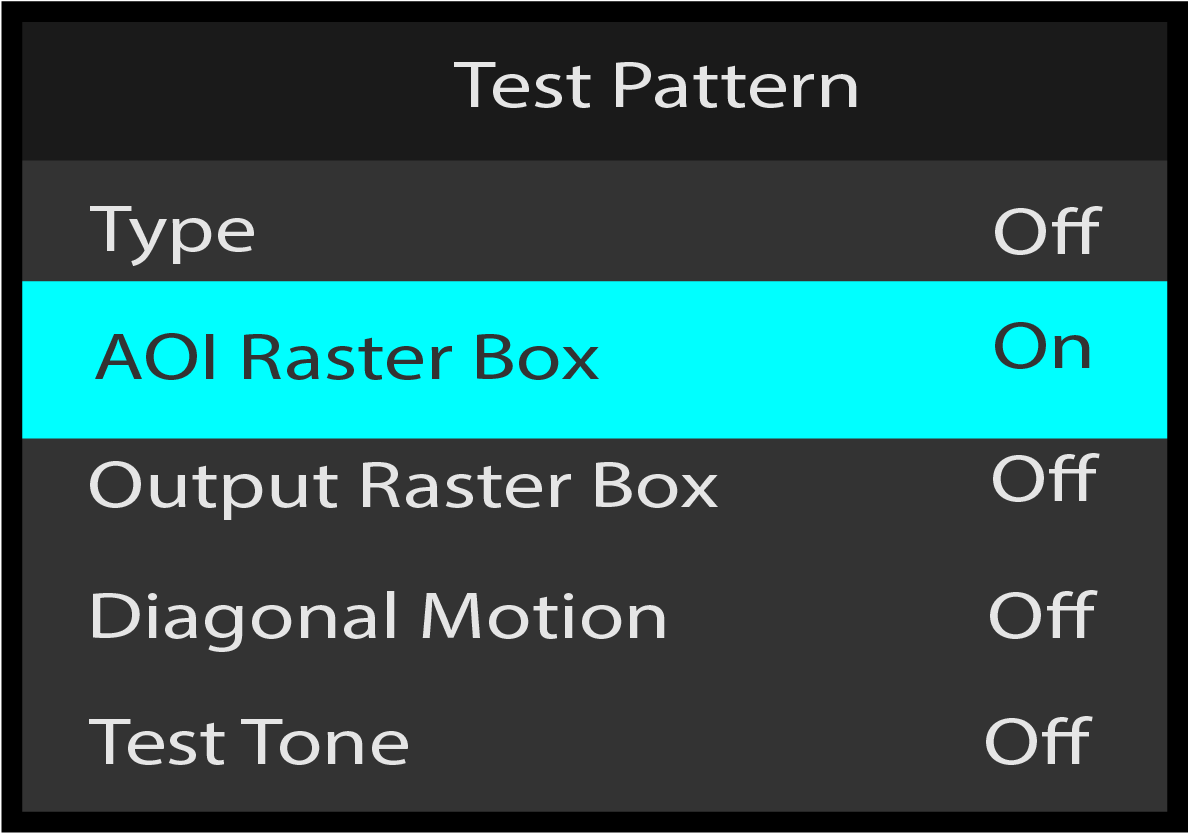
Once AOI Raster Box is selected, the highlight bar turns from gray to cyan.
Image 5–82Test Pattern: AOI Raster Box adjustment
Use the Adjust knob to toggle the AOI raster box between Off and On.
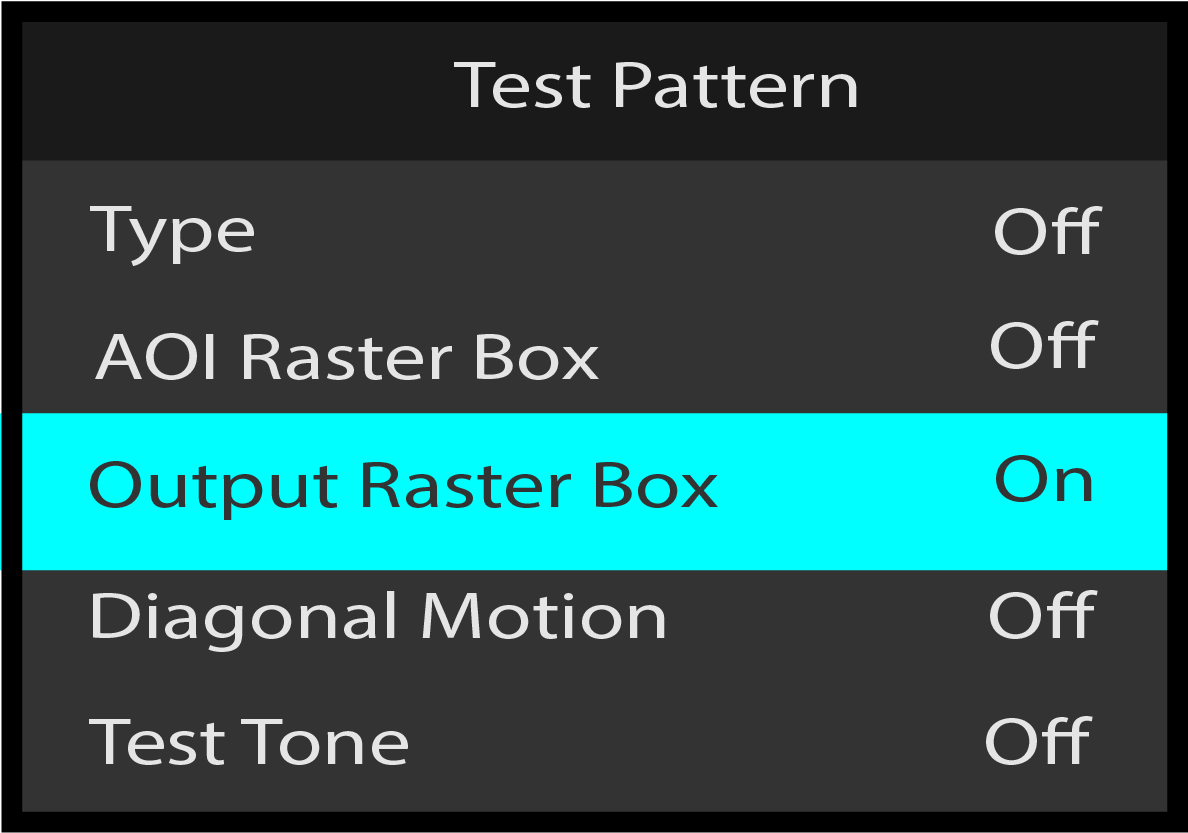
Test Pattern: Output Raster Box
Use Output Raster Box to turn On and turn Off a border box around the entire output. The output raster box is white.
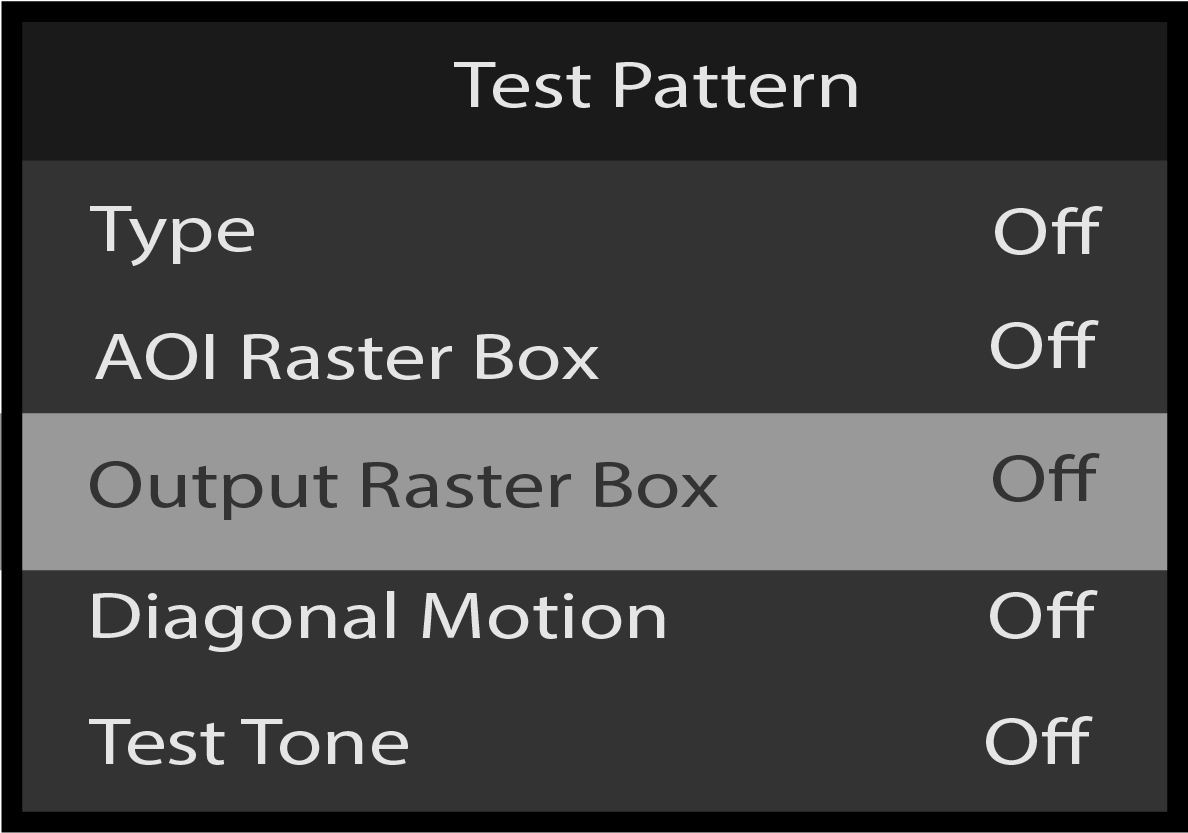
Scroll to and select Output Raster Box from the Test Pattern menu.
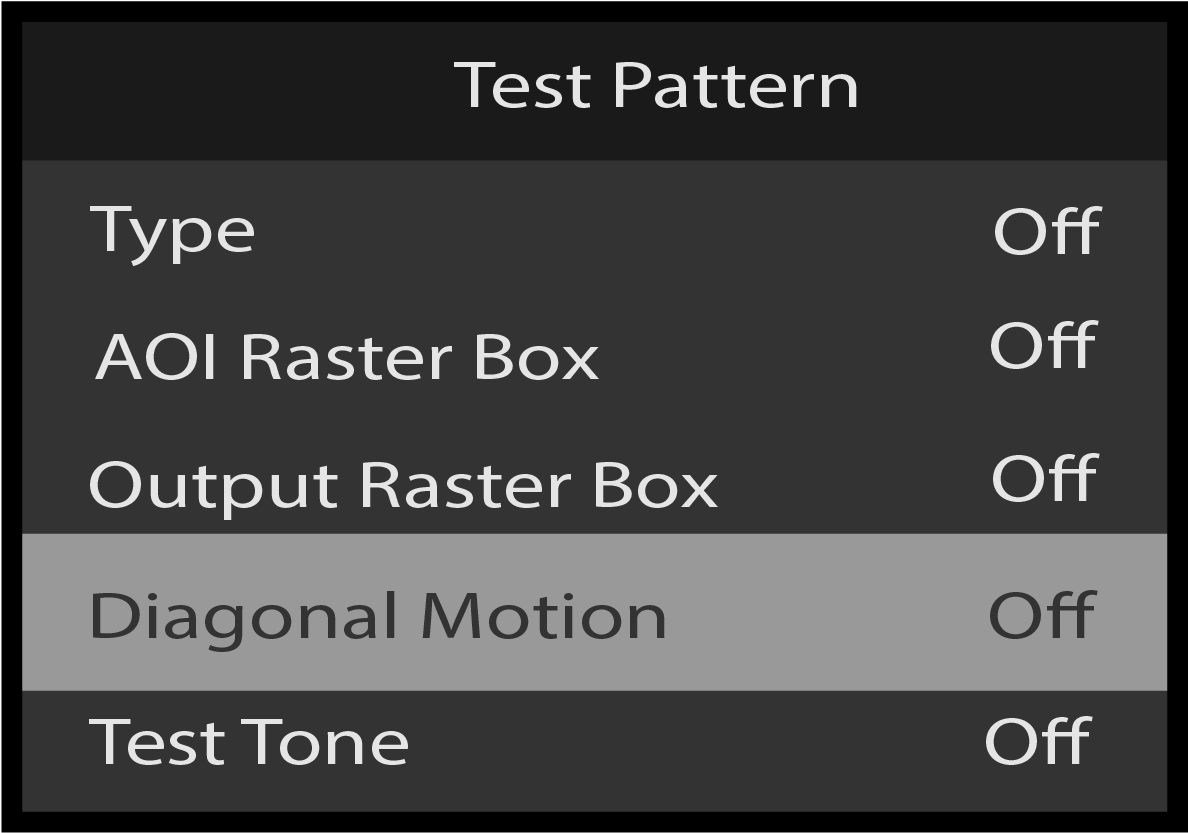
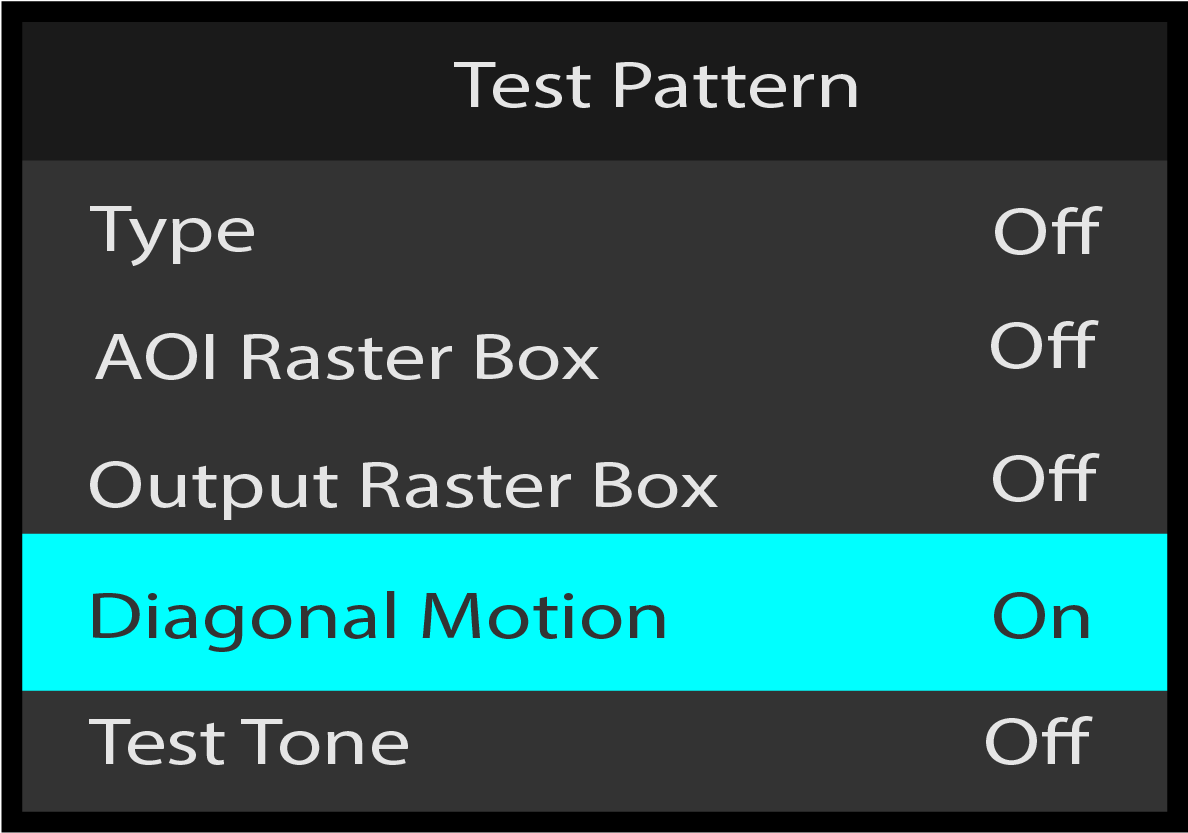
Use the Adjust knob to toggle the diagonal motion between Off and On.
Back returns to the Output menu.
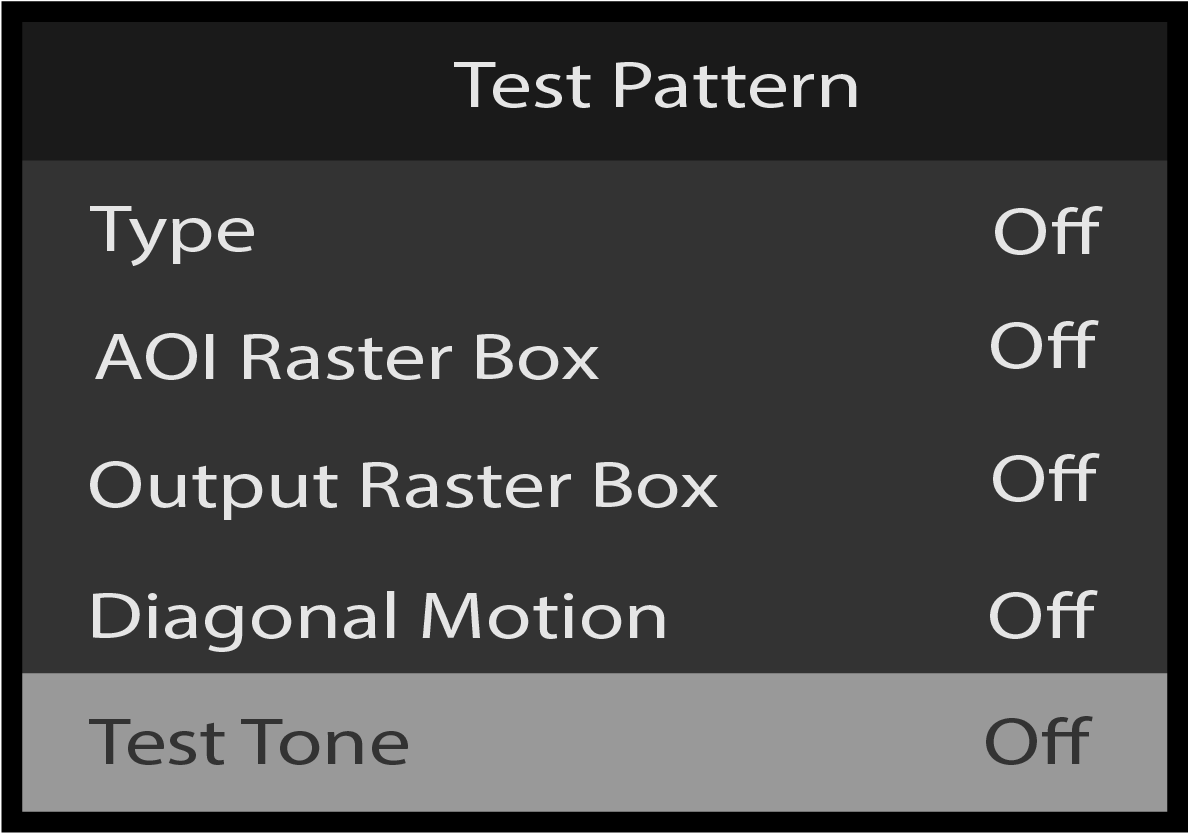
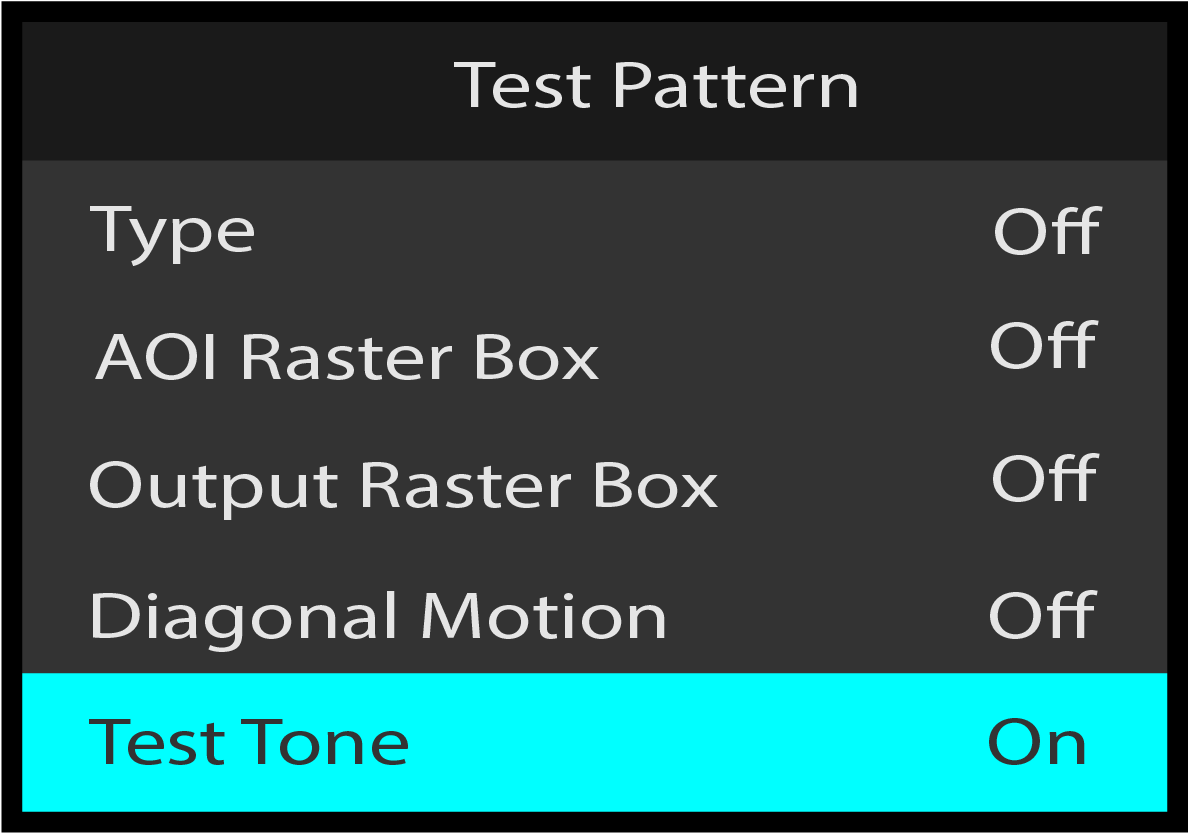
Test Pattern: Test Tone
If the option card is installed a test tone can be heard on the PGM output(s).
Scroll to Test Tone from the Test Pattern menu.
Image 5–87Test Pattern: Test Tone selection
Once Test Tone is selected, the highlight bar turns from gray to cyan.
Image 5–88Test Pattern: Test Tone adjustment
Use the Adjust knob to toggle the test tone between off and on.
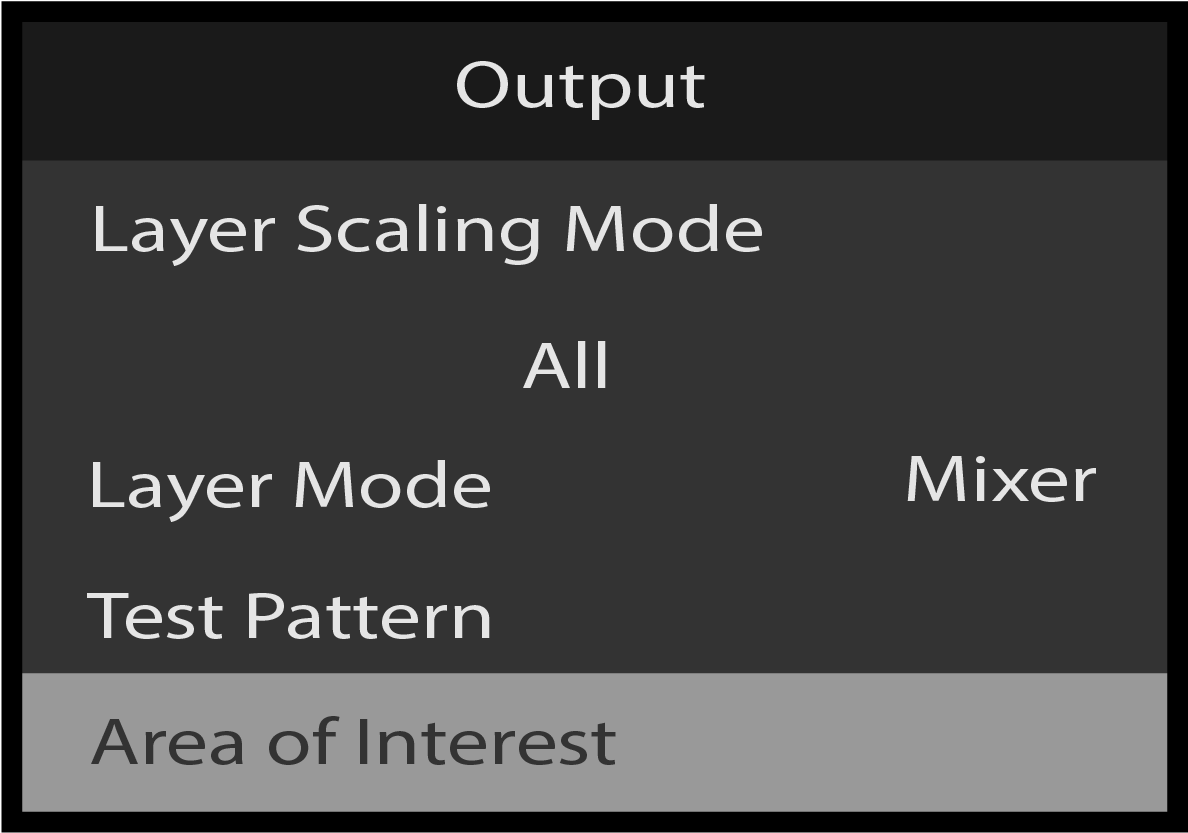
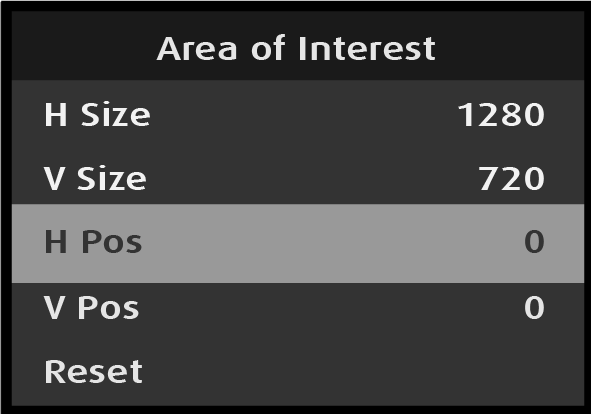
Output: Area of Interest
Use the Area of Interest menu to adjust the H Size, V Size, H Pos, and V Pos of the area of interest (AOI) of the output. The adjustment procedure is the same for all four adjustments. The H Pos adjustment is illustrated here.
Select Area of Interest on the Output menu.
Image 5–89Output: Area of Interest selection
Selecting Area of Interest opens the Area of Interest menu.
Scroll to and select H Pos on the Area of Interest menu.
Image 5–90AOI: H Pos selection
Once H Pos is selected, the highlight bar turns from gray to cyan.
Image 5–91AOI: H Pos adjustment
Use the Adjust knob to adjust the H-position value.
H Size, V Size, and V Pos are updated in the same manner as H Pos is updated.
Reset returns the AOI adjustments to their initial settings.
Back returns to the Output menu.
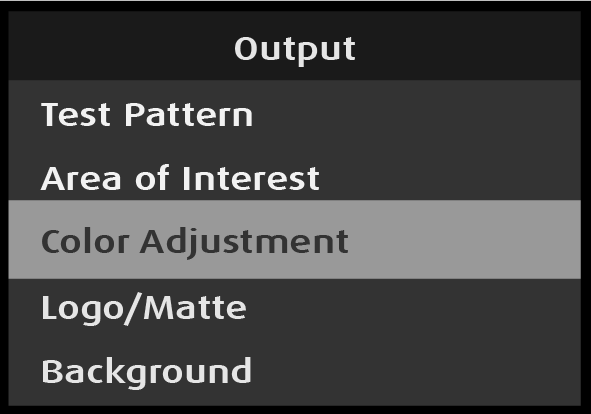
Output: Color Adjustment
Output -Color Adjustment works in the same manner as Input -Color Adjustment works, except that Output -Color Adjustment has no “Save Source” option.
Select Color Adjustment on the Output menu.
Image 5–92Output: Color Adjustment selection
Selecting Color Adjustment opens the Color Adjustment menu.
Select Color Adjustment to adjust the following color aspects of the output:
Overall Contrast: Range: 50 to 150; Default: 100
Red Contrast: Range: 25 to 150; Default: 100
Green Contrast: Range: 25 to 150; Default: 100
Blue Contrast: Range: 25 to 150; Default: 100
Overall Brightness: Range: 50 to 150; Default: 100
Red Brightness: Range: 25 to 150; Default: 100
Green Brightness: Range: 25 to 150; Default: 100
Blue Brightness: Range: 25 to 150; Default: 100
Hue: Range: -90 to 90; Default: 0
Gamma: Range: 0.30 to 3.29; Default: 1.00
Saturation: Range: 0 to 150: Default: 100
Reset: returns the color adjustments to their initial settings.
Back: returns to the Input menu.
The adjustment procedure is the same for all eleven adjustments. The Overall Brightness adjustment is illustrated here.
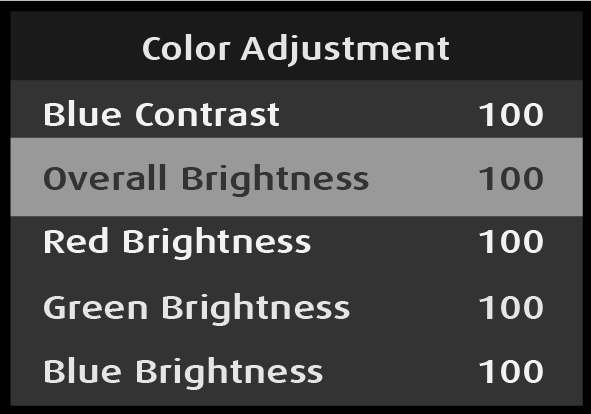
Scroll to and select Overall Brightness on the Color Adjustment menu.
Image 5–93Overall Brightness selection
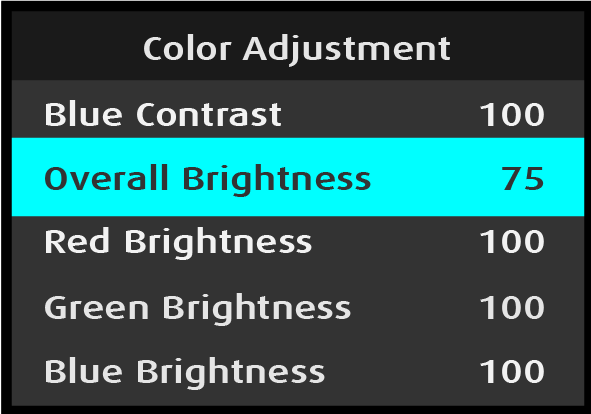
Once Overall Brightness is selected, the highlight bar turns from gray to cyan.
Image 5–94Overall Brightness adjustment
Use the Adjust knob to adjust the Overall Brightness value.
Reset returns the color adjustments to their initial settings.
Back returns to the Output menu.
Output: Logo/Matte
This section provides information about setting up and using logos and mattes. To enter the Logo menu from the Output menu, scroll to and select Logo/Matte.
Note: Logo/Matte is configured per PGM output. The default setting is “Matte,” and the default matte is “Black.”
Scroll to and select Logo/Matte to enter the Logo menu from the Output menu.
Image 5–95Output: Logo/Matte menu
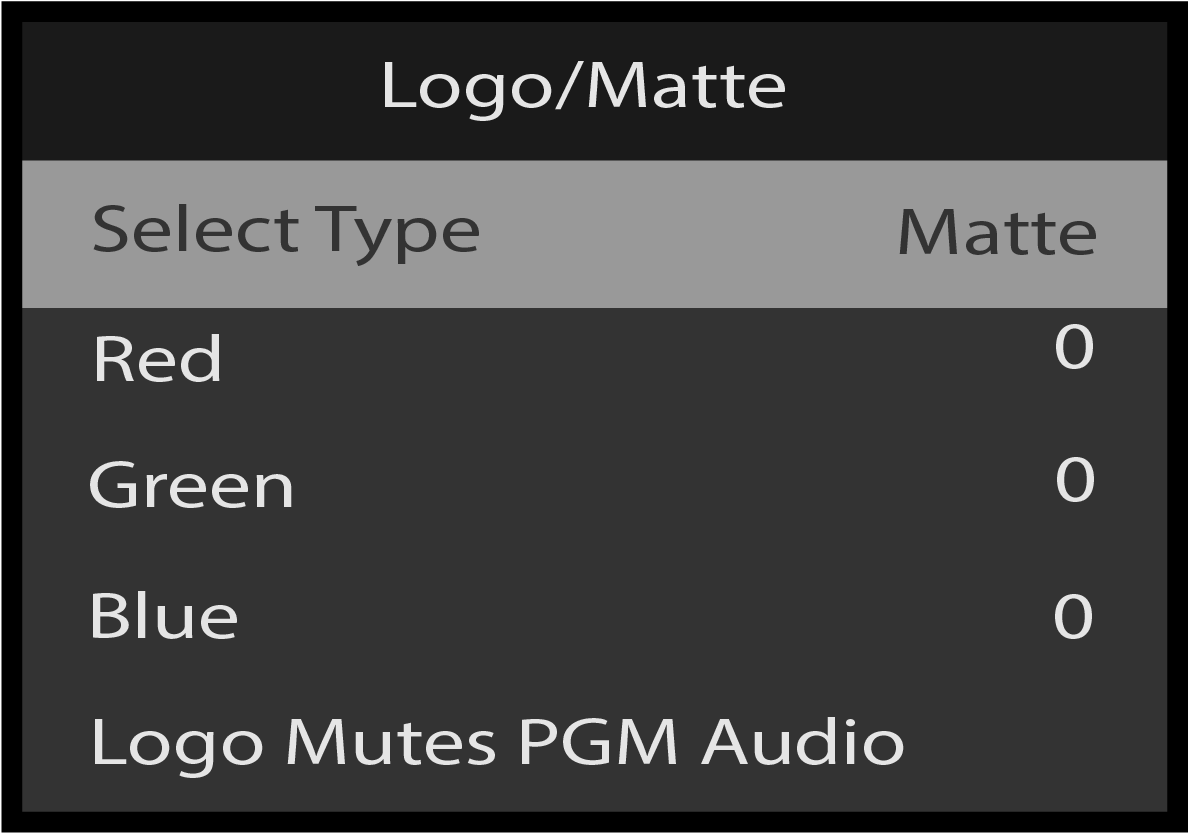
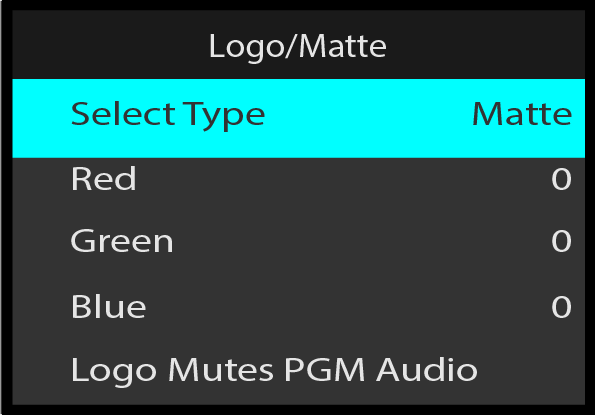
Select Select Type on the Logo/Matte menu.
Image 5–96Logo/Matte: Select Type selection
Once Select Type is selected, the highlight bar turns from gray to cyan.
Image 5–97Logo/Matte: Select Type adjustment
Use the Adjust knob to select either Matte or Still.
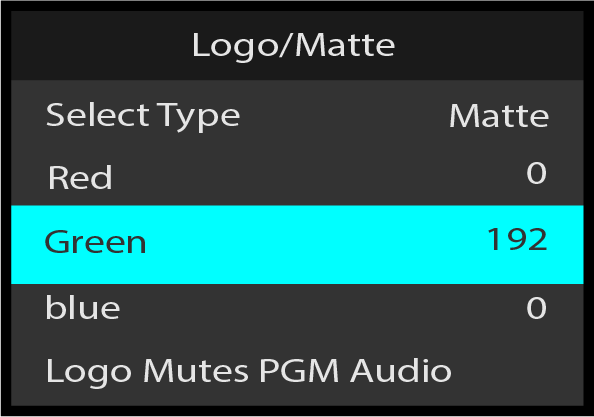
Logo/Matte: Matte
If the type is Matte, the matte color can be adjusted by using the Red, Green, and Blue selections on the Logo/Matte menu. The Green selection is illustrated here, but the procedure is the same for the Red and Blue options.
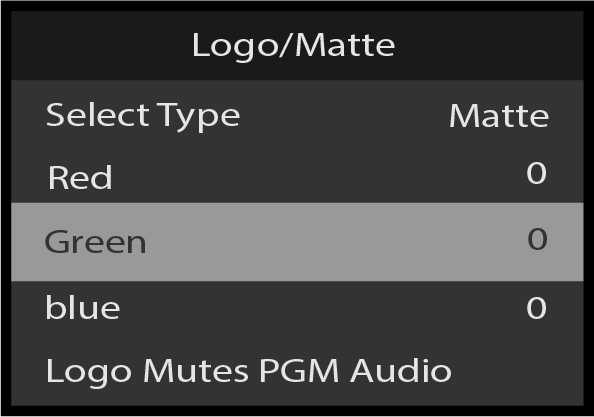
Select Green on the Logo/Matte menu.
Image 5–98Logo/Matte: Green selected
Once Green is selected, the highlight bar turns from gray to cyan.
Image 5–99Logo/Matte: Green adjustment
Turn the Adjust knob to adjust the value of the green color of the matte.
Press the Adjust knob to select the value of the green color of the matte.
Repeat steps 2 and 3 to adjust the values of the red and blue colors, if desired.
Once the desired color values have been adjusted, select Back to return to the Output menu.
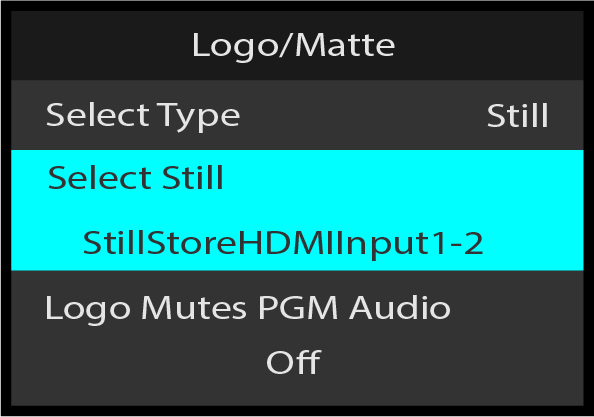
Logo/Matte: Still
If the type is Still, any still stored on the system may be selected.
Select Select Still on the Logo/Matte menu.
Note that the system displays “None,” unless the system has at least one Still Store image.
Image 5–100Logo/Matte: Select Still selection
Once Select Still is selected, the highlight bar turns from gray to cyan.
Turn the Adjust knob to choose the desired still from among the available stills..
Image 5–101Logo/Matte: Select Still adjustment
Press the Adjust knob to select the chosen still.
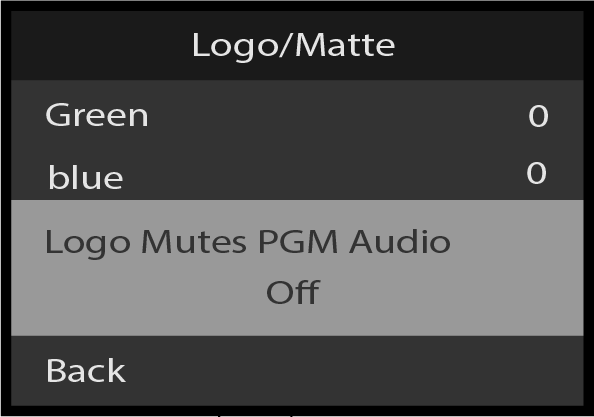
Turn the Adjust knob to select Logo Mutes PGM Audio and select On or Off. On will mute the audio on the PGM when the logo is applied.
Image 5–102Logo/Matte: Logo Mutes PGM Audio selection
Note: A still store image used as a logo is shown centered on the output, at its native resolution.
For example, a 1920x1080 still image, when assigned to a PGM output, the resolution of which is 3840x2160, is displayed as centered in the output raster, with the previously assigned matte color filling the remaining pixels of the output raster.
Conversely, a 3840x2160 still image assigned as logo for a 1920x1080 PGM output shows only the center portion of the image, filling the 1920x1080 output raster.
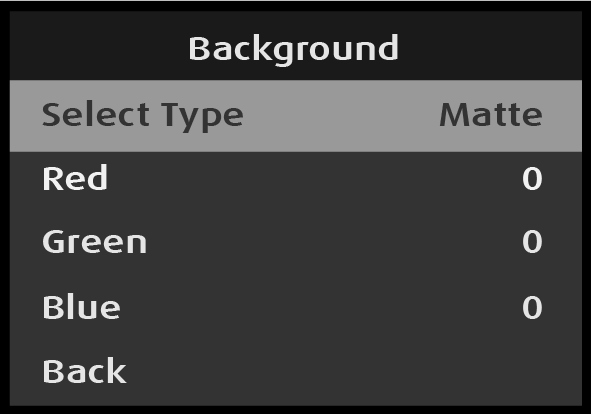
Output: Background
Use the Background menu to adjust the color of the matte used for the background of an output.
Select Background on the Output menu.
Image 5–103Output: Background selection
Selecting Background opens the Background menu.
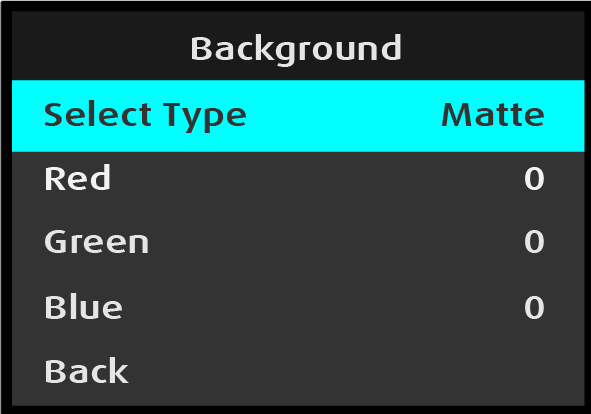
Scroll to and select Select Type on the Background menu.
Image 5–104Background: Select Type selection
Once Select Type is selected, the highlight bar turns from gray to cyan.
Image 5–105Background: Select Type adjustment
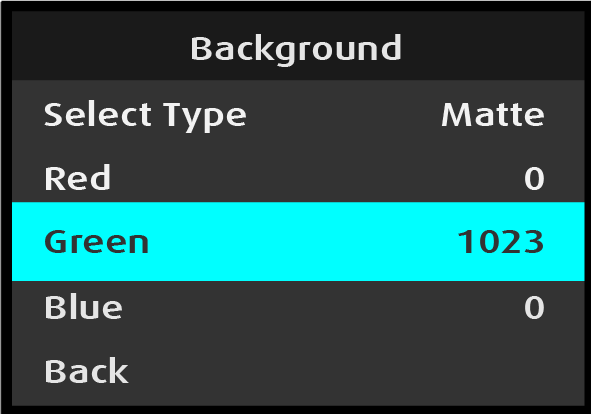
The matte color can be adjusted by using the Red, Green, and Blue selections on the Background menu. The Green selection is illustrated here, but the procedure is the same for the Red and Blue options.
Scroll to and select Green on the Background menu.
Image 5–106Background: Green selection
Use the Adjust knob to adjust and select the color value.
Image 5–107Background: Green adjustment
The color values range from 0 to 1023.
Select Back to return to the Output menu.
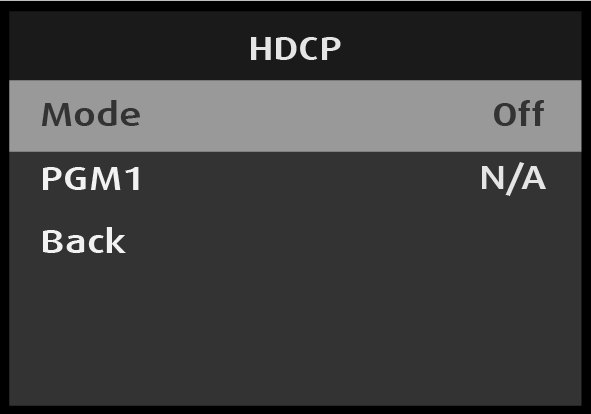
Output: HDCP
HDCP Mode enables the HDCP setting for the selected output. The default HDCP mode setting for HDMI is Off.
Note: HDCP Mode is not applicable to SDI outputs.
Select HDCP on the Output menu to set up and apply HDCP settings for the output.
Image 5–108Logo/Matte: Logo Mutes PGM Audio selection
Scroll to and select HDCP Mode on the Output menu.
Image 5–109HDCP: Mode selection
Once Mode is selected, the highlight bar turns from gray to cyan.
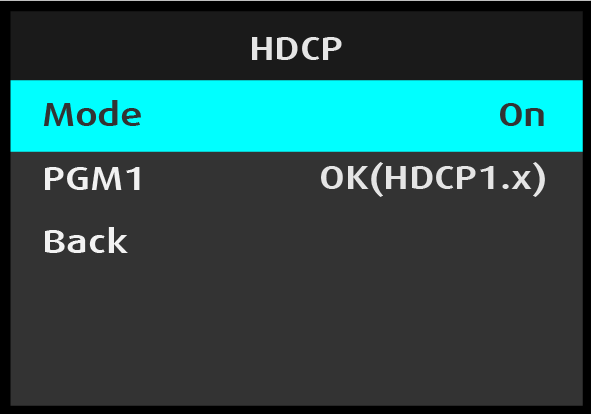
Image 5–110HDCP: Mode adjustment
Use the Adjust knob to turn HDCP On or Off.
When HDCP is turned On the system displays the HDCP specification version for the primary output. This is a status-only display; it cannot be selected or adjusted.
Select Back to return to the Output menu.
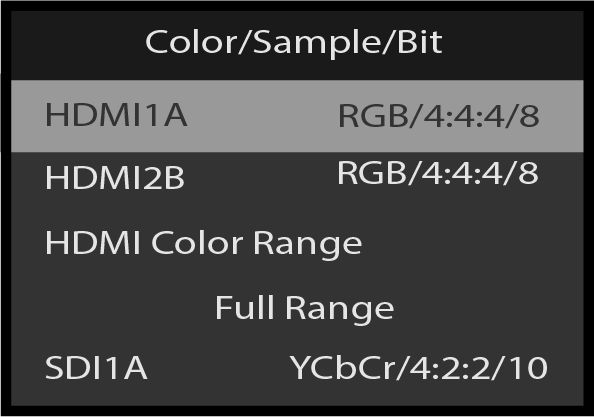
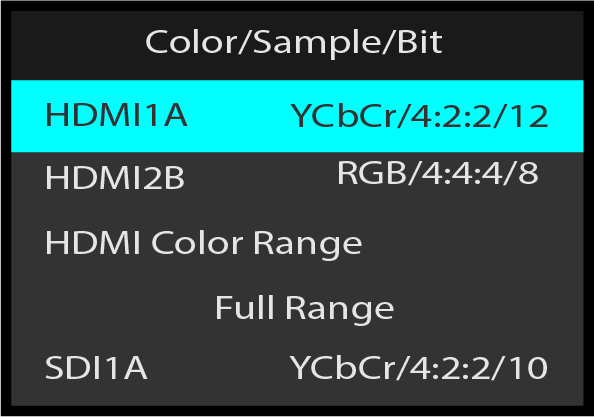
Output: Color/Sample/Bit
Use the Color/Sample/Bit menu to adjust the color space (RGB or YCbCr), sampling rate (4:4:4 – 4:2:2 – 4:2:0), and bit depth (8, 10, or 12) of the output signal.
Select Color/Sample/Bit on the Output menu.
Image 5–111Output: Color/Sample/Bit selection
Scroll to and select the desired output (for example HDMI1A).
Use the Adjust knob to scroll through the available Color/Sample/Bit values.
Use the Adjust knob to scroll to HDMI Color Range, and select either Full Range or Reduced Range.
Select Back to return to the Output menu.
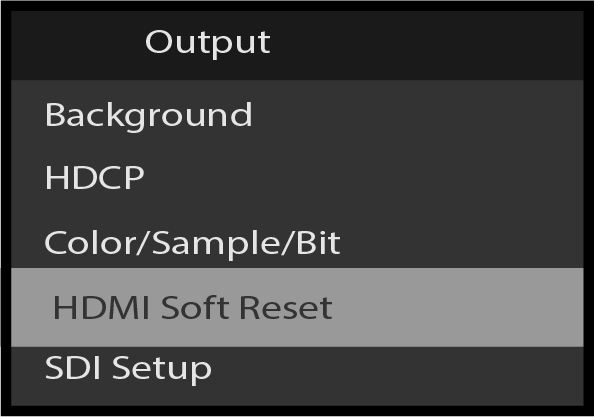
Output: HDMI Soft Reset
Scroll to HDMI Soft Reset. Select it to perform a soft reset on the HDMI output ports. A soft reset can correct some output issues but will black out all HDMI outputs for a few seconds.
Image 5–114Output: HDMI Soft Reset
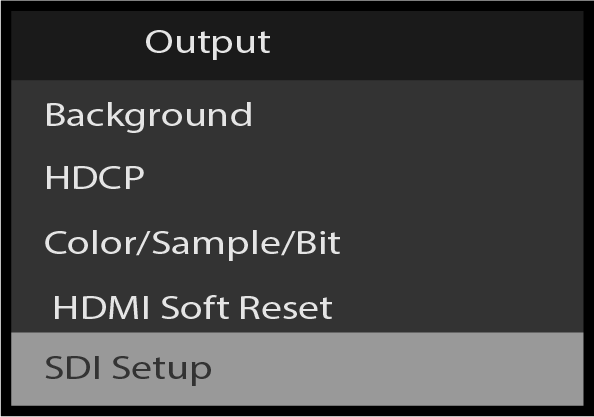
Output: SDI Setup
This section provides information about setting up SDI outputs.
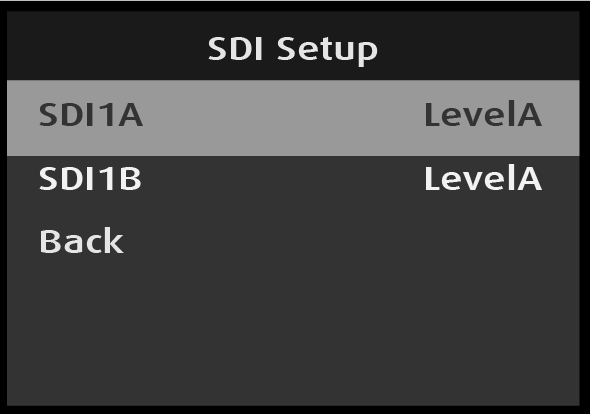
Scroll to and select SDI Setup on the Output menu.
Image 5–115Output: SDI Setup menu
Select the desired output on the SDI Setup menu, for example SDI1A.
Image 5–116SDI Setup: SDI output selection
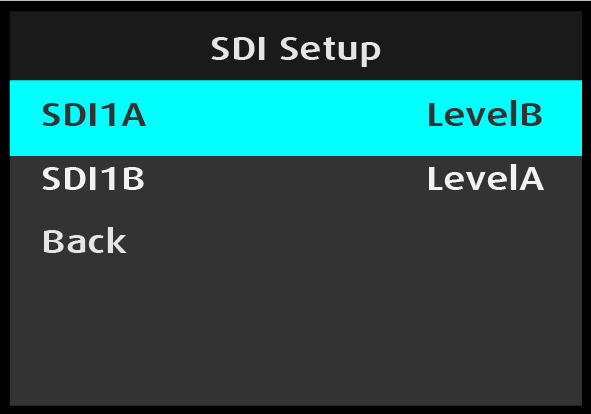
Once the SDI output is selected, the highlight bar turns from gray to cyan.
Select either LevelA or LevelB.
Image 5–117SDI Setup: SDI output adjustment
Select Back to return to the Output menu.
Output: Audio
This section provides information about setting up audio outputs. This menu will only appear when an Audio Card is installed.
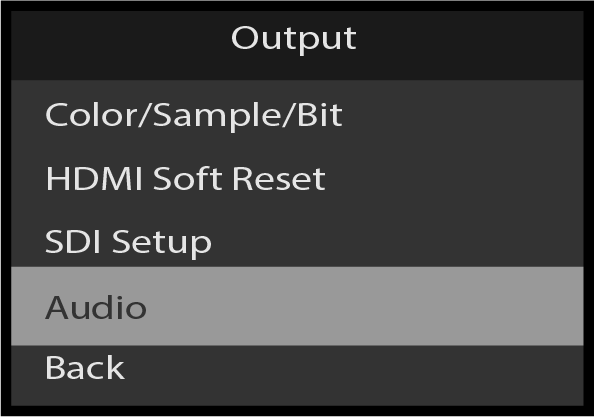
Scroll to and select Audio from the Output menu.
Image 5–118Output: Audio
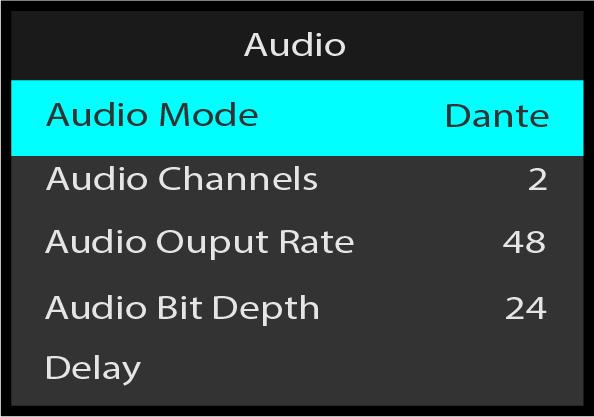
Scroll to and select Audio Mode to select the desired audio mode.
Image 5–119Audio: Audio Mode selection
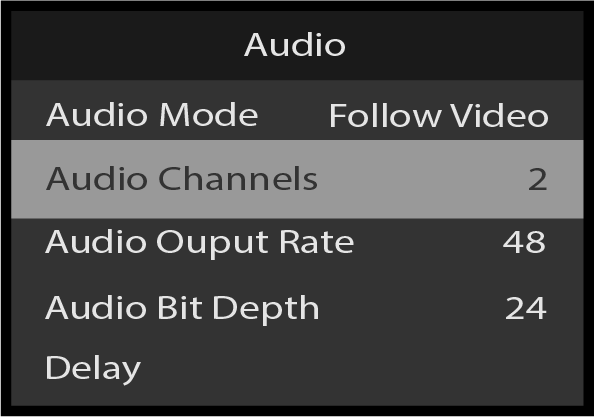
Scroll to Audio Channels to view the Audio Channels.
Image 5–120Audio: Audio Channels
Scroll to Audio Output Rate to view the Audio Output Rate.
Image 5–121Audio: Audio Output Rate
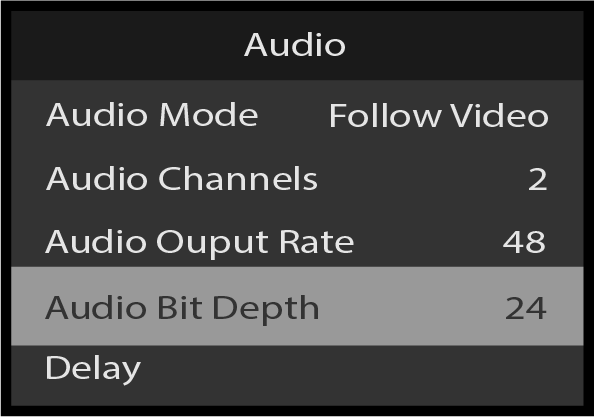
Scroll to Audio Bit Depth to view the Audio Bit Depth.
Image 5–122Audio: Audio Bit Depth
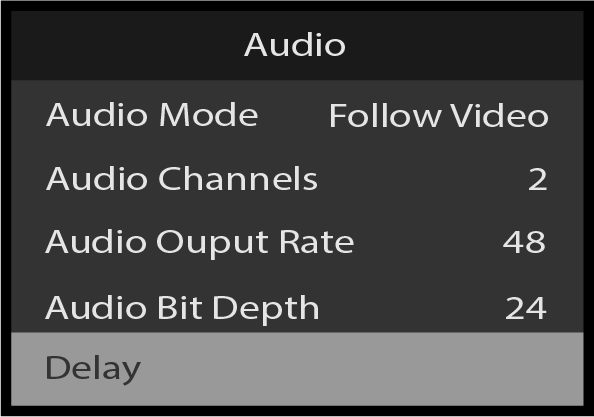
Scroll to Delay to enter the Delay sub-menu choose the desired Mode.
Image 5–123Audio: Delay
The Delay option has the following submenu items:
Mode
Back
The Mode can be toggled between Auto and Manual.
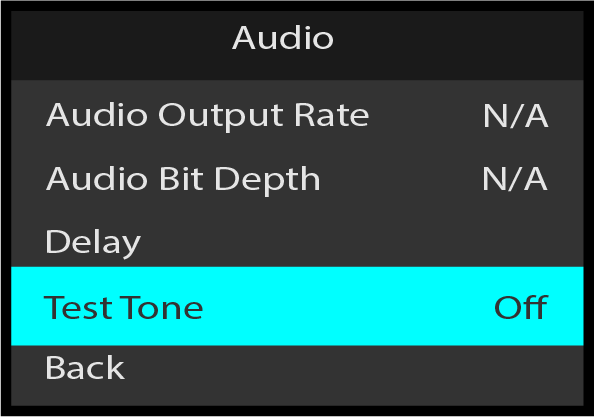
Scroll to and select Test Tone to turn the Test Tone On or Off.
Image 5–124Audio: Test Tone selection
Scroll to and select Back to return to the AV Settings Output menu.