Required tools
- Phillips screwdriver PH2
- Clean blanket
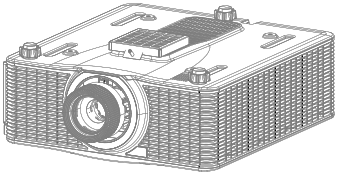
Turn the projector upside down to access the bottom of the projector.
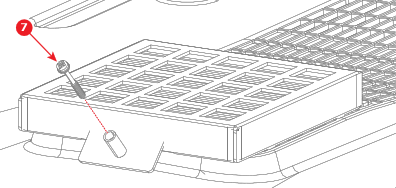
Remove the screw (reference 1) securing the filter assembly to the projector. Use a Phillips PH2 screwdriver.

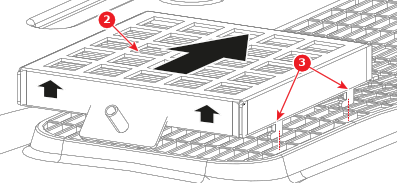
Remove the filter assembly (reference 2) from the air inlet using the clips (reference 3) as illustrated in the following image.
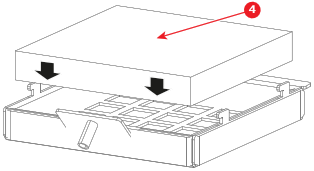
Remove the dirty filter from the filter holder and insert the new filter (reference 4).
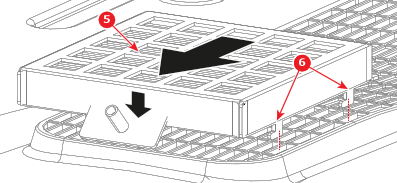
Place the filter assembly (reference 5) onto the air inlet as illustrated in the following image. Push towards the front to hook the filter assembly to the air inlet with the clips (reference 6).
Secure the filter assembly to the projector by re-tightening the Phillips PH2 screw into the designated screw standoff.