Why lens support?
A support system is designed with the UST lens to provide additional support to the lens.

A support system is designed with the UST lens to provide additional support to the lens.
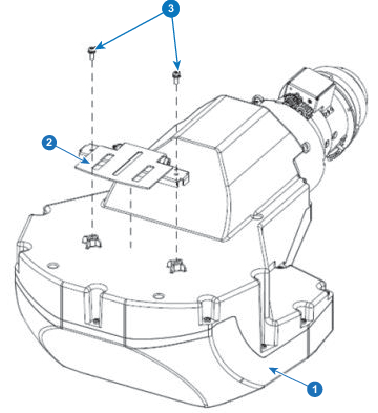
To secure the lens bracket to the UST lens, install and tighten two M3 x L8 screws with a Philip #2 screwdriver.

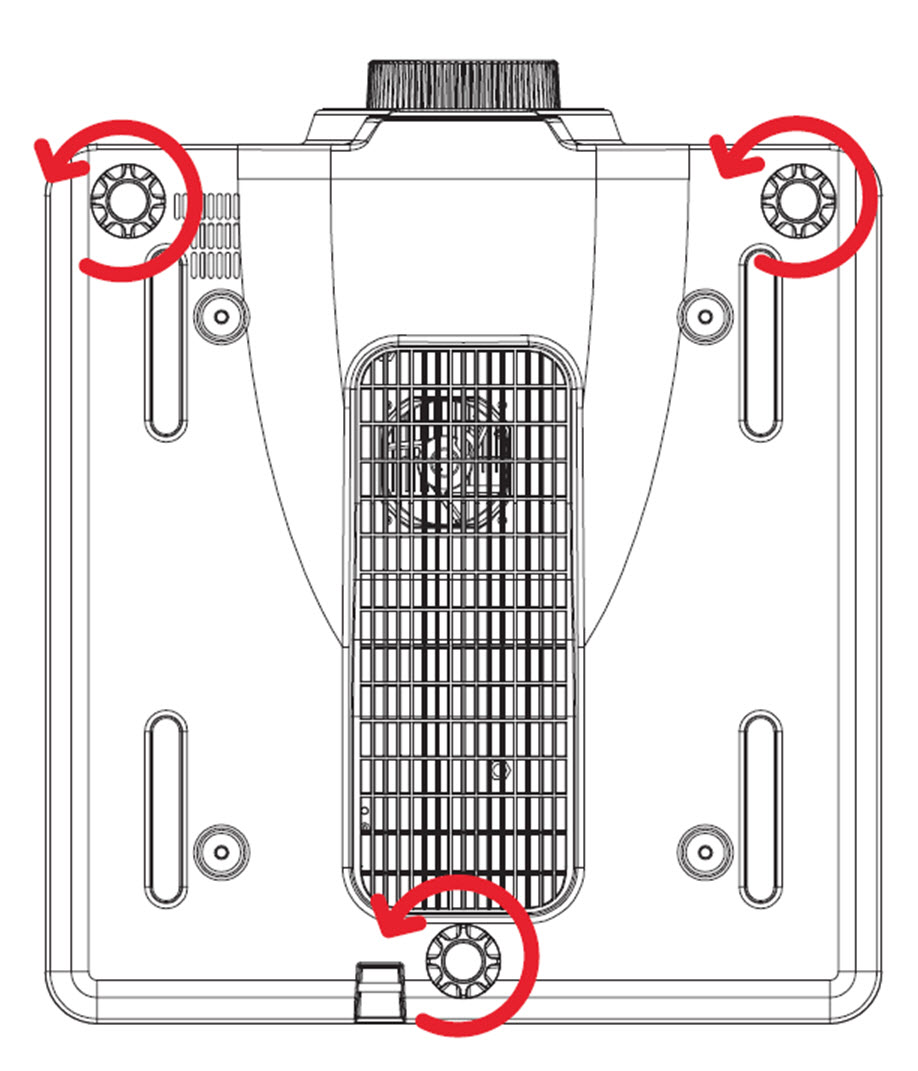
To avoid the lens supporter touching the surface, rotate the adjustment feet counter-clockwise at least five turns.
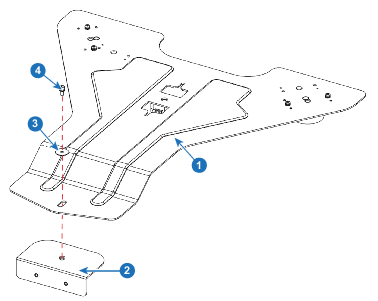
To secure the angle bracket to the lens supporter, install one M3 x L8 hex screw and one M3 washer with a 2.5 mm Allen wrench. Do not fully tighten the screw.
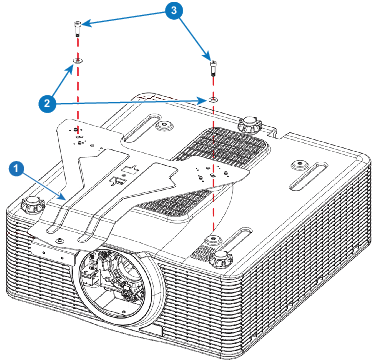
To mount the lens supporter to the bottom of the projector, install and tighten two M6 x L22 hex screws and two M6 washers with a 5 mm Allen wrench.
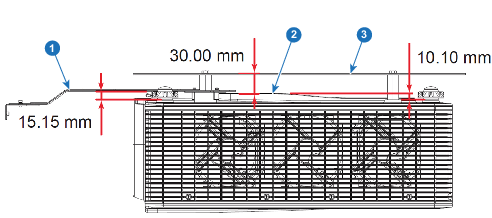
If using the lens supporter with a ceiling mount, make sure to leave at least 30 mm clearance space above the projector’s bottom intake vents.
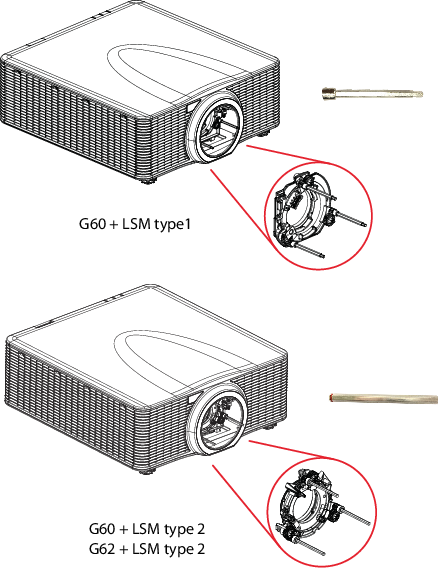
Install the three boresight extenders.