Required tools
Phillips screwdriver PH2

Phillips screwdriver PH2
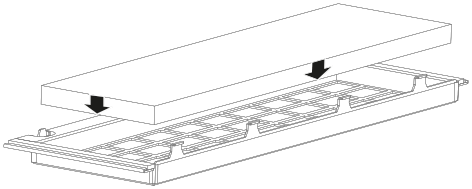
Insert the filter in the filter holder.

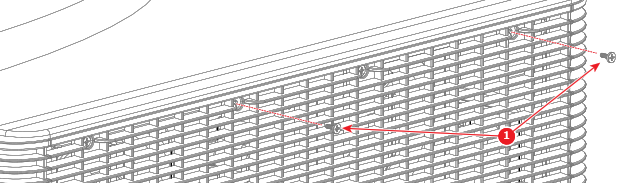
Remove the second and fourth screws (reference 1) on the left side of the projector as illustrated in the following image.
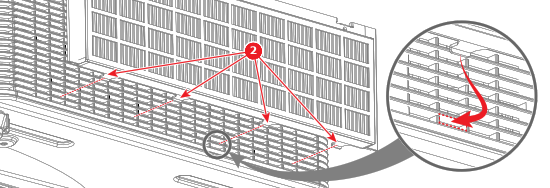
Attach the filter assembly onto the projector using the four clips (reference 2) positioned at the bottom of the filter holder.

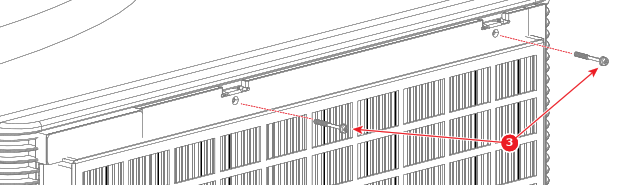
Secure the filter assembly to the projector with two Phillips PH2 screws (reference 3).