
How to create a backup.
- Power on the projector.
- Connect your computer to the projector, using a LAN cable.
Browse to the IP address of the projector via a browser of choice.

The login screen will be displayed.
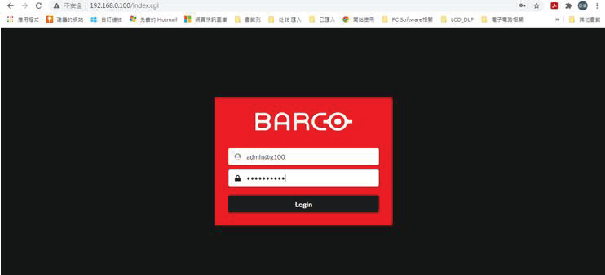
Image 3–28 Example of the login page Log in as Admin.
Navigate to the “Service” tab under “SYSTEM”. (reference 1)
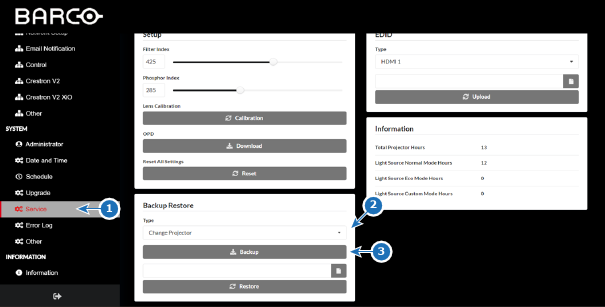
Image 3–29 Example of the Backup Restore page Select the desired backup type from the drop-down menu “Type” in the “Backup Restore” category (reference 2).

Type Setting Included Normal Geometry Correction current settings NO Adjustments related to Grid Points NO Geometry Correction Memory NO Lens Memory NO Serial Number NO Change Projector Geometry Correction current settings YES Adjustments related to Grid Points NO Geometry Correction Memory NO Lens Memory NO Serial Number NO Change Main Board (NOT SUPPORTED) - Click the “Backup” button (reference 3) to generate the backup file.