Location and availability
- Menu: > >
- Access level: Power user, administrator, service
- Models: QDX, UDM, UDX, I600
- Requirements: Pulse 2.4 or later

JBMIA PJLink is a unified standard for operating and controlling projectors using external “controller” computers.
The supported PJLink commands and how they apply to this projector is described in the appendix: “PJLink commands”.

The following items can be configured on the Projector:
| Menu item | Function |
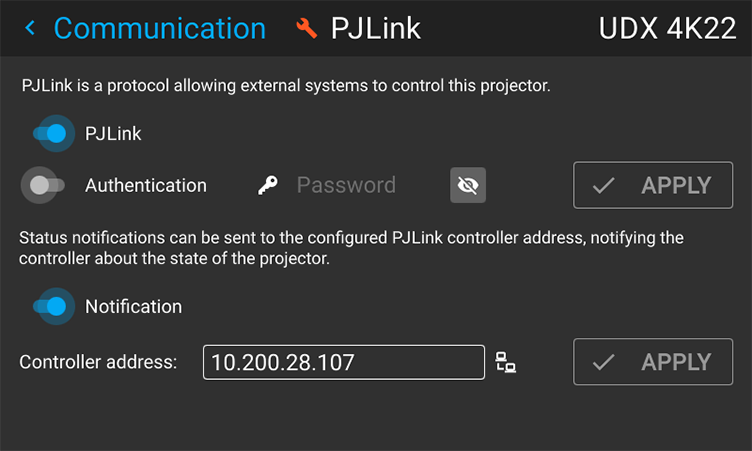
| PJLink Enable / disable slider | Enables or disables the PJLink protocol on the projector. This slider is disabled by default. |
| Authentication and Password | Authentication adds a layer of password protection between the controller and projector. When authentication is enabled, enter a valid custom password. When the controller then tries to access this projector, this custom password will have to be entered in order to control the projector. Note: The custom password can be:
|
| Notification | While notifications are enabled and a valid controller address is filled in, all projector notifications will be sent to the IP address of the controller. |
| Controller address | Location/IP address of the PJLink controller |
In the menu, select .

The menu will be displayed.
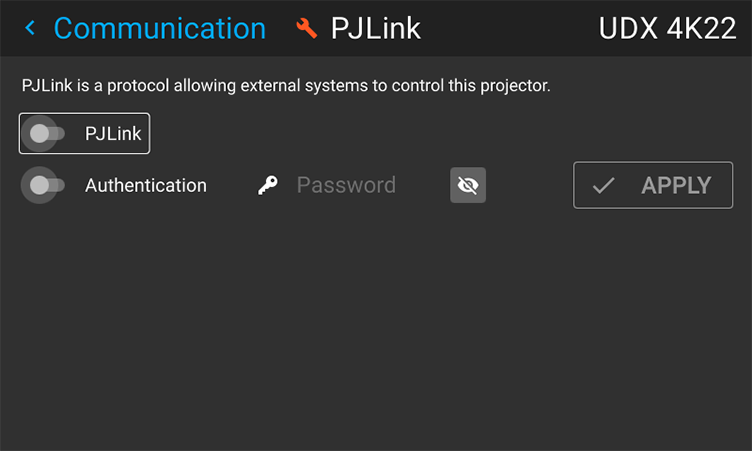
Enable the slider.
The options will become visible.
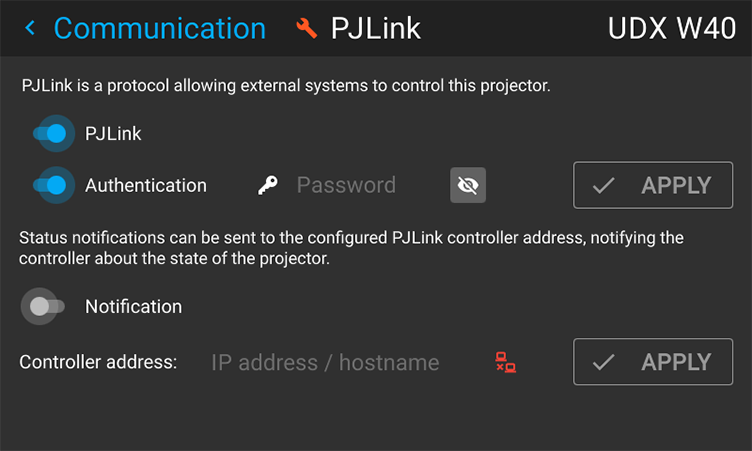
To enable authentication, proceed as follows:
To enable notifications on the controller PC, proceed as follows:
If a valid was filled in, the connection icon will change from red (disconnected) to white (connected).