The configurator is the internal web application that controls the settings and general setup of the connected ClickShare. Allowing for the modification and (de)activation of the various ClickShare features.
Tip: These settings can be modified after the setup has been completed!
Initial setup of the configurator
Connect to the Base Unit:
Through a direct LAN connection.
By navigating to its wired IP address. For more information, see “Connecting over LAN”
By connecting to its Wi-Fi network. For more information, see “Connecting over Wi-Fi”
Navigate to the configuration page through a browser of choice.
Note: The default IP address of the configurator is: “192.168.2.1” for wireless connection or “192.168.1.23” for wired connection.
Note: Depending on the configuration of the browser, a security warning could be displayed. To prevent this warning in the future, see “HTTP encryption”.
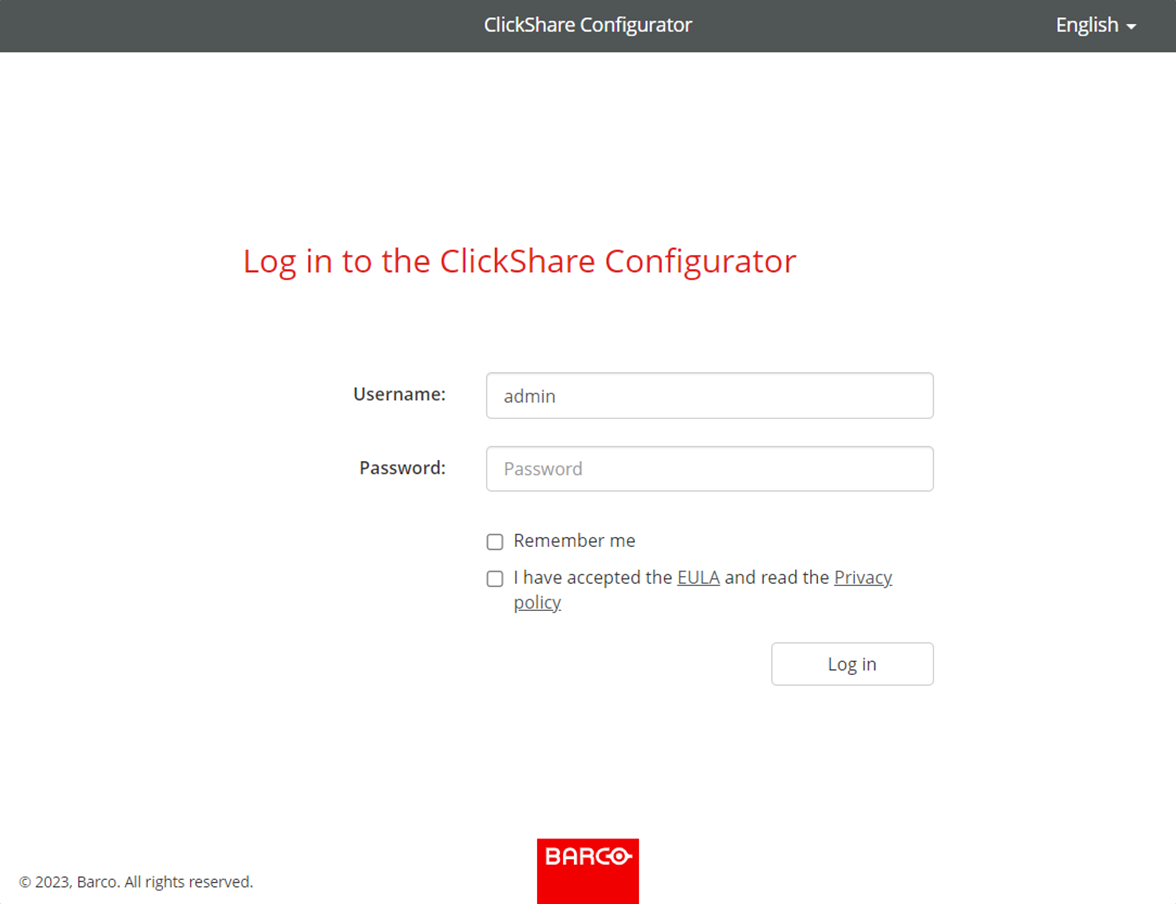
The ClickShare configurator login page is shown.
Log into the configurator.
Image 6–4Example of the configurator login page
Select a desired display language at the top right.
Enter the username and password.
Note: The default username and password are both “admin”.
Have the configurator remember the entered username and password by checking the checkbox in front of remember me. (optional)
Read the linked EULA and Privacy policy, then click the checkbox in front to accept the terms.
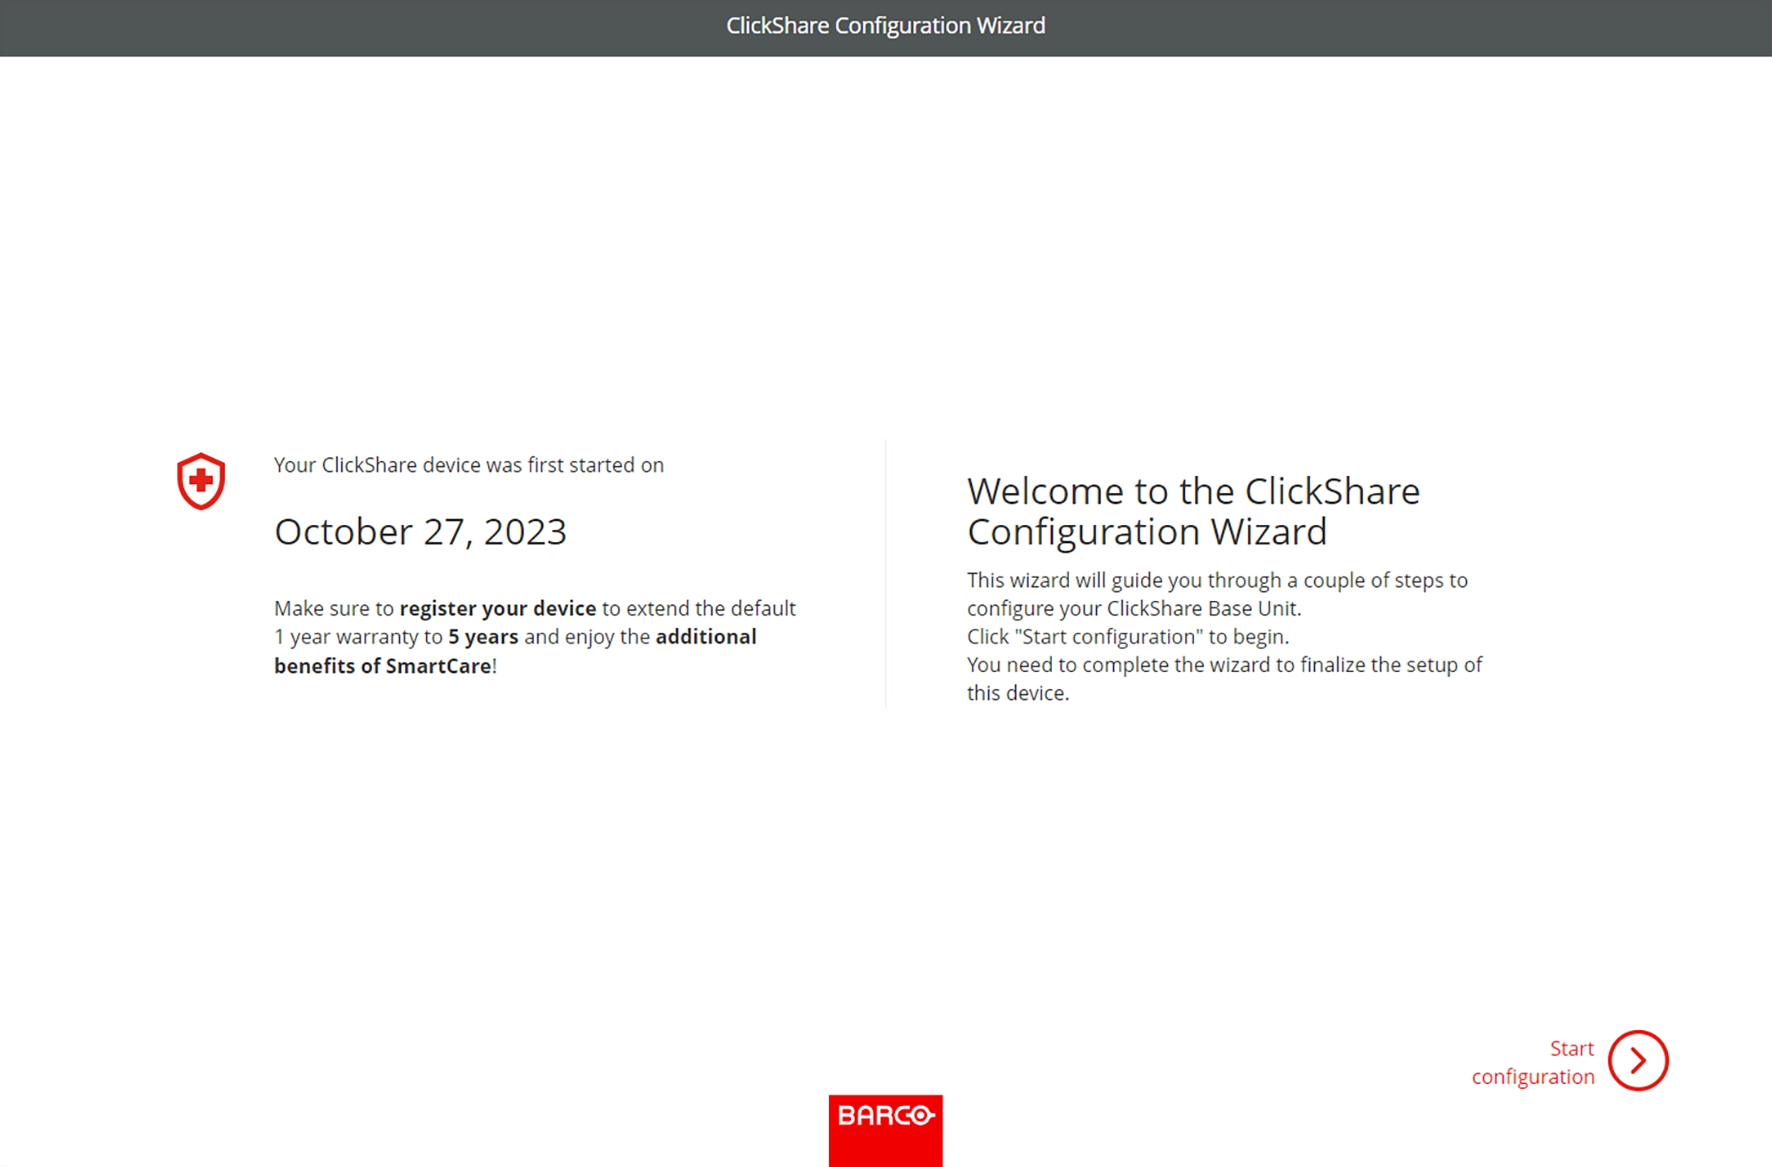
The ClickShare configuration wizard will be shown
Click “Start configuration”.
Image 6–5Example of the landing page of the configurator wizard
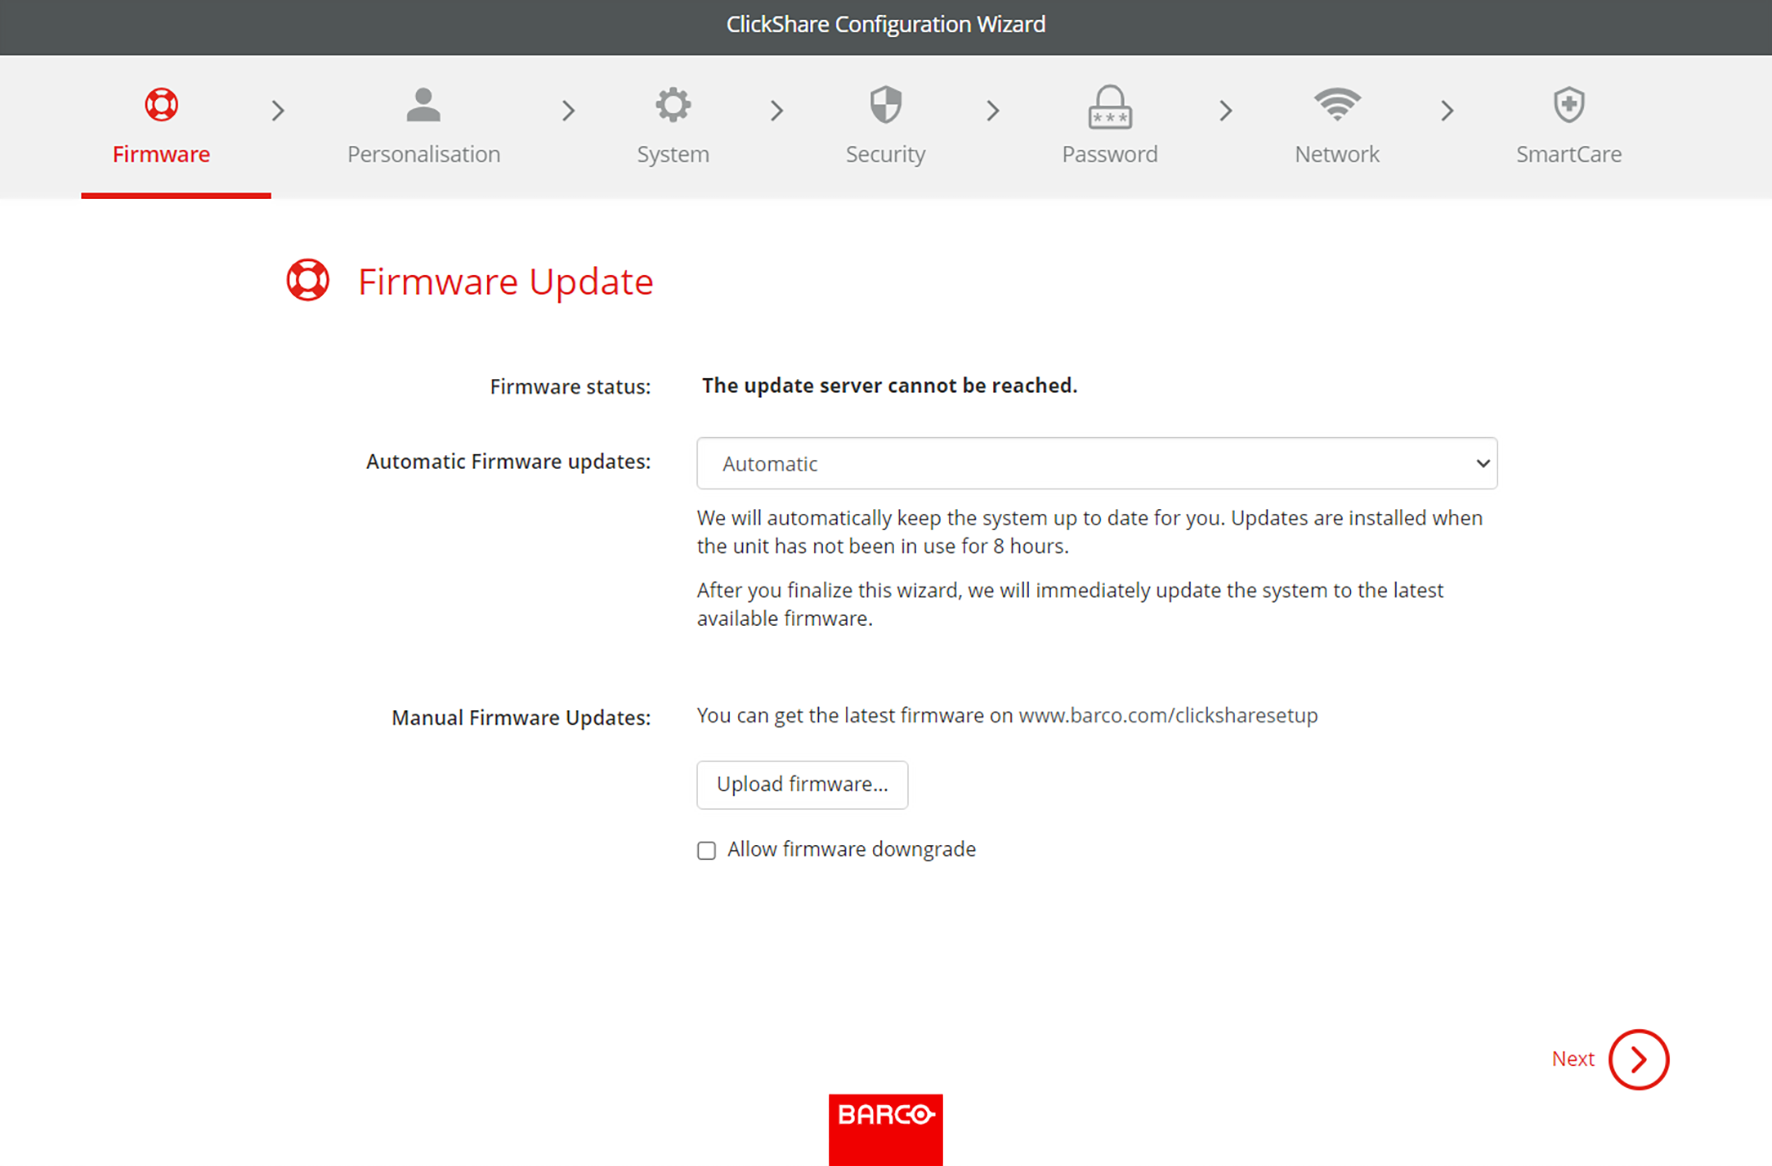
The “Firmware update” page will be shown.
Decide how firmware must be delivered and click “next”:
Automatic, keeps the Base Unit up to date. (recommended)
Notify, sets a notice on the homepage of the configurator when an update is available.
Off, never checks for updates.
It is possible to update the firmware by clicking “Upload firmware” and selecting the “.enc” file downloaded from https://www.barco.com/clicksharesetup.
Note: ClickShare protects itself by preventing older versions of firmware from being installed. If a downgrade is absolutely necessary, check the checkbox in front of “allow firmware downgrade”.
Image 6–6Example of the firmware update page
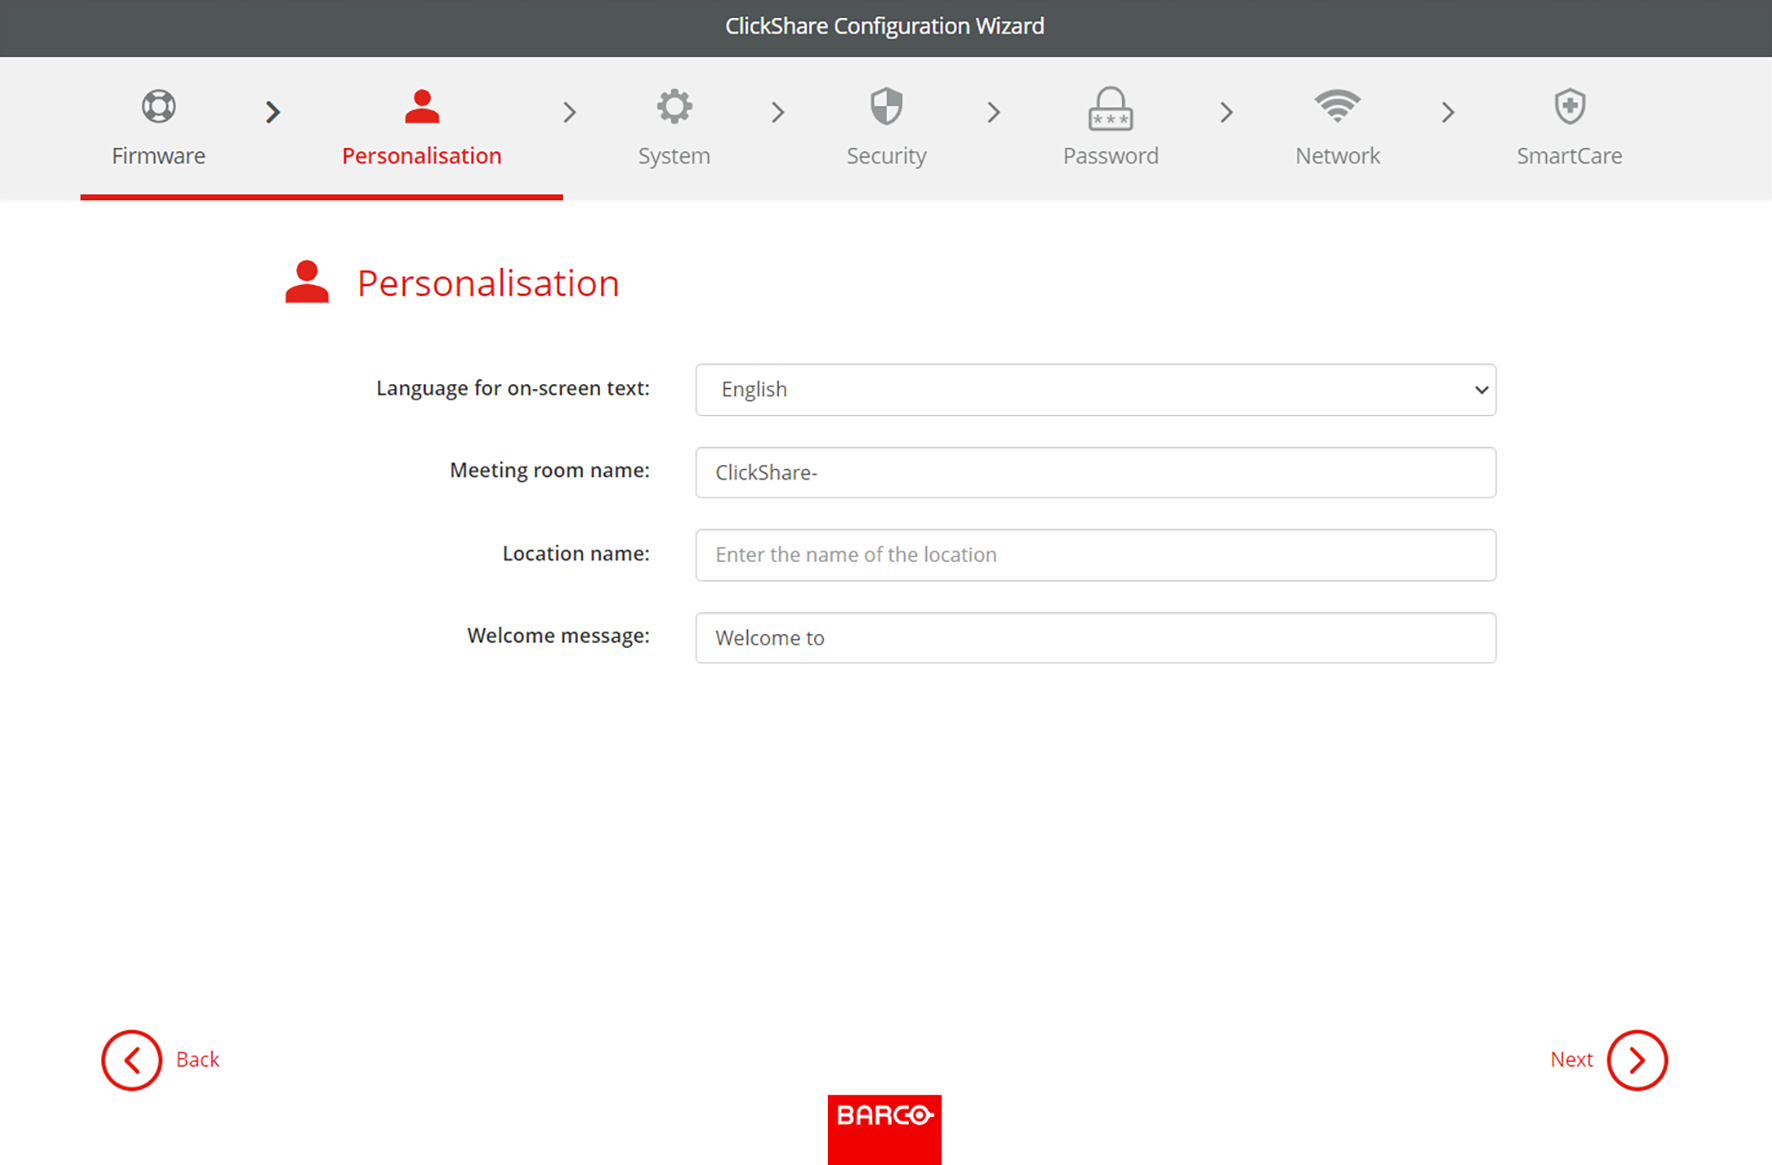
Personalize the name, location and customize the on-screen text and its language and click “next”.
Tip: It is recommended to rename the “meeting room name” and the “location name” to the name and location of the meeting room itself.
Image 6–7Example of the personalisation page
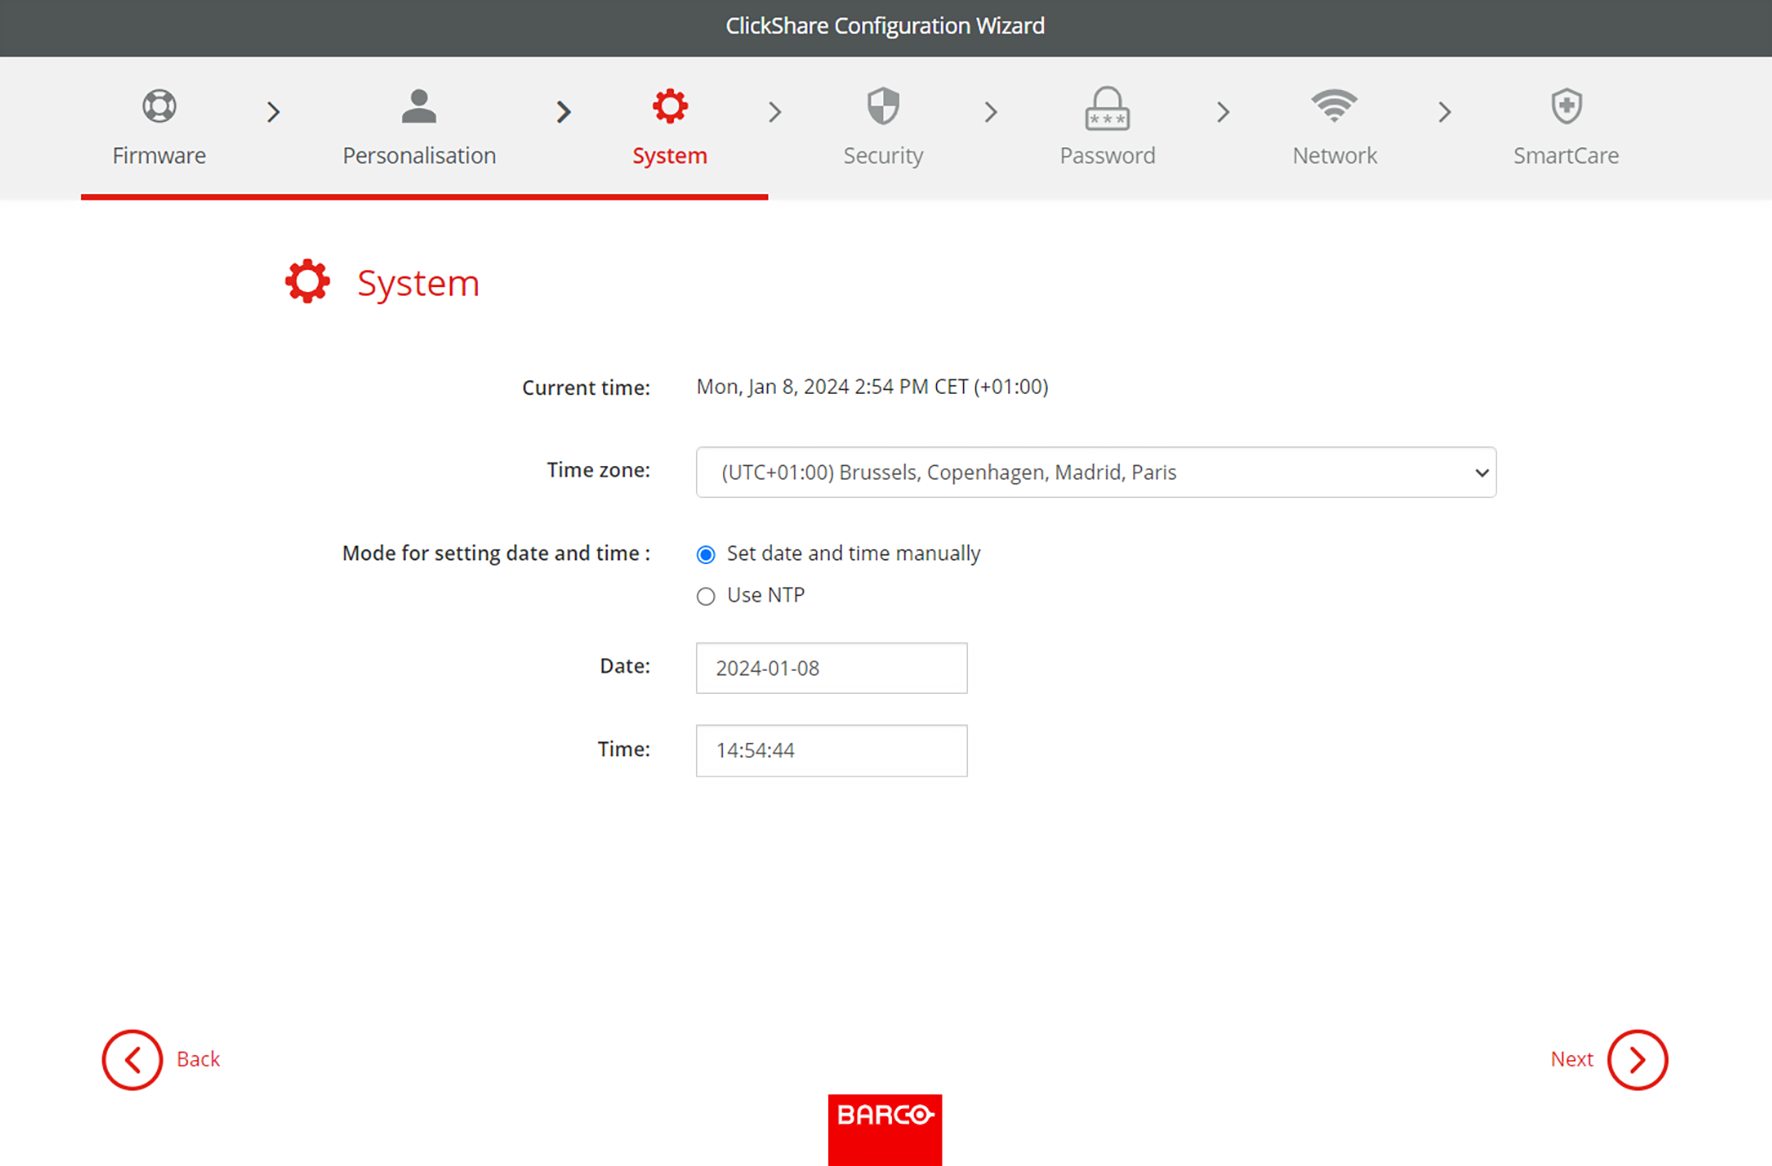
Select the time zone that is most relevant for the usage of the Base Unit.
Image 6–8Example of the system page
Choose the mode for the date and time and click “next”:
Manually, allows the option to change the starting day and starting time of the Base Unit.
NTP, follows the clock of the time server(s) that are defined in the input field.
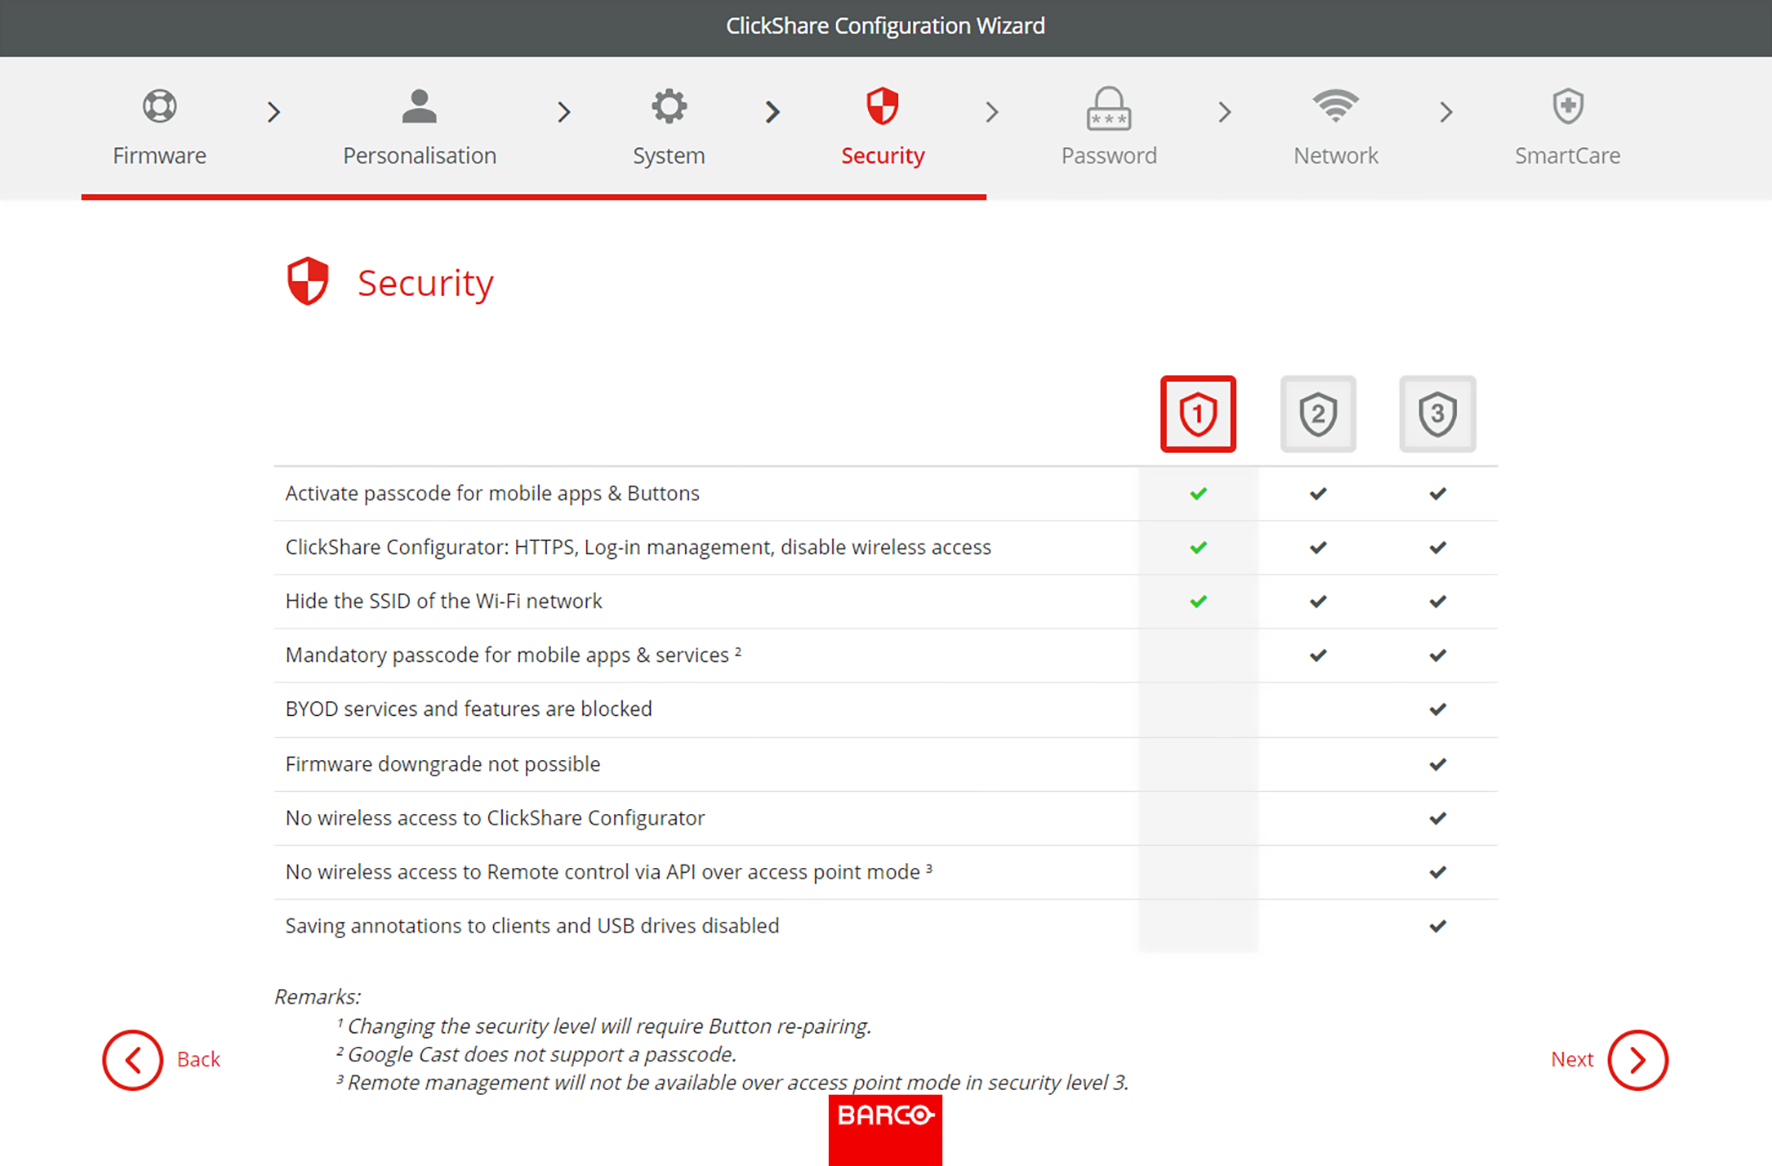
Choose the most applicable security level and click “next”.
Image 6–9Example of the security page
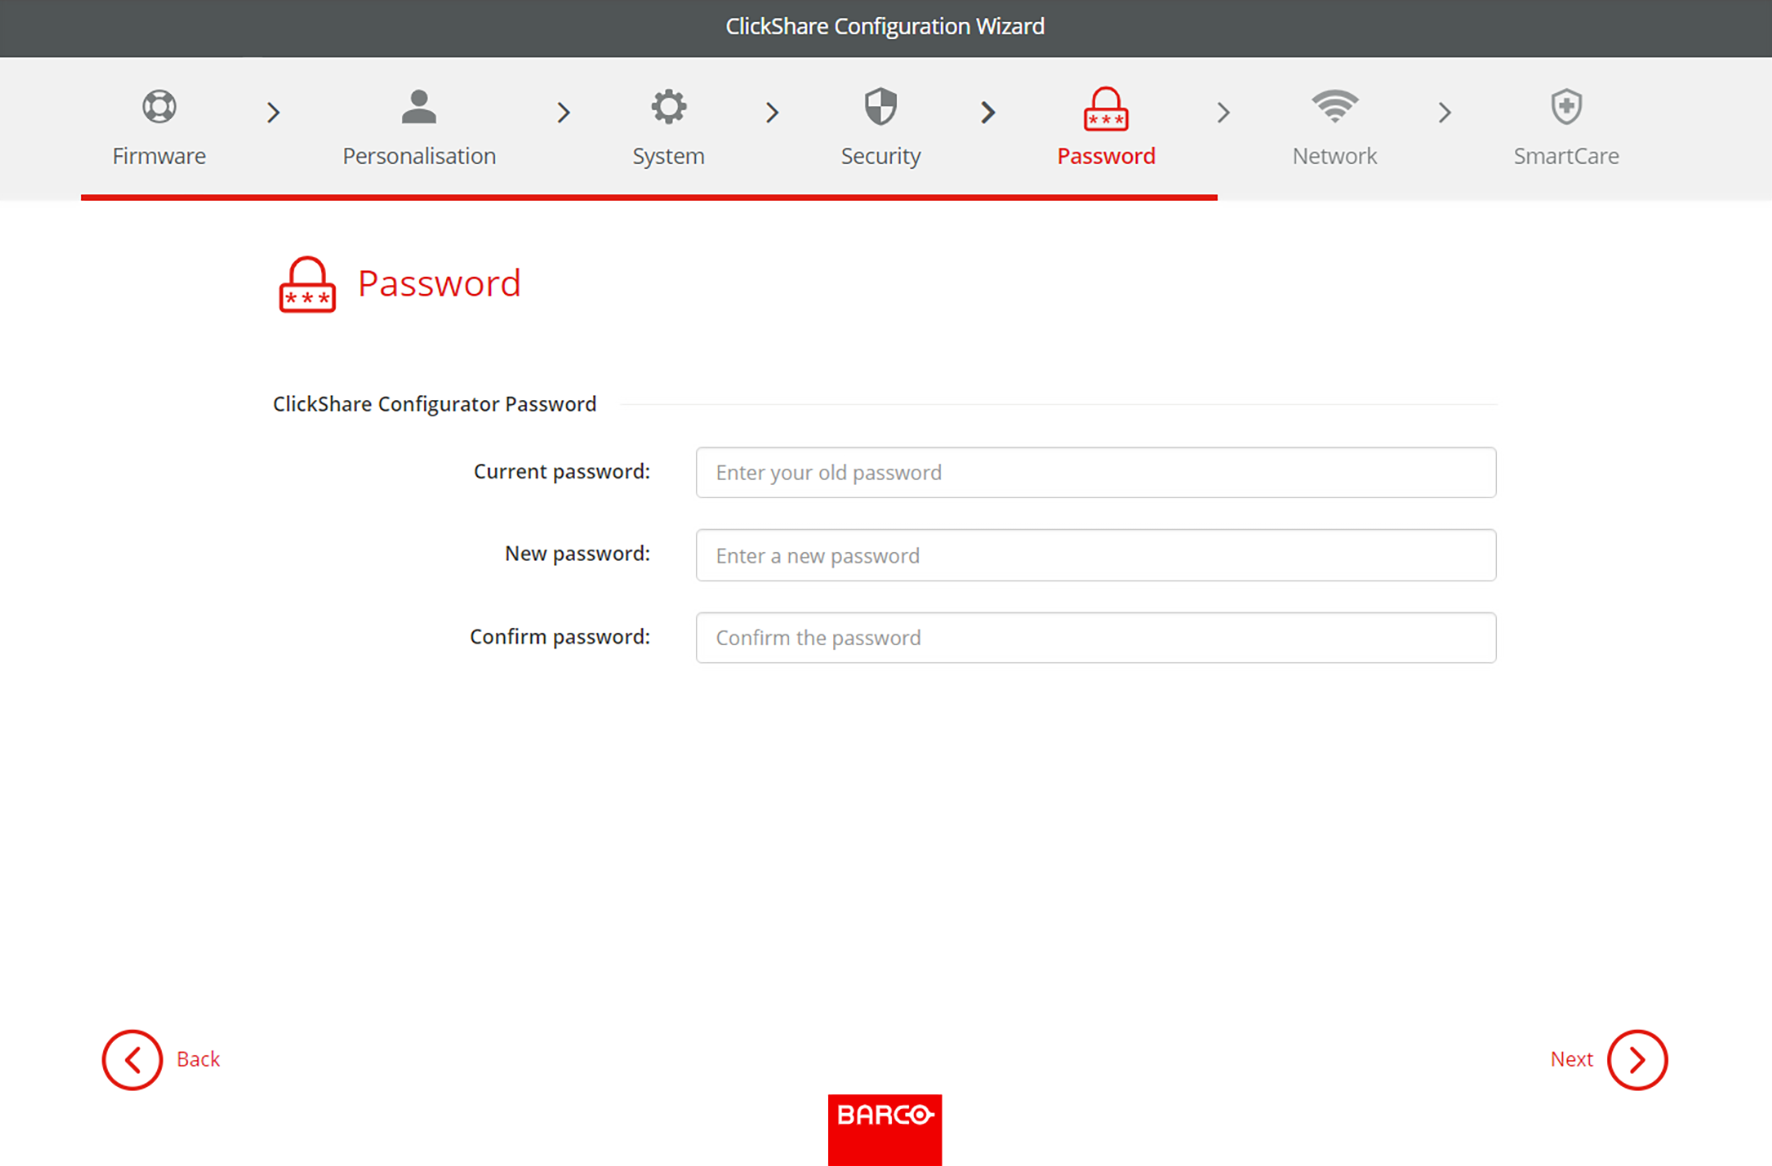
Change the password to a more secure password and click “next”.
Tip: There are no required criteria for creating the password. In general the longer the password the more secure.
Image 6–10Example of the password page
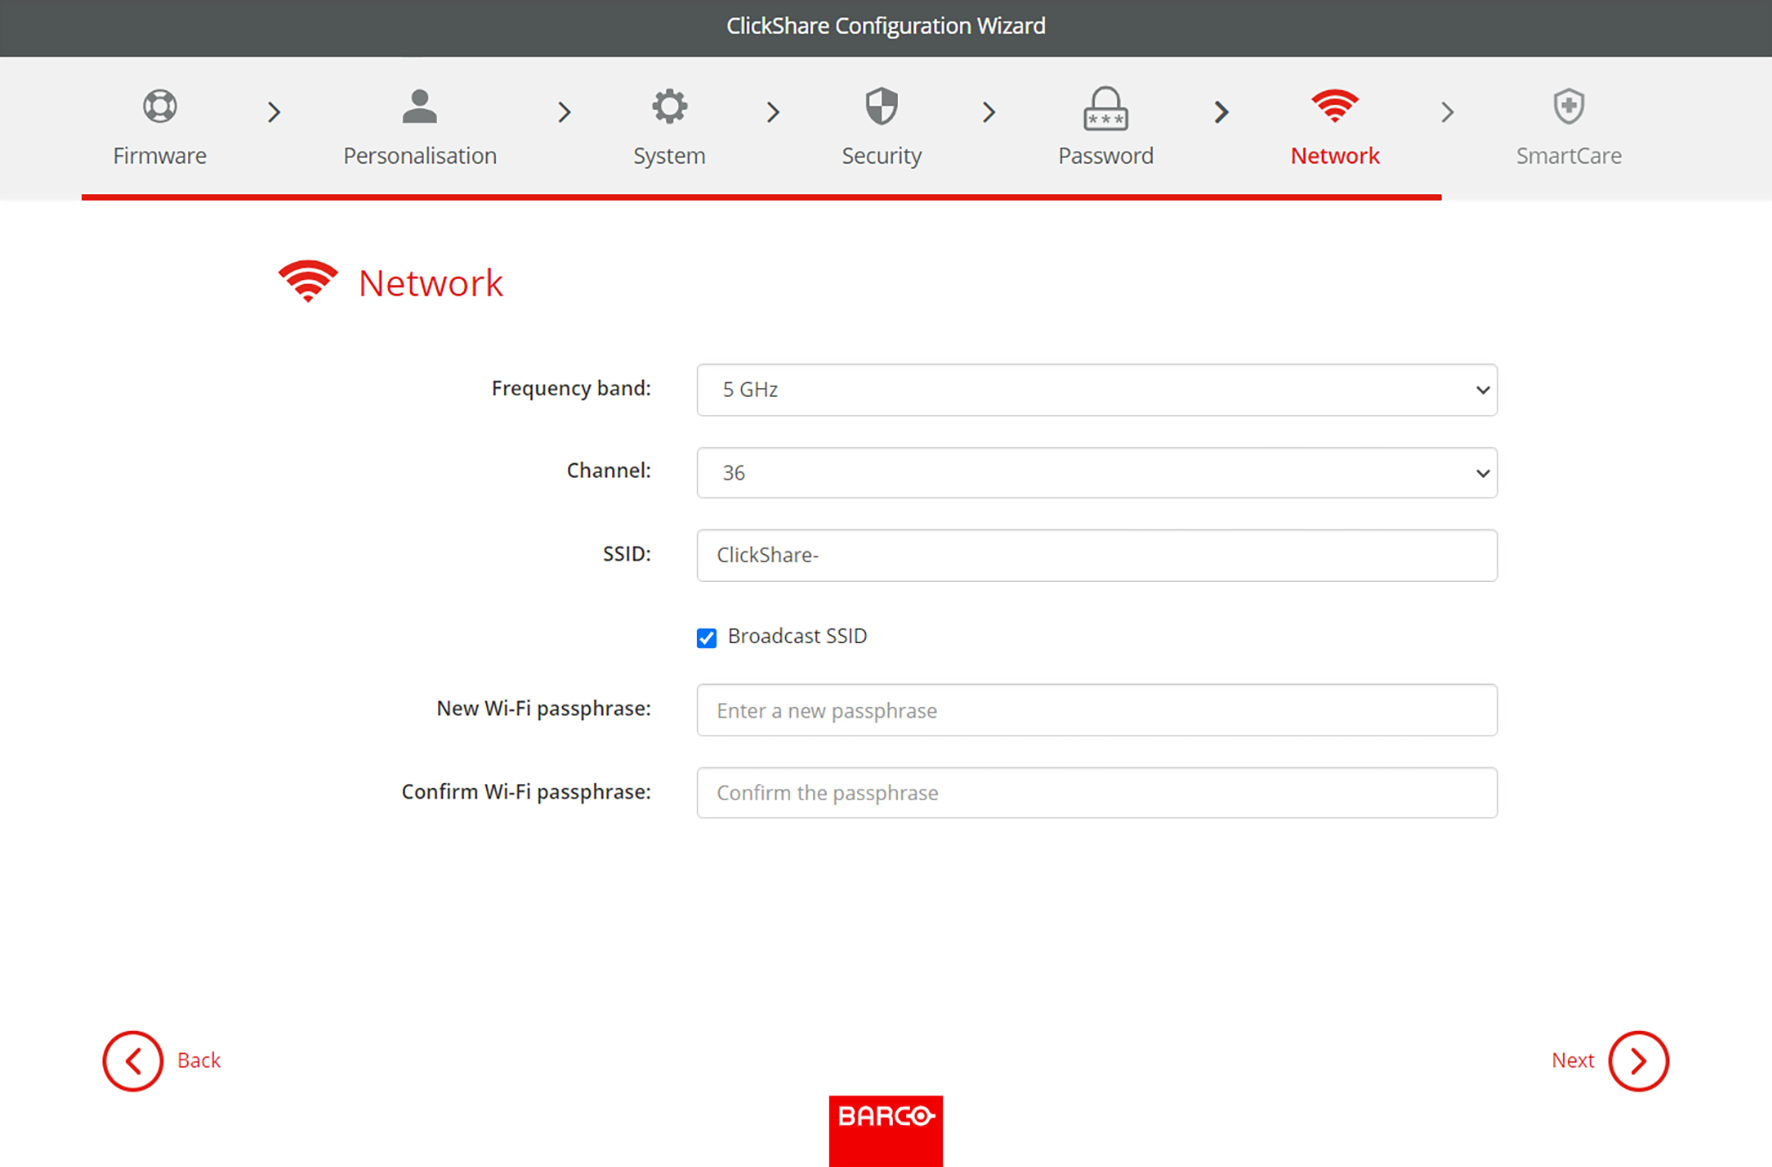
Configure the network settings to minimize interference of other wireless signals and maximize the security of the Base Units own Wi-Fi network and click “next”.
Tip: To minimize connection instabilities, it is highly recommended to stagger the channel settings across multiple Base Units or other wireless devices!
Image 6–11Example of the network page
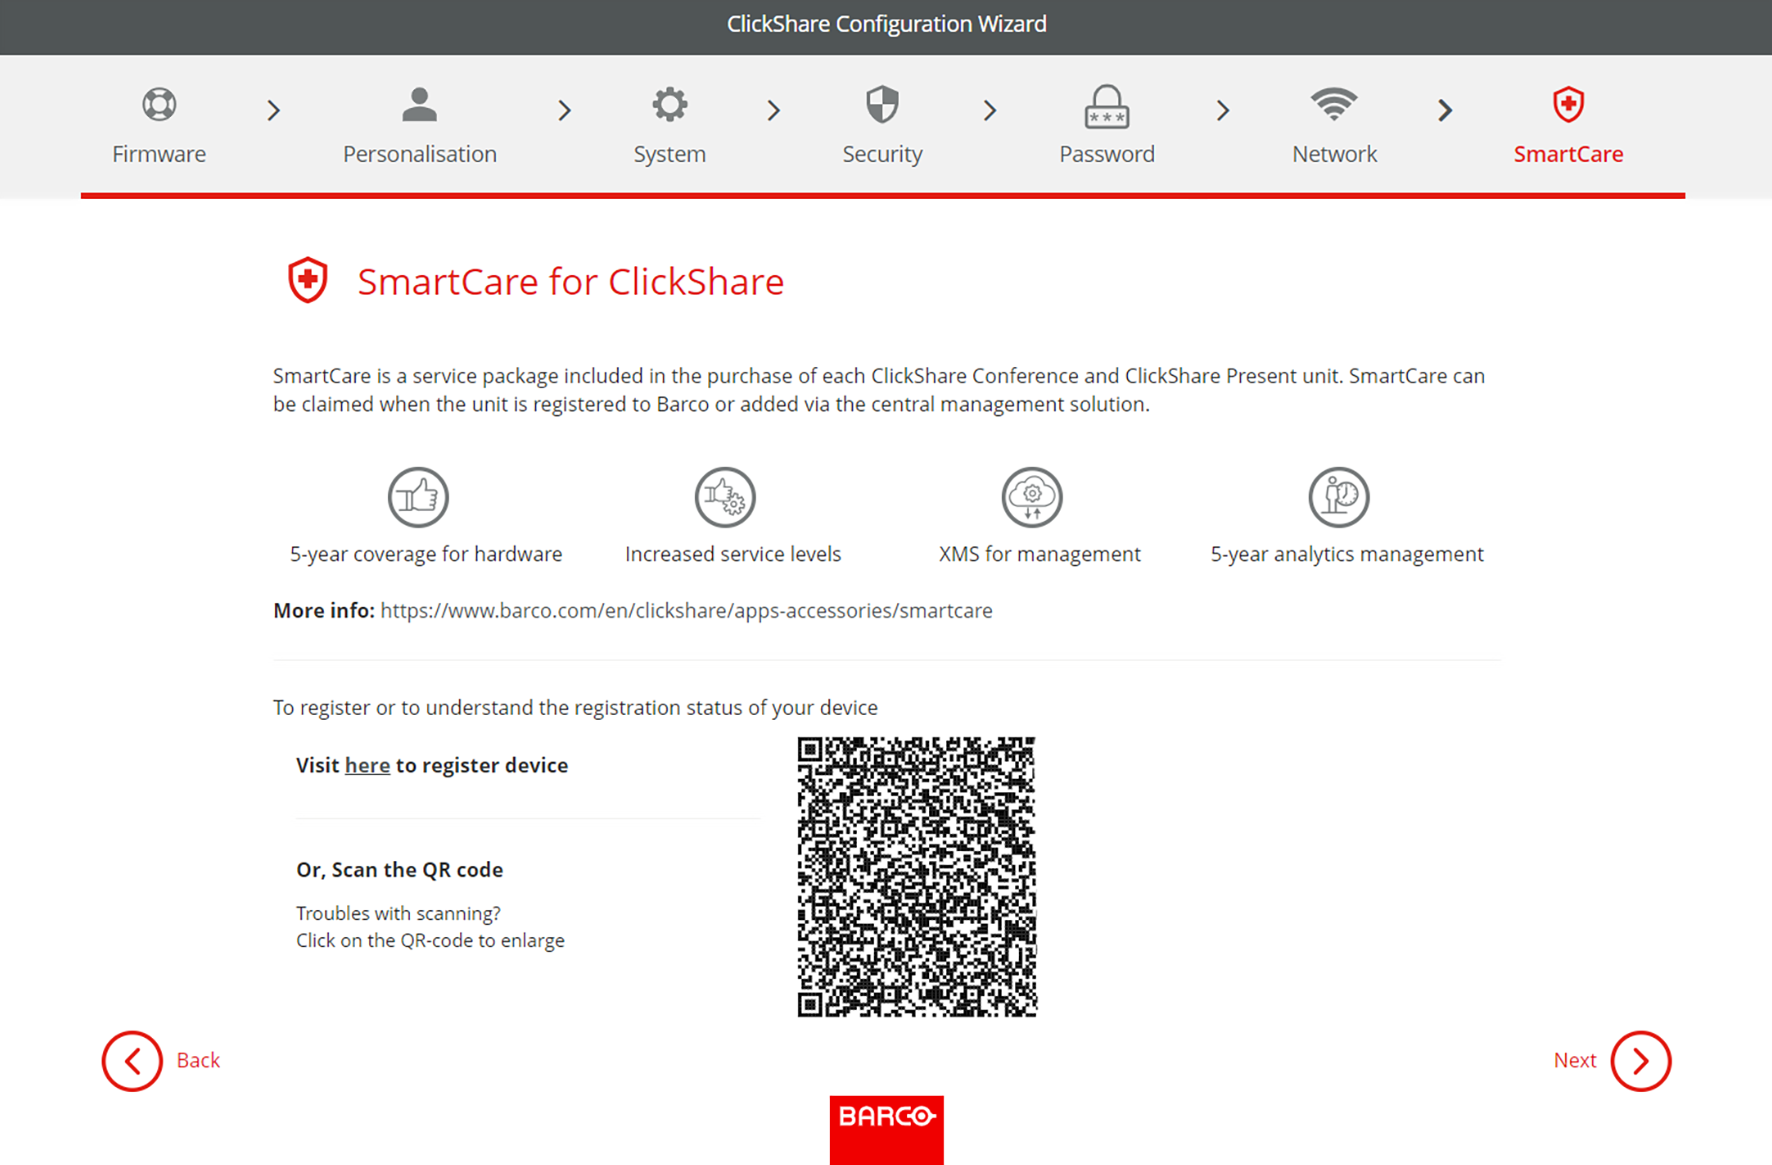
Link the Base Unit in XMS Cloud to complete the SmartCare registration. For more information, see “XMS Cloud linking”.
Tip: If the QR code is too small to be scanned, then click on the QR code to enlarge it.
Image 6–12Example of the SmartCare page
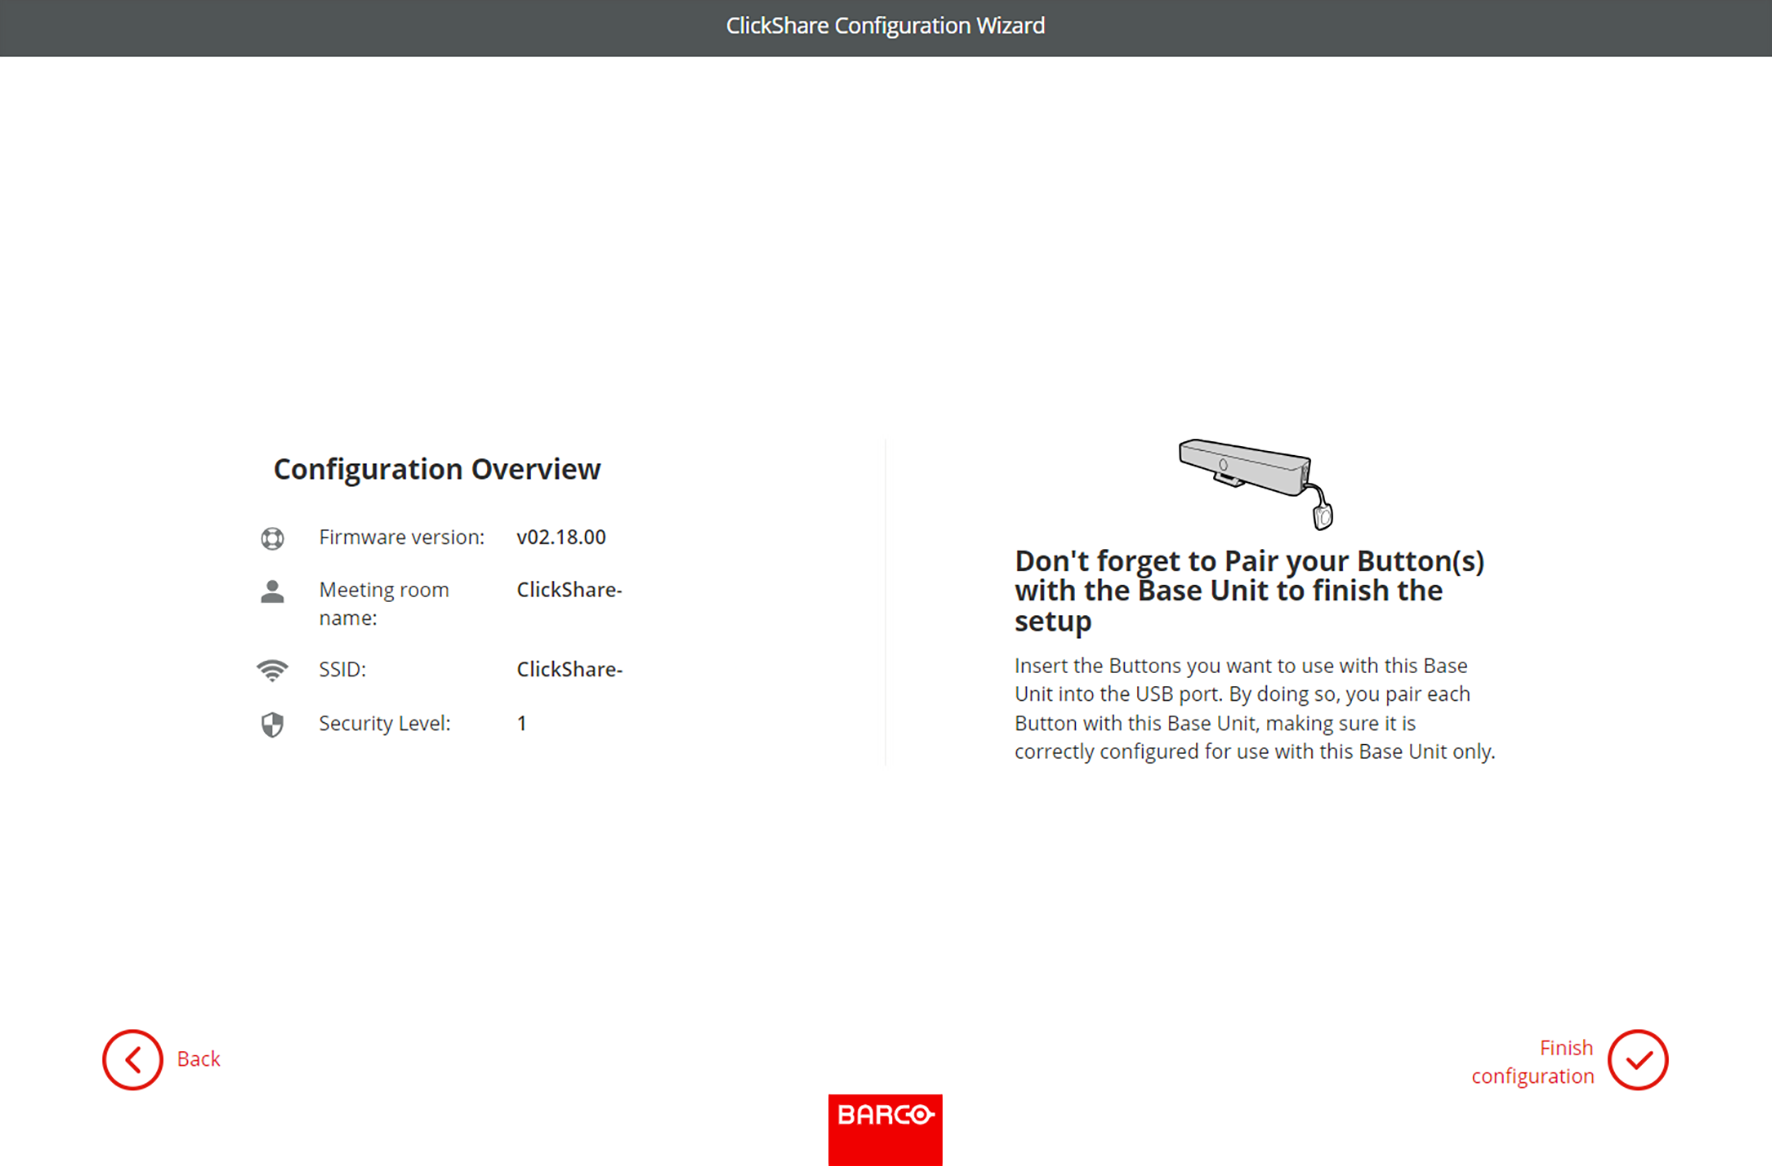
An overview of the chosen setup is shown on the last page. Click “finish configuration” to complete the initial setup.
Note: If a setting is wrong or something needs to be changed, click the “back” button until the desired chapter is reached.
It is possible to go back and forth between every setting at any time.
Image 6–13Example of the overview page
A warning might be given depending on the changes, click “finish configuration” in the pop-up to continue or click “back” to modify the settings again.
The configurator homepage will be shown with confirmation that the system has been successfully configured!