Overview
Select one of the predefined color presets. For more info, see “Color Mode”
Adjust the slider will change the luminous brightness of the projected image. Use this to adapt the projected image to the ambient light situation.
Adjusting the slider will change the contrast ratio of the projected image. The contrast controls the degree of difference between the lightest and darkest parts of the image.
Adjusting the slider will change the intensity of the image colors.
Adjusting the slider will change the color balance of red and green in video images.
Adjust the slider will change the clarity of details in the projected image. Use this to make the image more clear and sharp.
Adjusts the gamma levels of the image, using a number of presets. For more info, see “Gamma”.
The Digital zoom and shift function will digitally scale the image size and position to fit onto the actual projection surface. For more info, see “Digital Zoom and Shift”.
Use this feature to adjust the overall tint of the image to optimize the white color performance. For more info, see “White balance”.
Select a color space that has been specifically tuned for the input signal. The available options are:
By setting the wall color of the projected surface, the projector will achieve the best color performance for the selected wall color type. The available options are:
Configure advanced color settings to improve the color performance. For more info, see “Advanced Settings”.
Save the image settings to the User Mode. Select the correct format according to the image format, which includes 2D Image, 3D Image, and Blending Image.
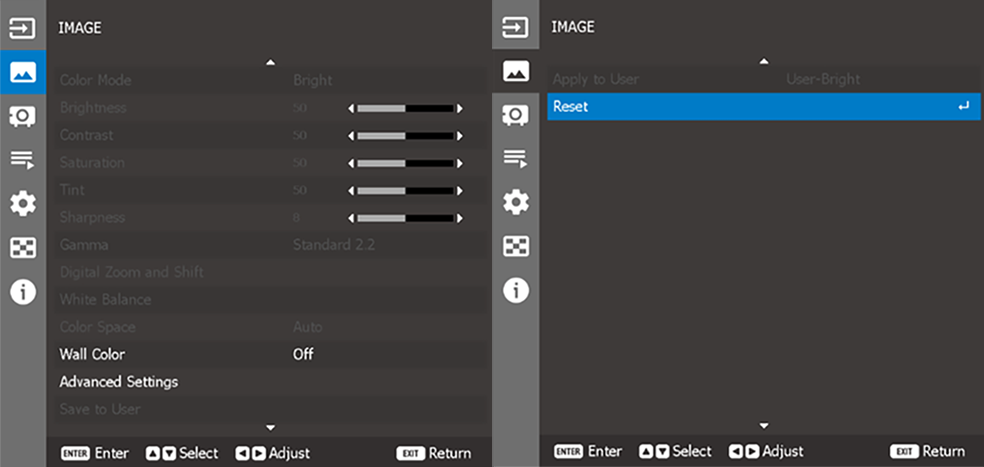
Apply the current image settings to one of the following users:
Reset all the image settings to factory default values.