Location
- Navigation side bar:
- Right panel: or

Scheduling automatically starts cues that need to be played on a regular predictable time frame. Time frames depend on a configured time source that is either on the network or configured in the unit. For more information on time settings of a unit, see “Time setting”.
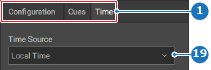
Select the time source from the drop down after (reference 19).

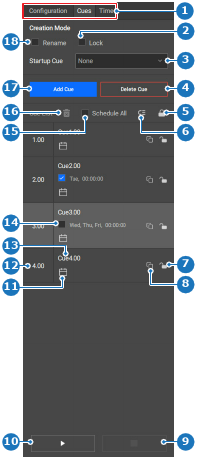
Click on the calendar icon ( ) of the desired cue (reference 11) in the tab of the right panel.
A schedule menu is shown.
Check the desired days (reference 24) where the cue must play.
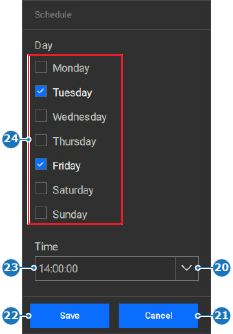
Set the desired time for the cue using one of the following methods:
Click (reference 22, Image 8–148).
The schedule is added under the name of the cue (reference 14, Image 8–147).
Check ( ) the check box in front of the desired schedule (reference 14, Image 8–147) or in front of (reference 15, Image 8–147) to activate the cue.
The cue automatically plays during all checked time entries at the chosen intervals each week.
 ) in the header.