How to schedule
In the menu pane, click on Scheduler (1).
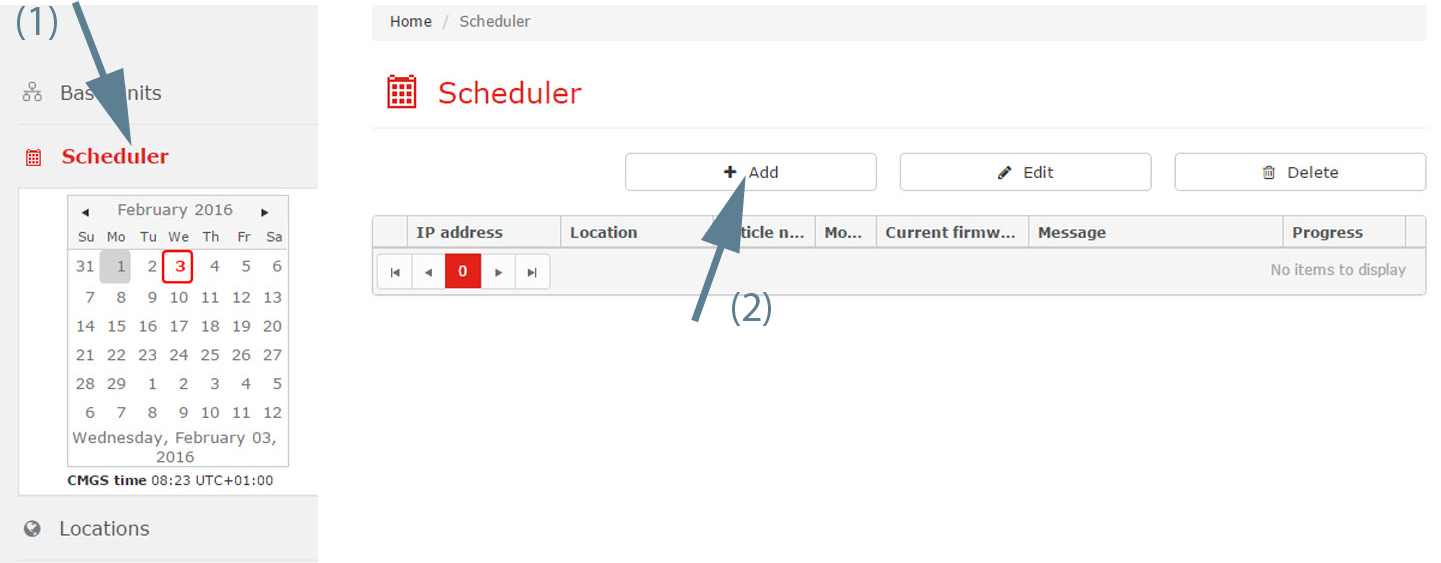
Image 3–23 Schedule new job An overview of the scheduled jobs for the selected day is given. To see an overview for another day, click on a day in the calendar and if necessary, change the month. The user is able to change the month by clicking on the name of the current month. In order to view the daily calendar, the user should click on the name of the current date, located in the bottom of the calendar.
Gray highlighted number represents the current day. A red highlighted number represents the schedule date.
Click on Add (2).
An information message is displayed to announce that the Base Units overview page will be displayed. Select and then choose .
- Follow the instructions as given in “Software update” or “Reboot Base Units”. To finalize the procedure, check Scheduler.
To enter the date, click on the calendar icon and select the date. Enter the time (hh:mm) or click on the clock icon and select a predefined time.
To change the year and month, click on the left or right arrow key next to the month-year name (1).
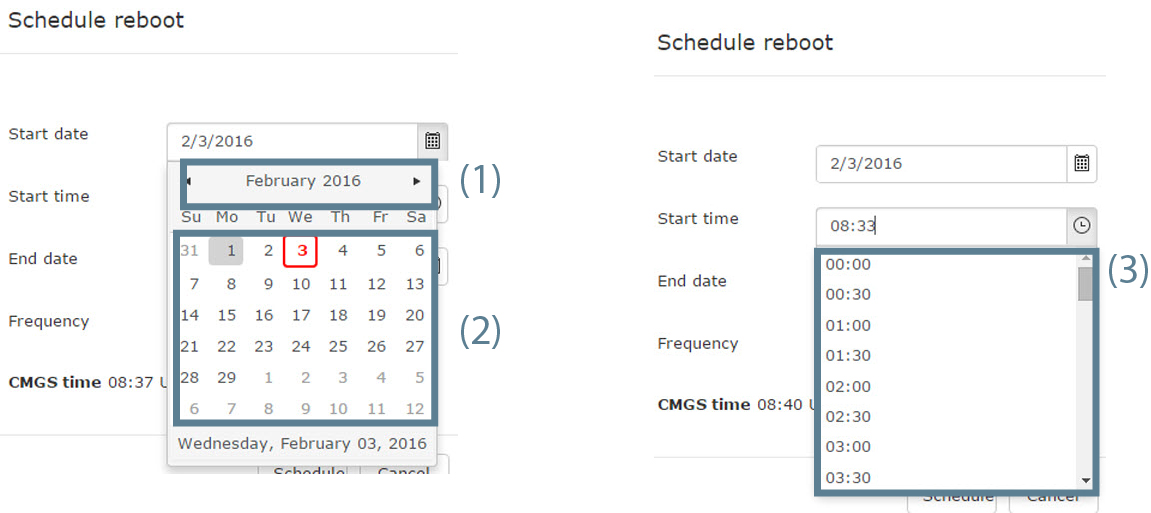
Image 3–24 Scheduler - To change the day, click on the desired day in the calendar (2).
- To set the desired time comparing to the server time, click on the icon and select a predefined time (3).
orenter the start & end date (mm/dd/yyyy) and time (hh:mm) by clicking in the input field and changing the values.
- Set the frequency.
Click Schedule.
The Scheduler overview page is displayed again with the new job filled out. The status of the job is scheduled or pending.
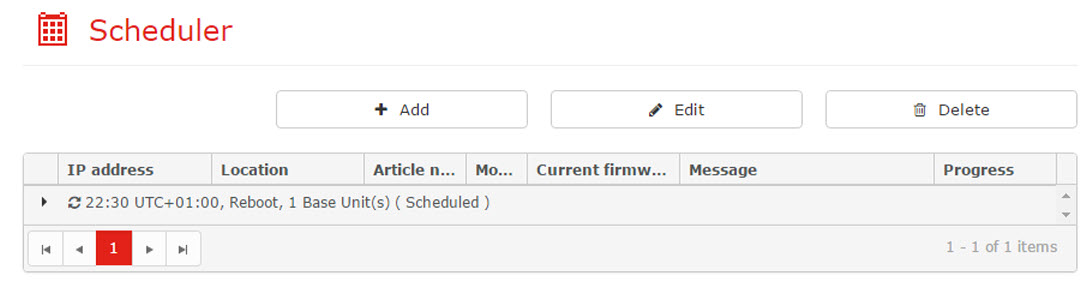
Image 3–25 Scheduler overview page The calendar highlights the days a job is created.