What can be done?
If the mounted lens is motorized, the calibration and adjustment can be done using Projector Toolset.
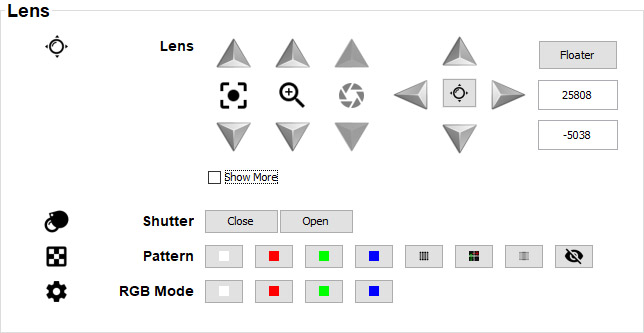
If available on your lens, you can do the following in the Lens pane:
- Adjusting : Click and hold the up arrow to increase focus. Click and hold the down arrow to decrease focus.
- Adjusting : Click and hold the up arrow to zoom in. Click and hold the down arrow to zoom out.
- Adjusting : Click and hold the up arrow to open the iris more. Click and hold the down arrow to close the iris more.
- Adjusting Lens shift: See following procedure.
Open or Close the . Do this by clicking on the Open and Close button.
Choose a can be selected by clicking on one of the predefined buttons.
- The can be changed by clicking on one of the predefined colors.
- Use the to prompt a Lens manipulation window for the active projector. For more info on the floater, see “Lens adjustment in multi-projector setup”.
The Show More checkbox can be used to calibrate the lens features or to disable them. For more info on calibrating lens features, see “Lens features calibration”.