Availability
- Operating system: N/A
- Base Unit: C-10, CX-30, CX-50, C-10 Gen2, CX-30 Gen2, CX-M, CX-50 Gen2, CB Core and CB Pro
- Room feature: touch display

Blackboarding turns a connected touch display into a black screen that can be drawn on. These drawings or notes can then be saved on the user devices for future use. No information remains on the Base Unit after the blackboard has been closed.
The local IT department must configure the Base Unit to allow blackboarding. For more information, see the installation manual of the Base Unit.
Is the status bar hidden?

Tap on the  blackboarding icon (reference 2) on the touch display .

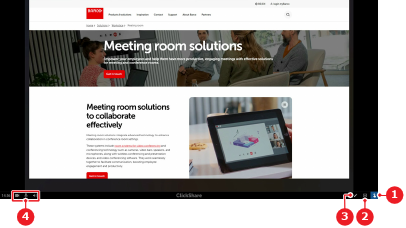
The meeting room display shows a blank canvas.
Tap on a color (reference 9).
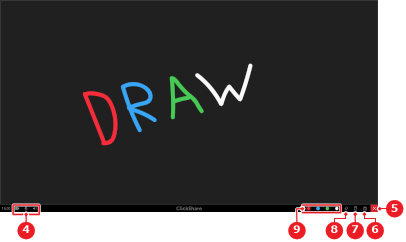
Draw the content on the touch display.
Must the content be saved?
 save icon (reference 6, Image 10–5). Go to next step.
Tap (reference 10) to confirm the saving of the content.
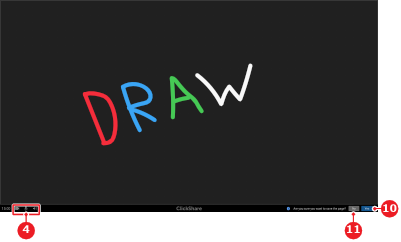
Is an empty blackboard required ?
 clear icon (reference 7, Image 10–5). Go to next step.
Tap (reference 10) to reset the blackboard to an empty canvas.
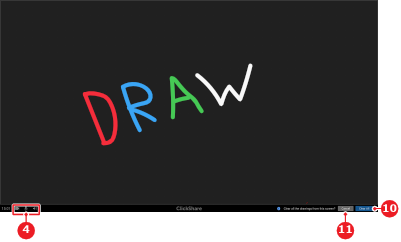
Use the cleared canvas. Go to step 3.
Is content present on the canvas ?
 close icon (reference 5, Image 10–5). go to next step. close icon (reference 5, Image 10–5) to stop using blackboarding. No further actions required.
Must the drawing be saved?
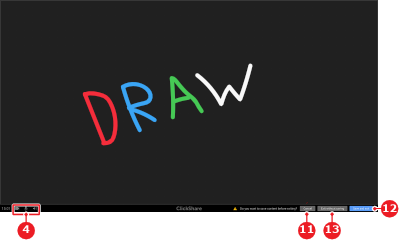
Tap (reference 13) to stop using blackboarding.
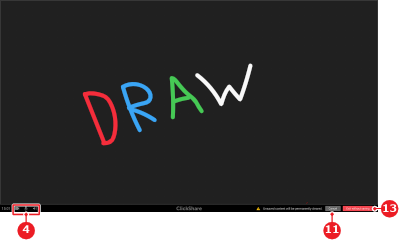
The ClickShare wallpaper is shown.
 eraser is active, the area around the touch input will be replaced with black. This black is darker than the light black of the blackboarding background.