
This article walks you through the unboxing, physical setup and configuring of the ClickShare Hub device for use in your meeting rooms.
What’s in the Box?
When you receive your ClickShare Hub package, ensure it includes:
- ClickShare Hub device
- Power adapter and cable
- In box 10m USB-C cable labelled "Source" and "Display" on respective connectors
- Wall mount disc
- Control Panel
- ClickShare Gen5 Buttons (depending on your HUB model)
- Hub Pro: Comes with two Buttons
- Hub Core: Comes with one Button
Additional tools required (not included in the box) for setup
- Display(s)
- HDMI™ cable(s)
- USB cable(s)
- Peripheral(s)
- Ethernet cable - for network connectivity
Physical Setup and Configuration
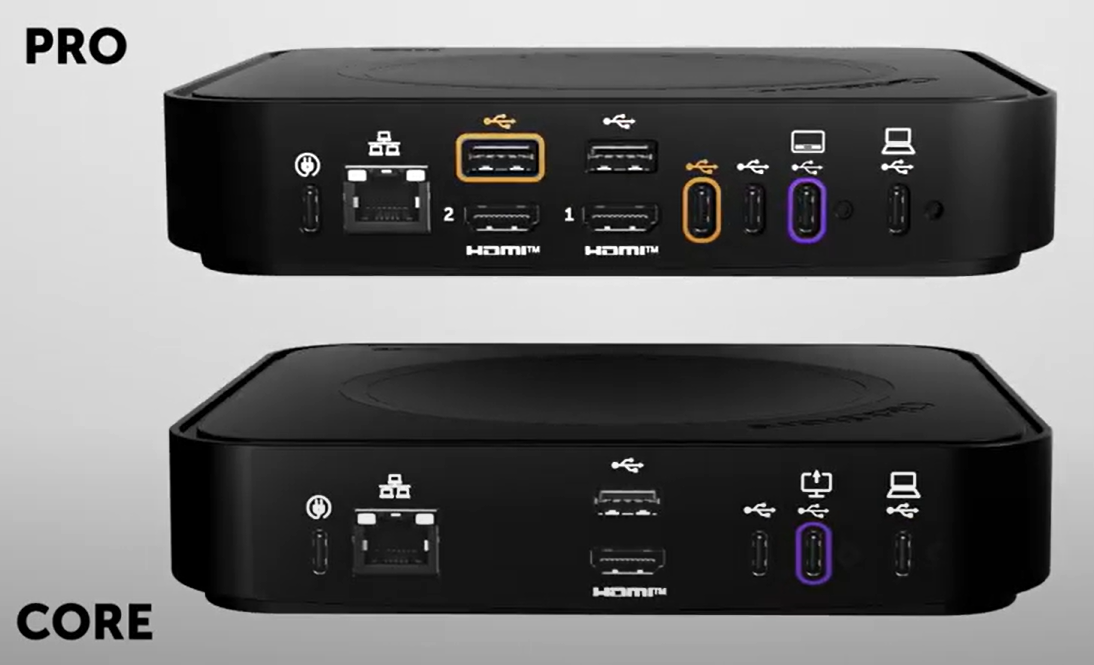
The total number of connectors or ports on the ClickShare Hub Base Unit may vary depending on your specific model (Hub Core or Hub Pro). However, the physical setup and configuration process remains the same for both models.
-
Internet connection
-
Connect an ethernet cable from the LAN port on the Base Unit to the local network. Ensure that the local network allows for internet access.

-
-
Display(s) connection

-
Single display: Connect an HDMI™ cable from the HDMI Out port of the display to the HDMI™ 1 port of the Base Unit. (For detailed instructions, click here).
-
Dual displays (Hub Pro only):
-
Connect the first display’s HDMI Out port to HDMI™ 1 on the Base Unit.
-
Connect the second display’s HDMI Out port to HDMI™ 2 on the Base Unit.
For detailed instructions, click here.
-
Note – Touch Display connections:
- Touch Displays are currently not supported. Please avoid connecting the USB cable for the touch device of a Touch Display.
- If the touch device of a Touch Display is connected to the Base Unit, it can prevent the Control Panel from working correctly.
-
-
Control Panel connection

-
Peripherals connection
-
Connect the peripheral to any of the free USB-A or USB-C ports on the back of the Base Unit. (For detailed instructions, click here).
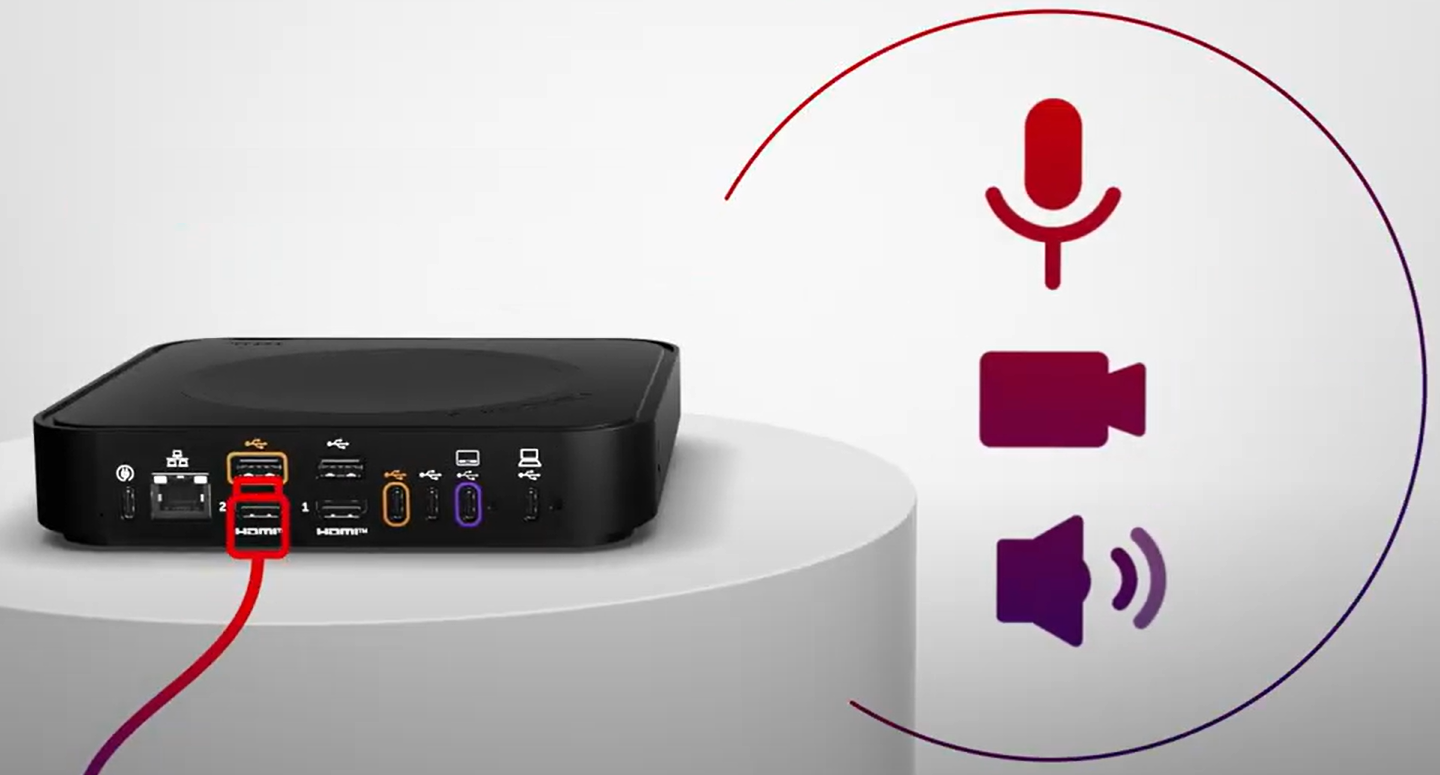
Note: For detailed information on how to set up the peripheral, please refer to the peripheral vendors installation guide.
-
-
Power on the Base Unit
-
Plug the USB-C power cable into the USB-C port of the Base Unit.

-
Connect the power adapter to a wall socket.
-
-
Configure ClickShare Hub settings using the Configuration Wizard
Use the Configuration Wizard on the Control Panel to set up your ClickShare Hub. You can configure:-
System Settings: Language, network configuration, date and time.
-
Software, Terms & Accounts: Firmware updates, acceptance of terms and admin account creation.
Note: For detailed steps for each step of the Configuration Wizard, click here.
-
- Pair the ClickShare Button
-
- Connect the Button to any free USB-C port of the Base Unit. For instructions how-to pair ClickShare Button, see KB15641.
- Hub Pro has 4 USB-C ports, 3 at the rear and 1 at the front
- Hub Core has 3 USB-C ports, 2 at the rear and 1 at the front

Example: Button Gen 5 connected to the front USB-C port
- Connect the Button to any free USB-C port of the Base Unit. For instructions how-to pair ClickShare Button, see KB15641.
Video Tutorial
Watch the video tutorial below to view the "Installation process" in action.

