
Introduction: 3D Functionality on the Eonis 3D display
Our cutting-edge Eonis 3D display allows for both 2D and immersive 3D viewing through a switchable lens and cutting-edge eye-tracking technology. This enables seamless switching between 2D and 3D content. More information about this product and its technology can be found on the dedicated product page.
Important: 3D visualization requires an integrated ecosystem - a 3D display connected via USB and video, an appropriate 3D driver, and a compatible 3D application. 3D functionality will not work on arbitrary images.
Prerequisites
To allow for the glasses-free 3D on the display to work, a couple of prerequisites must be in place:
1. USB Connection
- The display must be connected to the workstation with a USB cable. This can either be a classic USB cable or a USB-C cable if you use the USB-C DisplayPort Alt Mode.
2. Video Connection
- In addition to USB, a video connection (DisplayPort or USB-C DP) is required. The 3D driver will only recognize the display when both USB and video connections are active.
3. 3D Module Driver Installed
- A driver must be installed for the 3D module. This driver can be found on the product's support page.
4. Compatible 3D Software
- A compatible 3D software must be installed and switched to 3D mode.
How to check the prerequisites?
USB cable connection
- Verify the cable type and connection as described in the sections 2.1. and 2.2. of the User Guide, depending on your setup.
- For USB-C, ensure you are using a certified cable that supports DisplayPort Alt Mode. See more details on why it is crucial to use the supplied USB-C cable with your Eonis 3D display here.
- Check the connection in Windows Device Manager:
- Navigate to Device Manager > Monitors.
- Confirm the Eonis display driver is listed.
Video Connection
Ensure that besides USB cable, also video cable is connected to the display. Verify the cable type (DP or USB-C DP) and connections as described in Section 2.2. of the User Guide
Driver
Confirming that the installation of the 3D driver succeeded:
1. Installed components
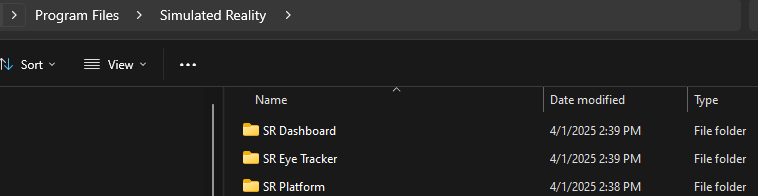
Open File Explorer and verify that the Leia SR™ applications and folders are present under Program Files ▸ Simulated Reality.
2. Services and processes
Check that the Leia SR™ services are installed and running via Services...

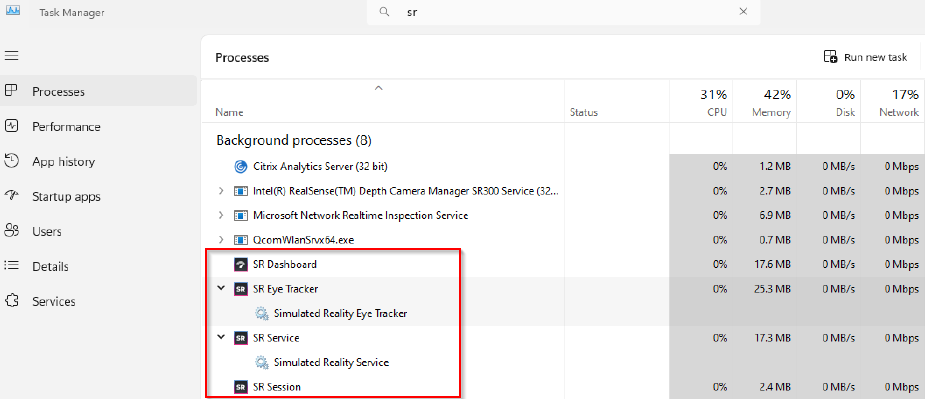
...and that Leia SR™ processes are up and running via Task Manager → Details.
3. Dashboard status
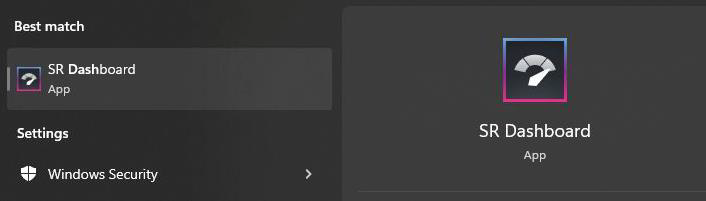
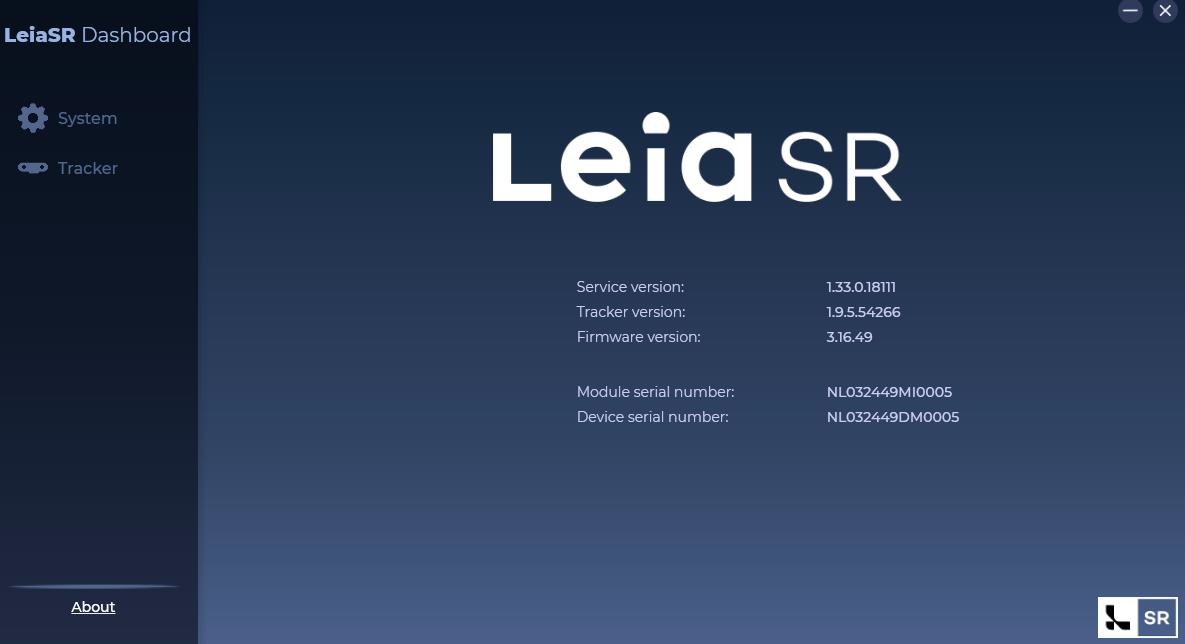
- Launch the Leia SR Dashboard from the system tray icon or Windows Search.

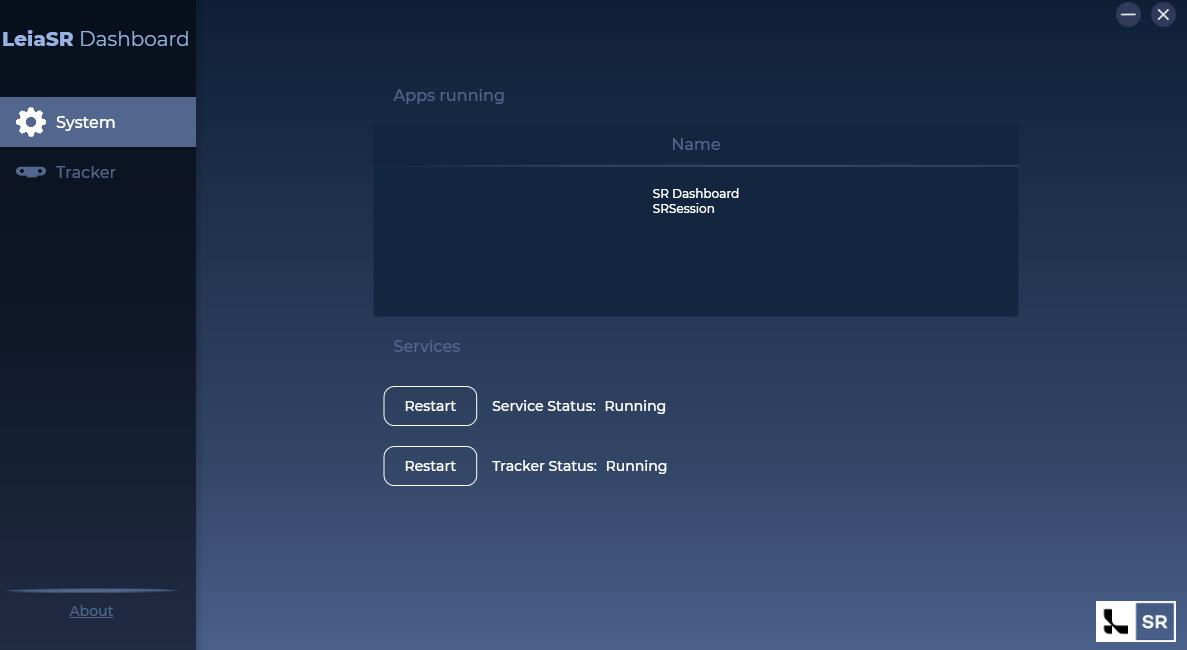
- In "System", ensure all services show "Running"
- In "About", confirm that the display’s SR module and serial number are detected
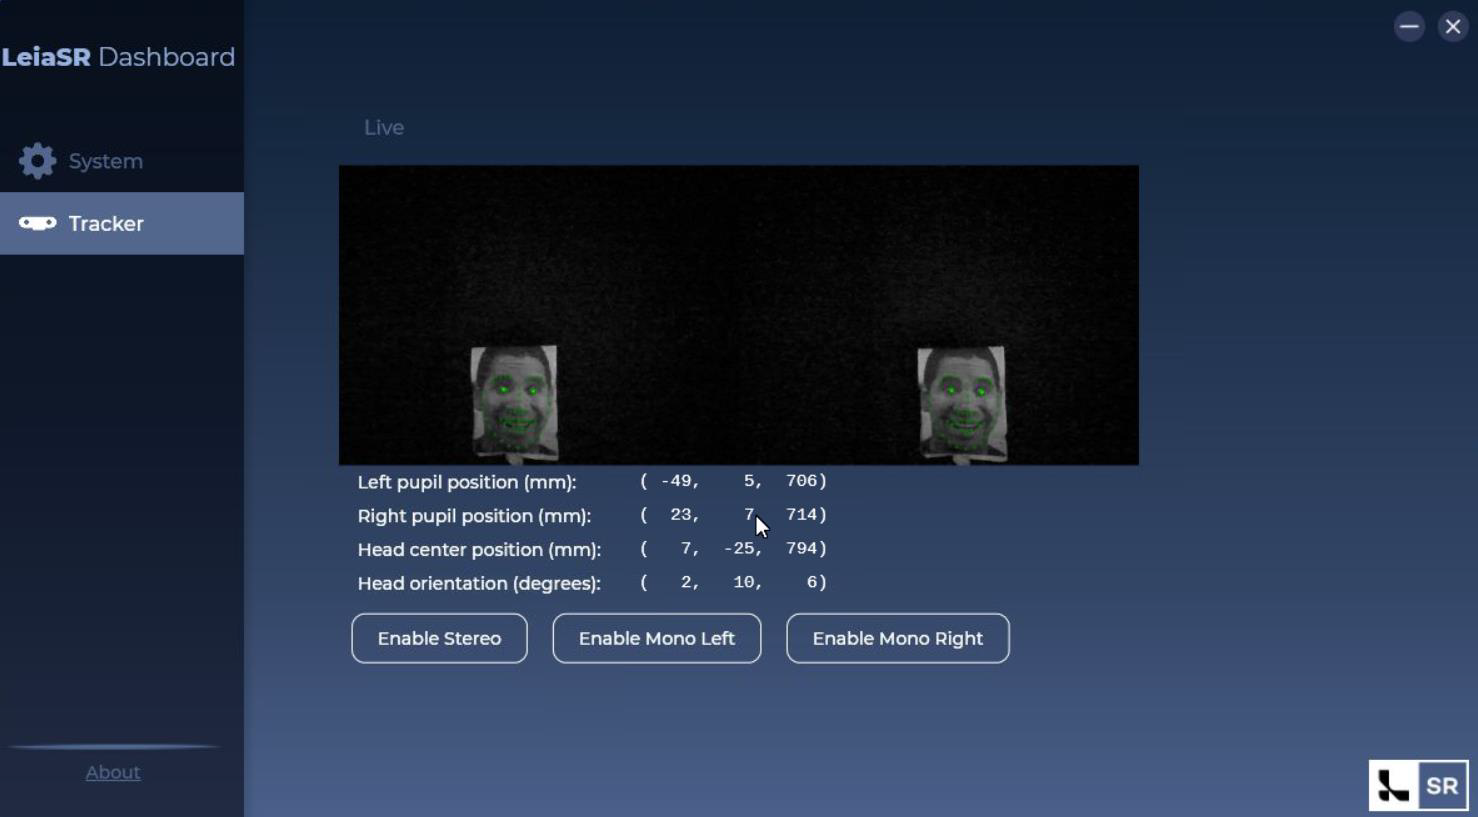
- In "Tracker", verify that face landmarks and eye coordinates are visible when a user is in front of the display. If a user is in front of the camera and there is enough illumination, the LEIA SRTM Dashboard will highlight the face landmark. Eye coordinates and head position, and pose information are provided.
Compatible 3D software
Ensure that the application supports 3D functionality and is switched to 3D mode. Currently, the only confirmed application is Avatar Medical Vision, but this list of compatible 3D software is expected to grow over time.
Other troubleshooting
Installer fails / Runtime won’t install or upgrade
Symptoms: Setup aborts, rollback occurs, or an older runtime persists.
Steps
- Clean uninstall any existing Leia SR™ runtime via Apps & Features, then reboot.
- Install the latest LeiaSR 3D driver from scratch and follow the prompts (accept the removal of older versions when asked).
- After installation, verify folders/services/processes exist (Program Files “Simulated Reality”; services visible; Dashboard present).
Extraction/installer shows errors (corrupted package)
Symptoms: Unzip errors; setup only offers unrelated components
Steps
- Re‑download the package from the Barco support site; avoid partial downloads.
- Verify integrity.
- Extract with multiple tools: Windows built‑in, 7‑Zip, WinRAR, WinZip (repeat to rule out tool issues).
Dashboard opens, but services show “not running”
Symptoms: Dashboard → System reports services stopped; About/Tracker tabs lack data.
Steps
- Restart the PC to clear service locks.
- Re‑open the SR Dashboard from the system tray or app search. Confirm the System section shows all required services running.
- If still stopped, perform a runtime repair (uninstall → reboot → reinstall 3D driver).
- Ensure no other apps are using the Leia SR interface while testing. If they do, close those apps and retry.
Display not recognized / About tab shows no module or serial
Symptoms: Dashboard → About does not list the SR module/device serial.
Steps
1. Cable/port isolation
-
- Try another USB port on the workstation (rear motherboard ports are best).
- Replace the cable with a validated USB‑C (DP Alt Mode) or DP+USB pair.
2. Windows display config: Confirm extended mode and 3840×2160 @ 100% scale on the Eonis 3D.
3. Reopen Dashboard; check About for Module Serial Number.
Tracker not detecting eyes / coordinates unstable
Symptoms: No face landmarks, coordinates jitter, or Tracker tab empty.
Steps
- Lighting: Increase ambient light to ≈300 lx. Remove occlusions (caps, masks), reduce glare, and sit at ~70 cm from the center.
- Single viewer: The system is designed for one viewer; multiple faces can confuse tracking.
- Tracker tab: Open Dashboard → Tracker; you should see face landmarks, eye coordinates, and head pose when a user is present.
Good to Know
The Eonis 3D display is designed as a single-user autostereoscopic system, meaning its eye‑tracking technology optimizes the 3D experience for one viewer at a time. Here’s what happens if multiple people are in front of the screen:
- Primary viewer only: The eye‑tracking algorithm locks onto one set of eyes (the person in the optimal viewing zone). This ensures accurate depth rendering for that individual.
- Other viewers: Additional people outside the tracked zone will typically see a distorted or flattened image. They may perceive partial depth or experience visual artifacts because the lenticular lens is projecting left/right views based on the tracked user’s position.
- No multi-user calibration: The system does not dynamically split or adapt for multiple viewers; it prioritizes the main tracked user for clinical accuracy.

