Availability
- Operating system: Windows, MacOS, Android and iOS
- Base Unit: C-10, CX-30, CX-50, C-10 Gen2, CX-30 Gen2, CX-M, CX-50 Gen2, CB Core and CB Pro
Room feature:
- Touch display
- 4th gen Button (optional)

Room feature:
Content must be sharing before annotations can be used. For more information, see:
Is the status bar hidden?

Tap on the  annotations icon (reference 3) on the touch display.
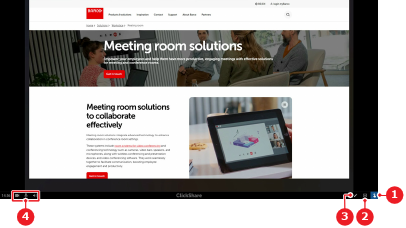
The status bar shows the annotation icons.
Tap on a color (reference 9).

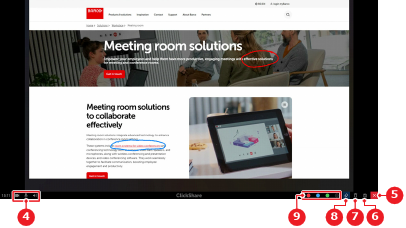
Draw the content on the touch display.

Must the content be saved?
 save icon (reference 6, Image 10–14). Go to next step.
Tap (reference 10) to confirm the saving of the content.
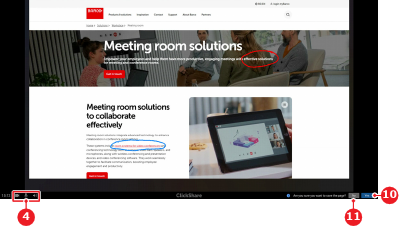
Must new annotations be made ?
 clear icon (reference 7, Image 10–14). Go to next step.
Tap (reference 10) to reset the annotations.
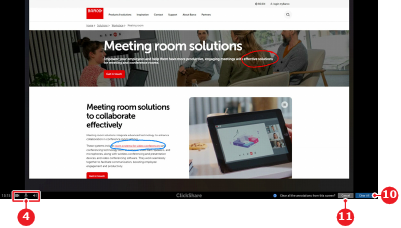
Use the annotations. Go to step 3.
Is content present on the canvas ?
 close icon (reference 5, Image 10–14). go to next step. close icon (reference 5, Image 10–14) to stop using annotations. No further actions required.
Must the drawing be saved?
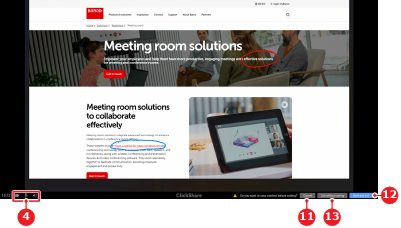
Tap (reference 13) to stop using annotations.
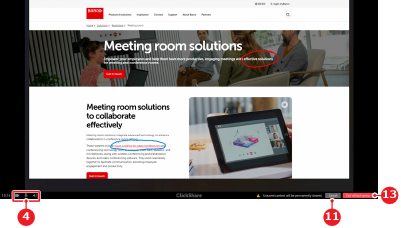
The status bar returns to standard layout.
 eraser is active, annotations around the touch input will be removed.