
Service Portal Manual
Table of contents
- 1. Registering and Logging onto the Service Portal
- 2. Navigating on the Barco Service Portal
- 3. A closer look at what you can find via the navigation bar
- 4. How to create an account during the case creation process
- 5. Useful Links
1. Registering and logging onto the Service Portal
To log into the service portal, you will need to go to the external Barco website and from there to the myBarco partner zone page or click here
- Click the link to bring you to the login/registration page
- For customers who logged in previously, provide your login details and click ‘Continue’
For new users:
- Enter the business e-mail you want to use to log into the Barco Service portal (Fig. 1)
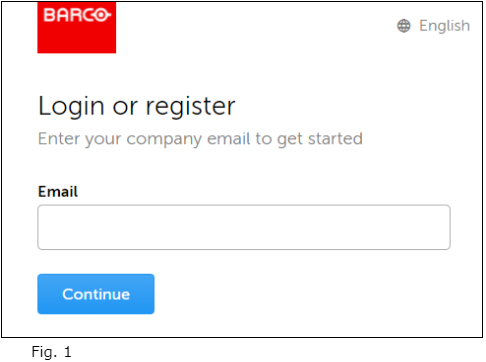
- Click ‘Continue’ to confirm
- After acceptance of your registration request as a new user by Barco, a verification code will be sent to the email address used during the registration process (Fig. 2)
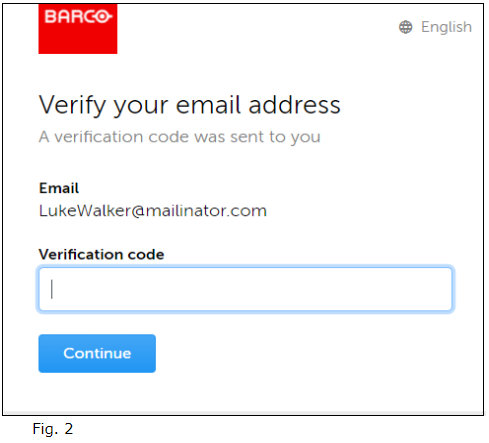
- Enter the verification code and click on ‘Continue’
- Complete the next page with the required information (Fig. 3)
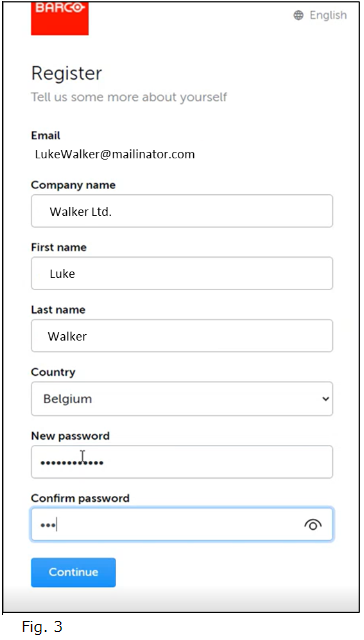
- A Salesforce account will be created for the customer company name entered
- A Salesforce Contact will be created using your First & Last name.
- The Contact will be linked to an existing domain account. In our example below, the domain is the ‘mailinator’ domain (all e-mails like this will be linked to that account).
- Create a 12-digits password
- Click ‘Continue’ to get to the welcome page of Barco Service portal (Fig. 4)
2. Navigating on the Barco Service portal
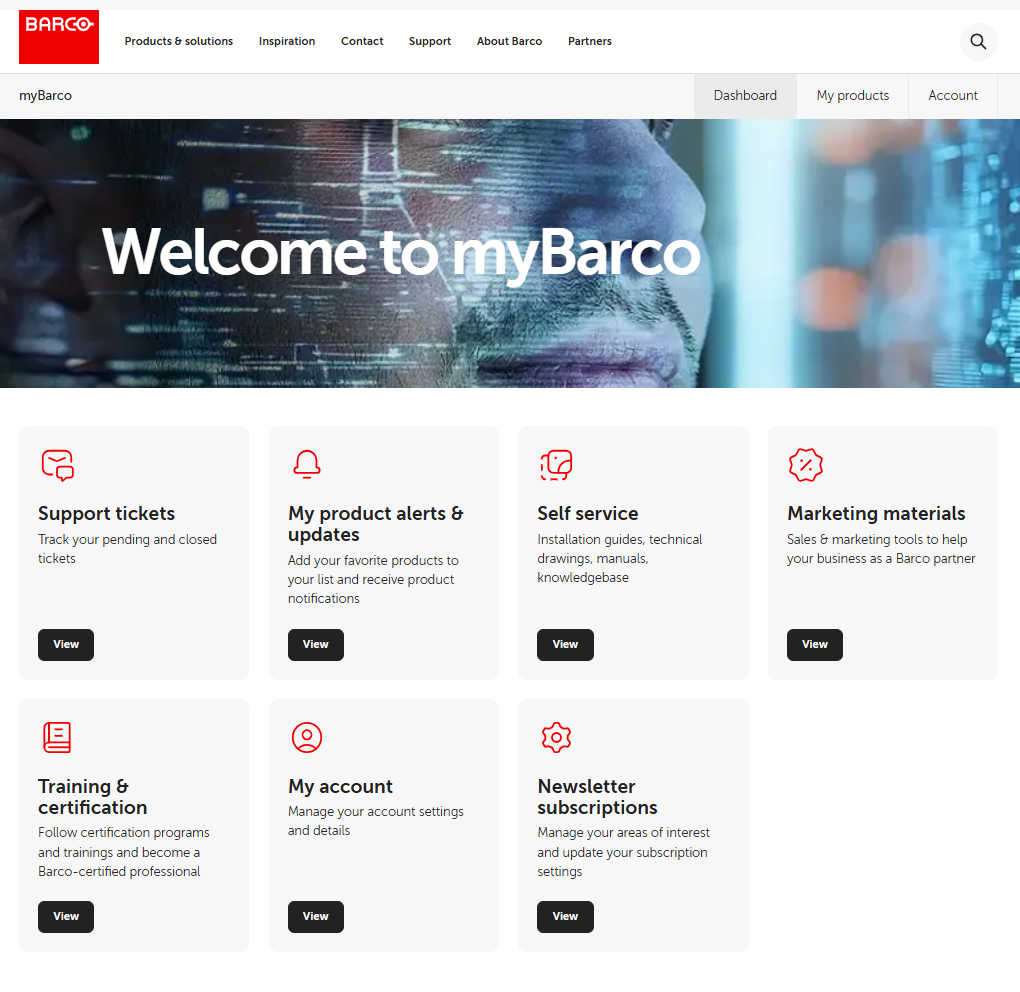
After a successful login to the Barco service portal, you will be redirected to the home page. All information found on the service portal is related to the person that has logged in.
Below is an example of the homepage (Fig. 5). 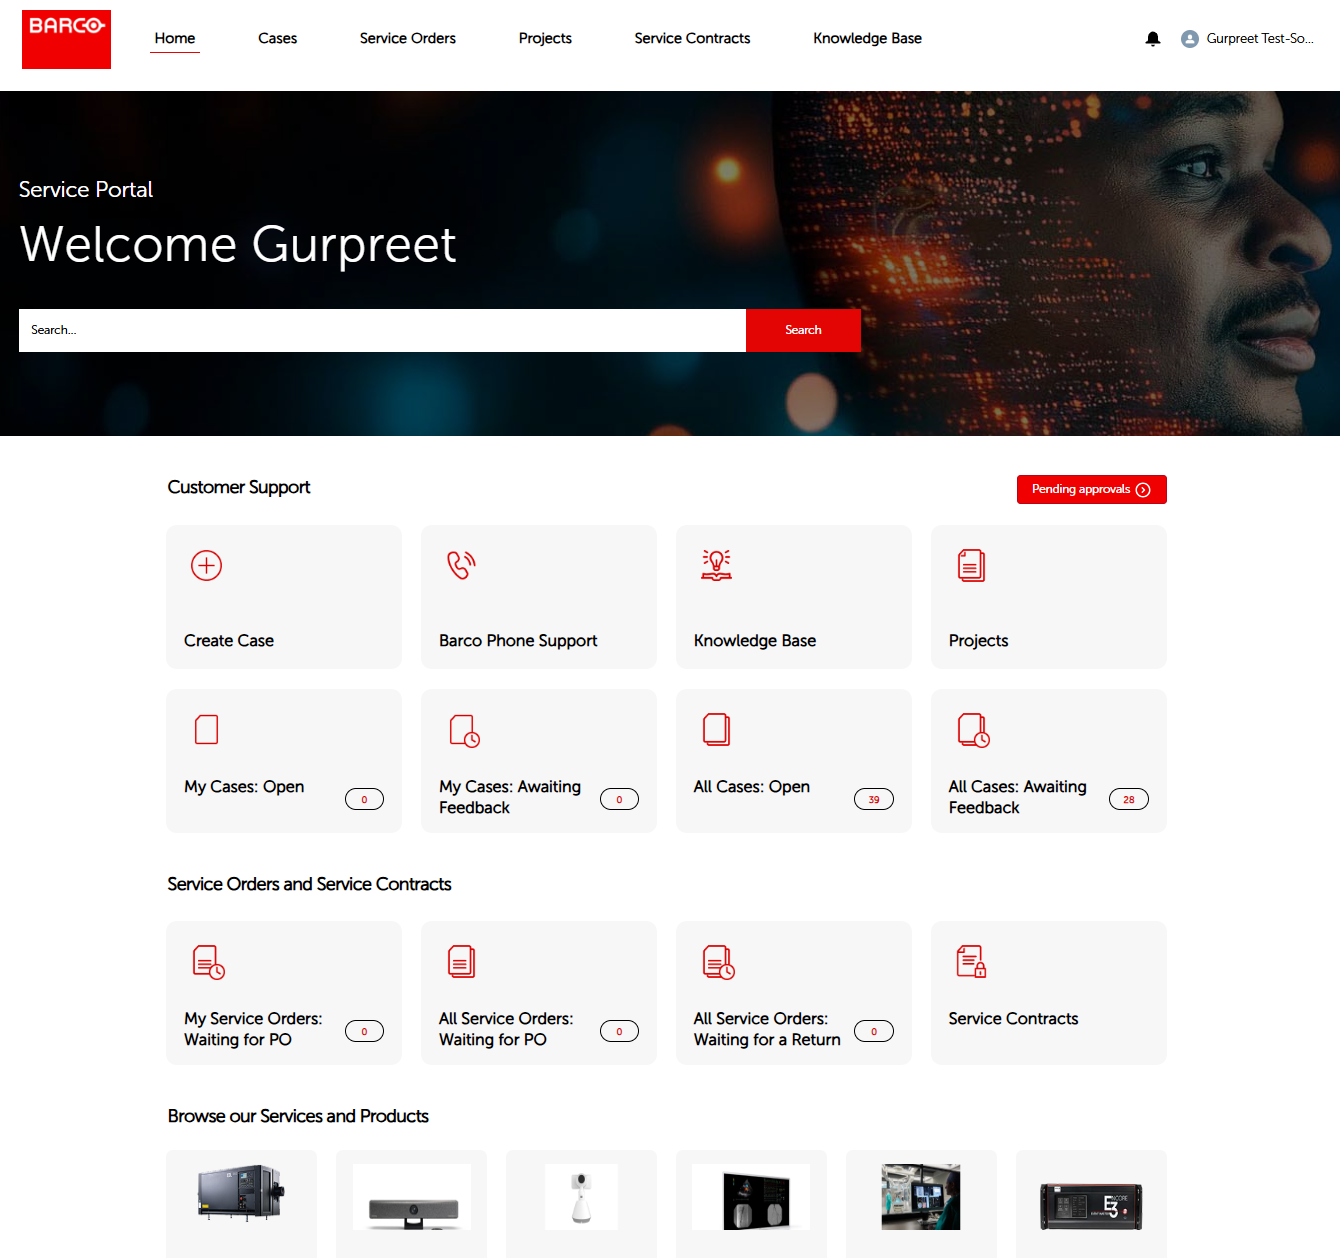
On the home page (Fig. 5) you will find the following features:
- A search bar is at the top of your screen. It is important to note that this search function only returns information from Service portal-specific data.
- A navigation bar includes:
- Home
- Cases&
- Work Orders
- Projects
- Service Contracts
- Create Case
- Search button
- Your profile information includes
- Home: return to the home screen
- Logout
- On the left is a list of objects that can be selected to filter out search results (Fig. 6)
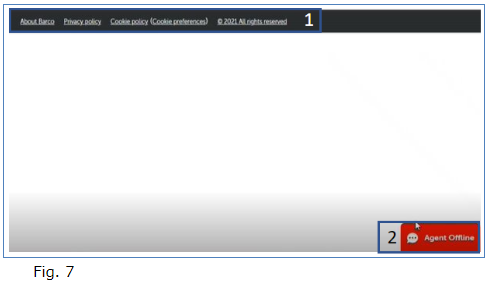
- At the bottom, you can see the website footer and the Live Agent pop-up (not active yet) (Fig. 7)
3. A closer look at what you can find via the navigation bar
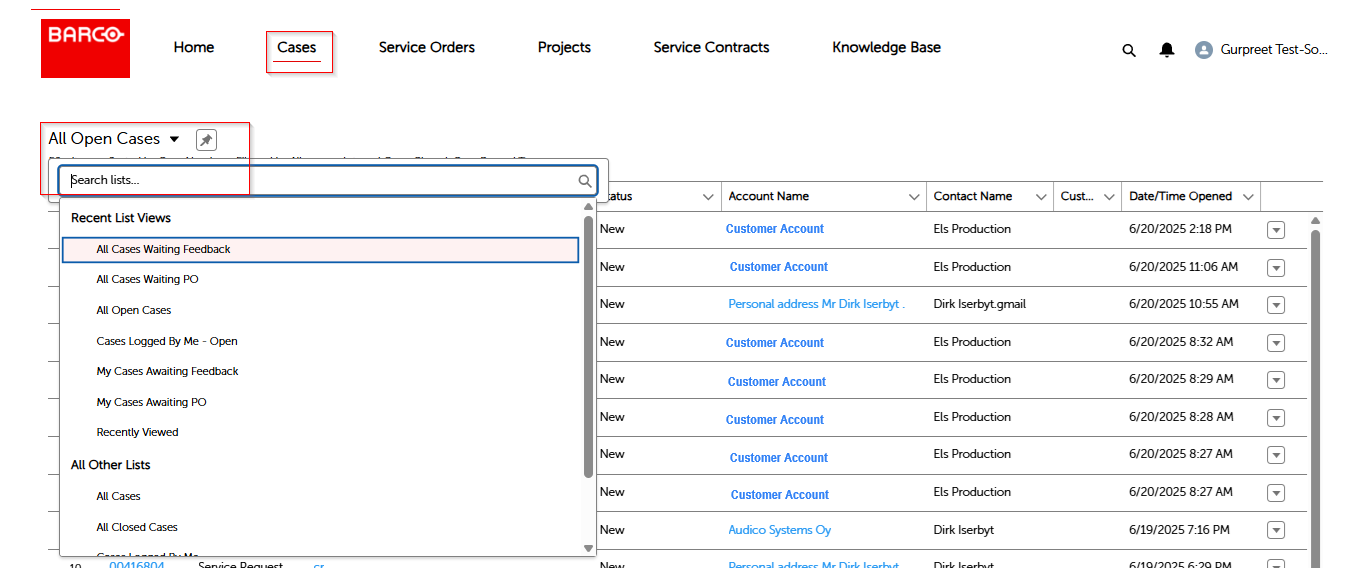
Cases
Click on ‘Cases’ to get essential case information.
From here you can select the type of List view you would like to see.
Click on the little arrow to select the type of List view you prefer (Fig. 8 & 9) 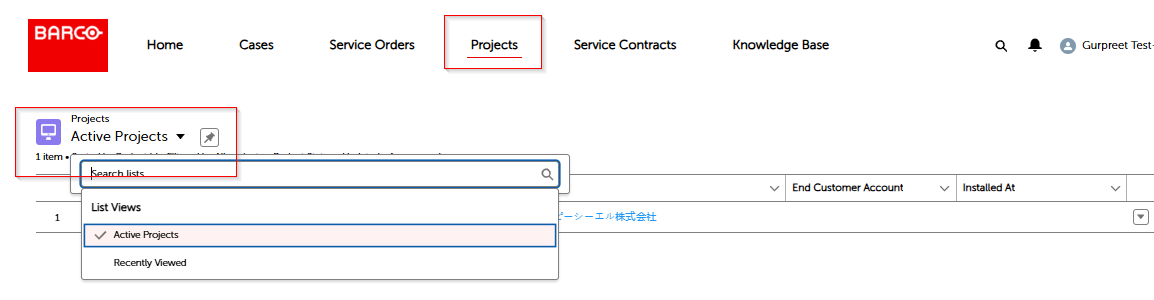
Work Orders & Projects
Similar to the way of working for Cases, when clicking on Work Orders or Projects and the chosen List view you will get an overview of your work orders or projects.
Please note that for Projects you will see only 2 available List views:
- All or Recently viewed
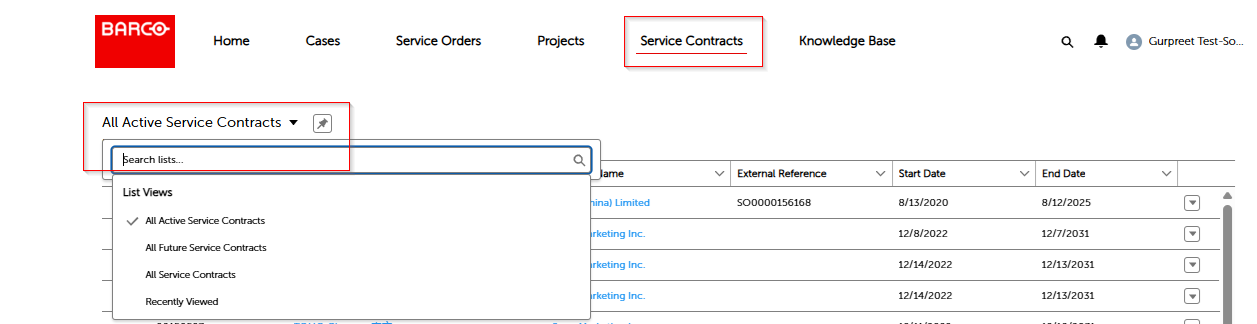
Service Contracts
The user can click on 'Service Contracts’ to get an overview of those service contracts. An overview is provided giving you some essential information about the service contracts in a quick, easy view. (Fig. 10)
The following list views are available:
-
All Open Service Contracts;
Open service contracts are those that are in the process of being made. These are not yet available to be added to a case or linked to an entitlement.
-
All Released Service Contracts;
A released service contract is an active service contract.
-
All Service Contracts
-
Recently Viewed
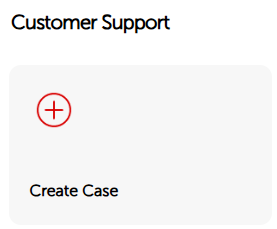
Create a Case
The most important feature of our Barco Service portal is the possibility to create a case by the customer.
By clicking on ‘Create Case’, it starts the process of case creation. (Fig.11)
At the top of your screen, you can see a ‘path’, which is an overview of the process needed to create your case. Right now, we are in the ‘Basic Information’ stage.
Underneath we have some fields to fill out:
-
Subject:
A brief description of the topic
-
Type including:
- Inquiry: Typically, a non-product-related question. When you want to register a product-related issue, you need to select ‘Service Request’.
- Service Request: For product-related issues.
- This is the biggest flow where we ask for you to specify a product model, an asset, an entitlement ID, or a manufacturing serial number.
- Spare Part Sales: Here you can choose the product model and register a case.
Since each of the case types has a different case creation flow, we will discuss each flow separately below.
Inquiry
To start off with the creation of an inquiry case:
- Fill out the Subject,
- Select the ‘Inquiry’ type
- Fill out the description for the inquiry.
-
Click ‘Next’ and the user will be directed to the ‘Articles Found’ page (Fig.12) where a knowledge article is recommended:
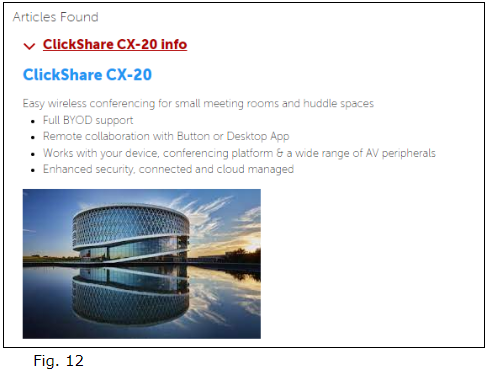
-
Select if the article was useful or not. If you select ‘yes’ then you will see the message (Fig.13) finishing your inquiry:
-
If you select ‘not’ then you will be redirected to a page where you will need to add your company (Fig. 14):
-
On the next screen (Fig. 15) the user needs to select the Product Model. If no product model is selected, then Barco will not be able to treat the customers’ request in an optimal way:
-
You can once again press ‘Next’. On the next screen, you can upload additional attachments and write additional comments.
-
After pressing ‘Next’ you will receive a successful confirmation of your case and a case number (Fig. 16):
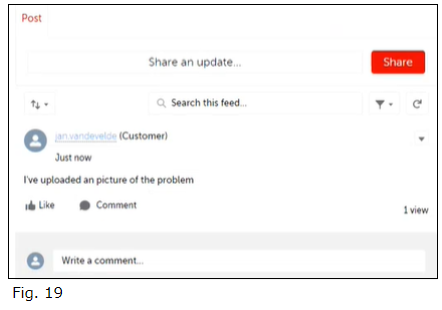
This will take the user to the newly created case page that shows all the information filled in as well as additional comments or uploaded files in the ‘Related’ section or ‘Chatter’ (or ‘Feed’) sections. (Fig. 17 – 18 – 29)
The case information:
The ‘Related’ section
The ‘Chatter’ (or ‘Feed’) section on the right:
Service Request
To start off with the creation of a Service Request case,
- Select the 'Service Request’ type. (Fig. 20)
- Fill out the Subject
- Click ‘Next’ and the user will be directed to the Articles Found page where a knowledge article is recommended

-
Similar to the ‘Inquiry’ Flow the article provided might be useful or may not relevant for your inquiry. If not relevant, you can continue to click on ‘Next’ to continue the Case creation Wizard and enter your Company name.
-
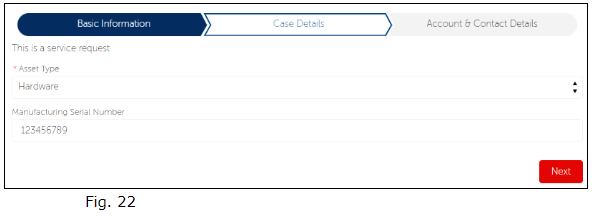
Click ‘Next’ and the user will be directed to the ‘Case Details’ stage specifically for a Service Request. Here the user can select if their problem is related to Software or Hardware (Fig.21):
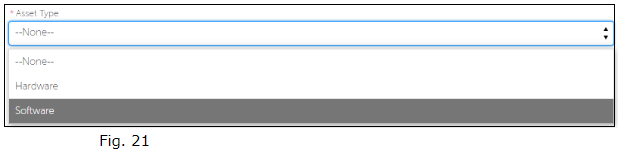
- When choosing Hardware, the Manufacturing Serial Number is requested
- When choosing Software, Entitlement ID is requested
Let’s proceed with the Hardware type
- Select Hardware
- Fill in the Manufacturing Serial Number. (Fig. 22)
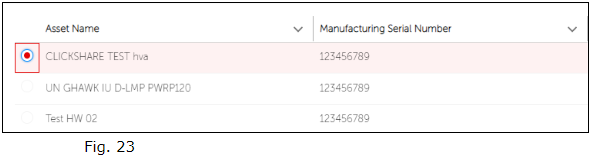
After clicking ‘Next’, the flow will search across the data in Salesforce and will return assets that have that Number specified on its record. The search could also return multiple assets; then it is the user who must select which asset he has a problem with. As you can see, the system found three Matching Assets. (Fig.23)
-
Click ‘Next’ once again.
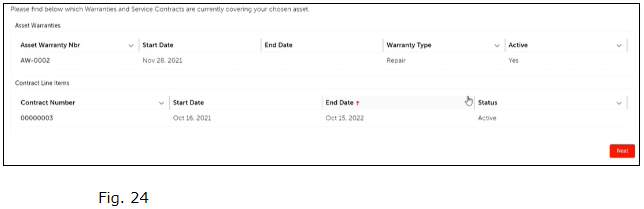
On the next screen, the user will get an overview of the Warranties and Service contracts (Contract Line Items) that are currently covering his chosen asset. In our example, Barco found a Warranty and a Contract that are both still active. This way the user knows if the asset is under warranty or not. (Fig.24)
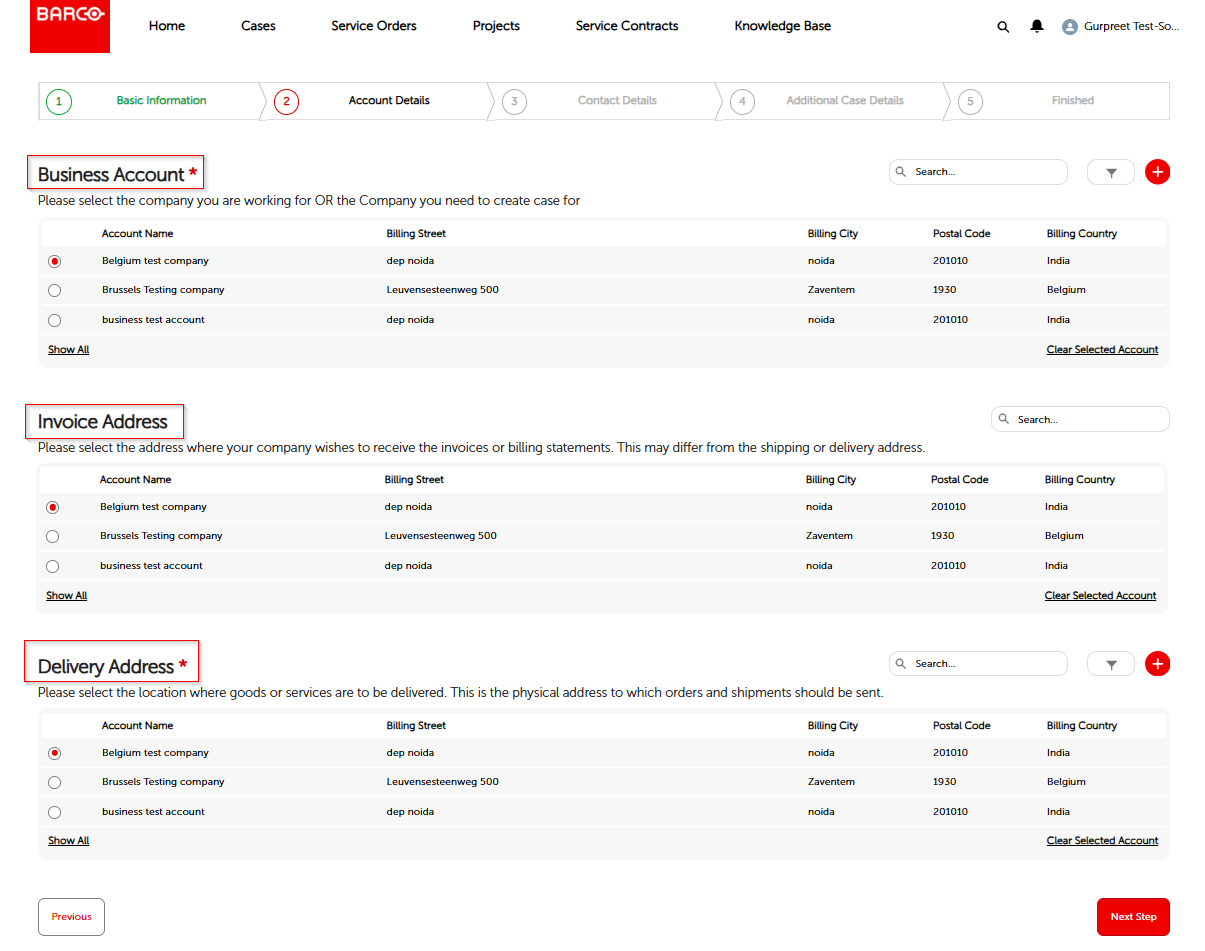
On the Next screen we come to the final step of the process where some additional information is asked:
-
Bill-To/Sold-To Account:
Here the user can select the Bill-To/Sold-To Account which will be used for this case. If no Bill-To Account is available, Barco will not be able to process any work order. -
Ship-To Account:
Here the user can select which address to use when shipping parts (in case spare parts are needed), or to which address an asset needs to be returned after a repair.
To create a new Ship-To Account, simply leave the field empty and you will be able to create a new ship-to account when pressing ‘Next’. -
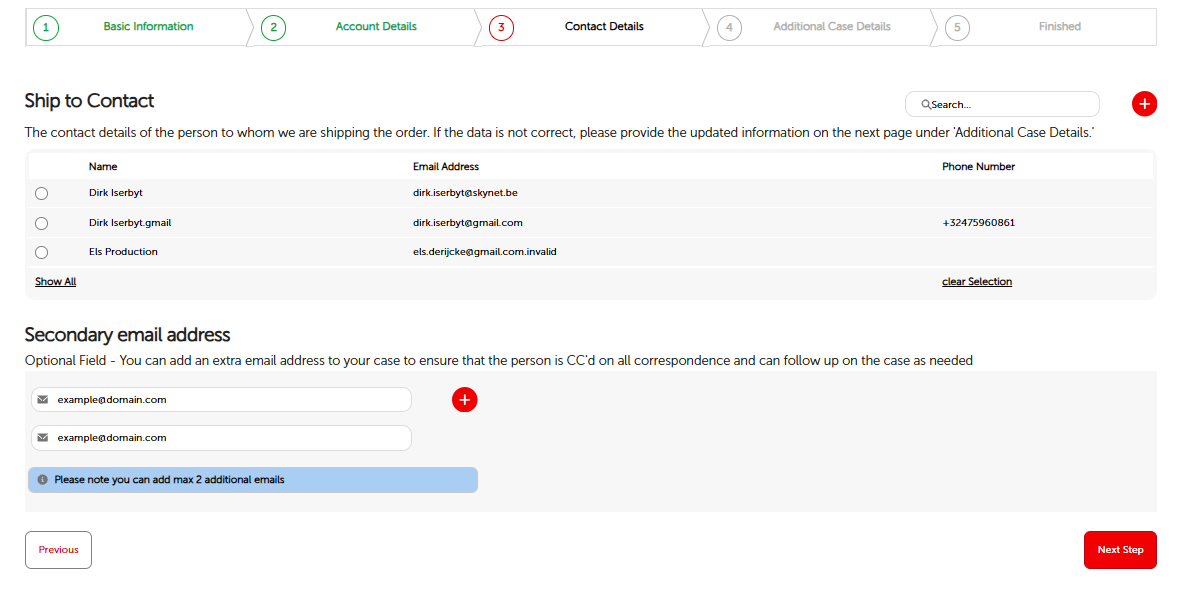
Ship-To-Contact:
Here you can select the contacts that are linked to the Ship-To Account. To create a new Ship-To Contact, simply leave the field empty and you will be able to create a new ship-to contact when pressing ‘Next’.
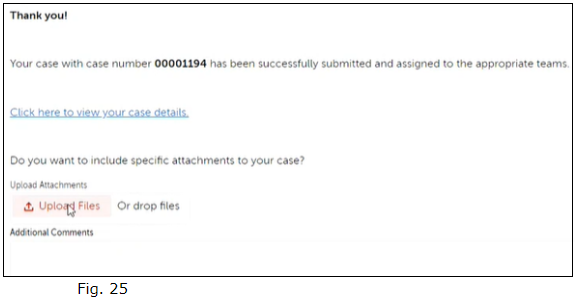
After clicking ‘Next’ the user will be redirected to a ‘Thank you’ screen where the Case details can be viewed, files can be uploaded, or additional comments can be entered. (Fig. 25)
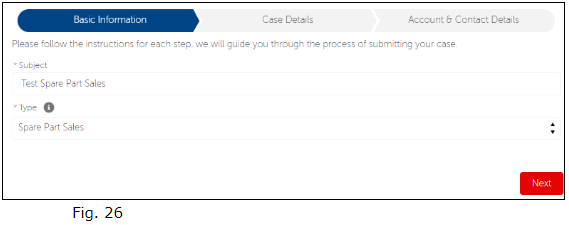
Spare Part Sales
To start off with the creation of a Spare Part Sales case, (Fig. 26)
- Fill out the Subject
- Select the 'Spare Part Sales’ type
- Select the appropriate Account
- Follow the same procedure as with the above types (Inquiry/Service Request)
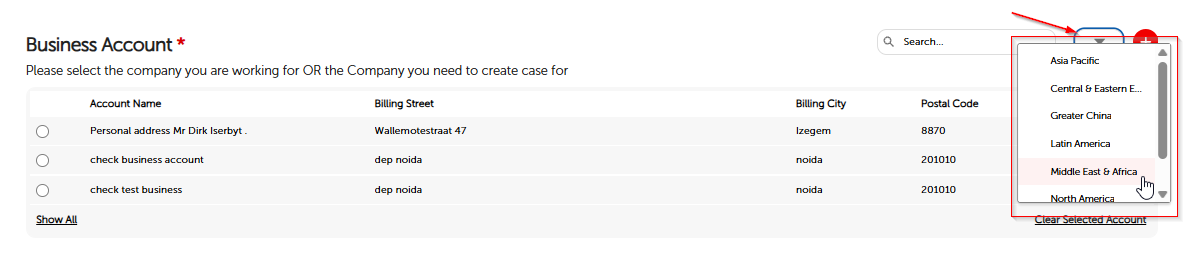
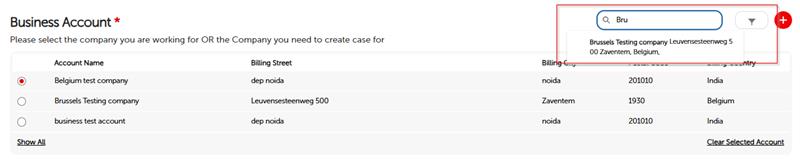
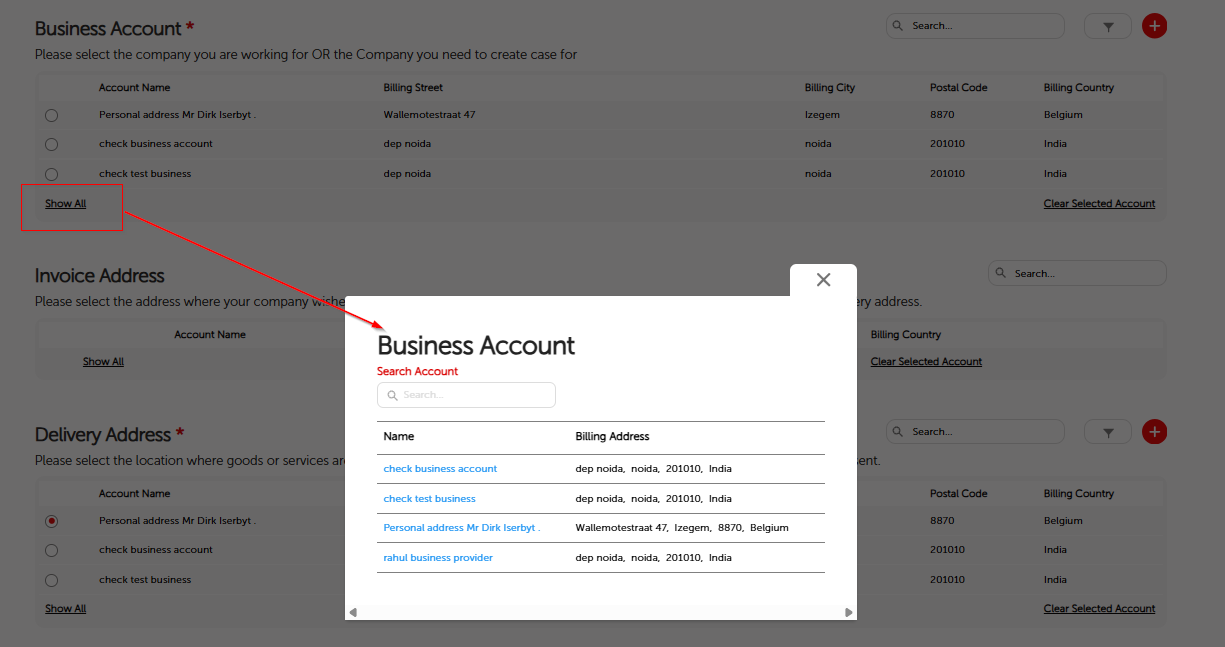
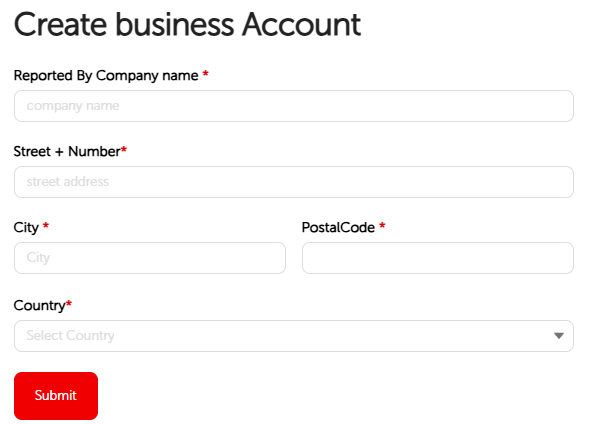
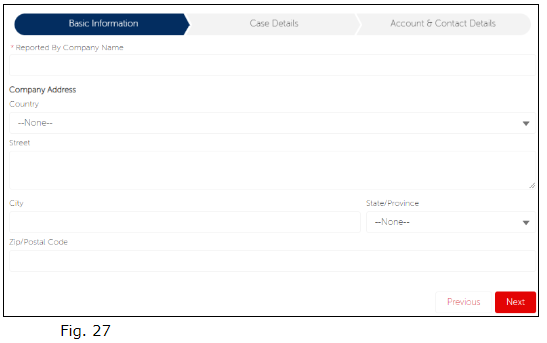
4. How to create an account during the case creation process (Fig. 27)
Let’s say the user did not find any Account or the correct Account during the case creation. They will need to create a new account. To create a new account, leave the account selection screen empty (when no account was found, this will be empty already) and press ‘Next’. On the next screen, the user will be able to create a new account by filling in all required data
Where to buy our products
To find where you can buy our Barco products, click here for more info.
Service locator - Barco
To find our country-based Services partners, click here for more info.
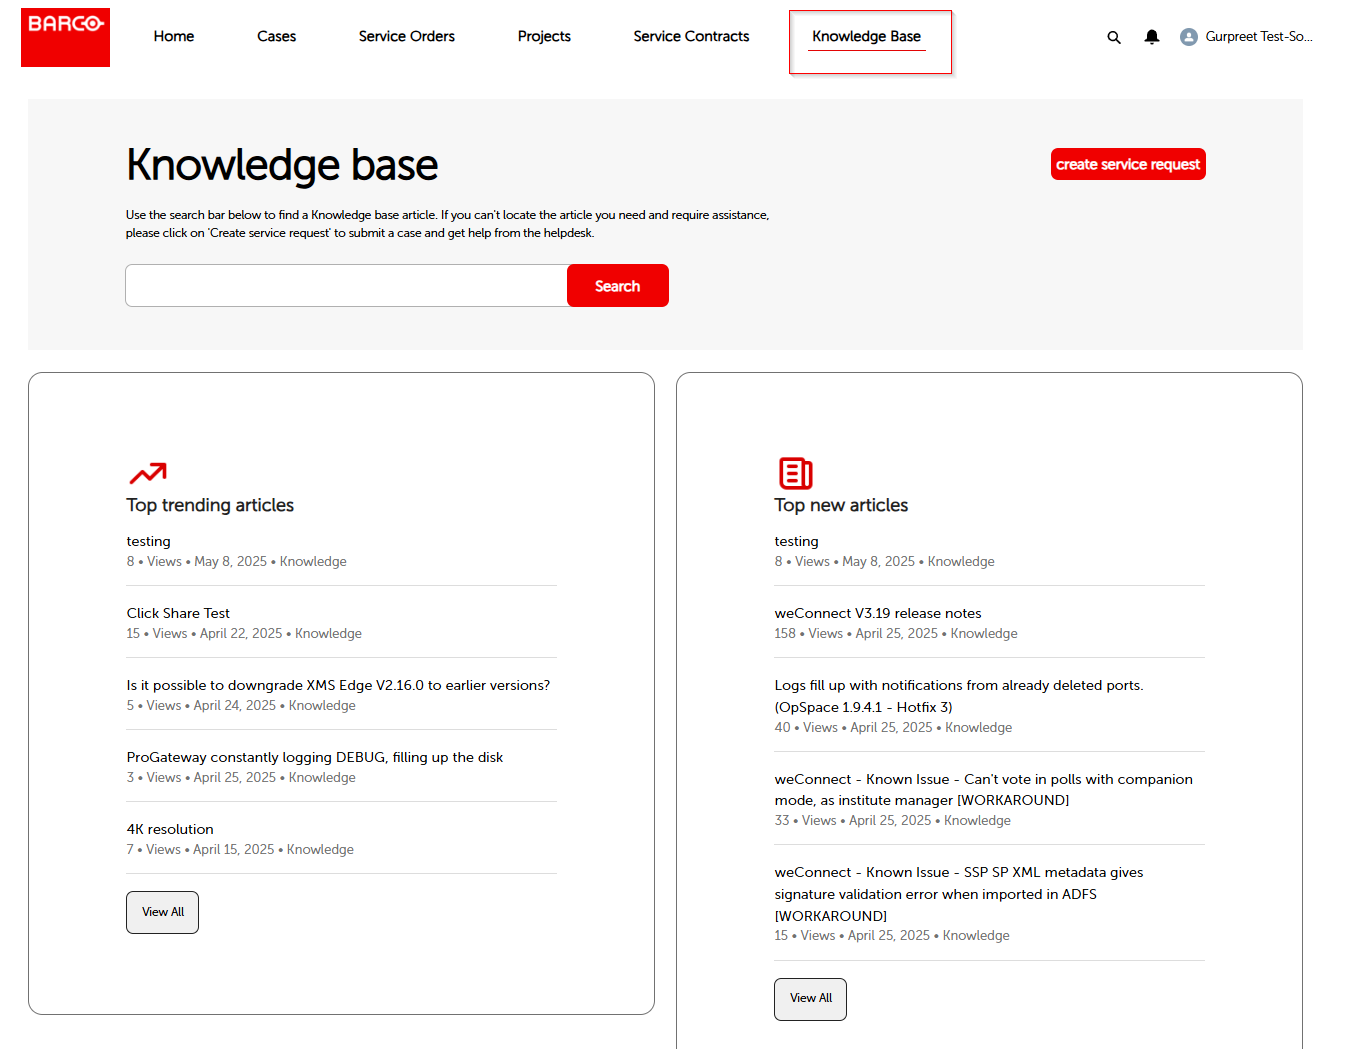
Knowledge base articles
To find out product-related knowledge base articles, click here.

